Appearance
Square Settings
Square is a globally trusted payment gateway that lets you accept Credit and Debit Cards through a single, secure inline checkout, with no redirects. By connecting Square with FluentCart, you can offer your customers a fast and reliable checkout experience along with support for recurring subscriptions and automatic refunds via webhooks.
This guide will walk you through every step of connecting your Square account to FluentCart, from activating the gateway in your store to configuring credentials and setting up webhooks.
Step 1: Activate Square in FluentCart
First, you need to install and enable Square as a payment method in your store.
- From your WordPress dashboard, navigate to FluentCart Pro > Settings.
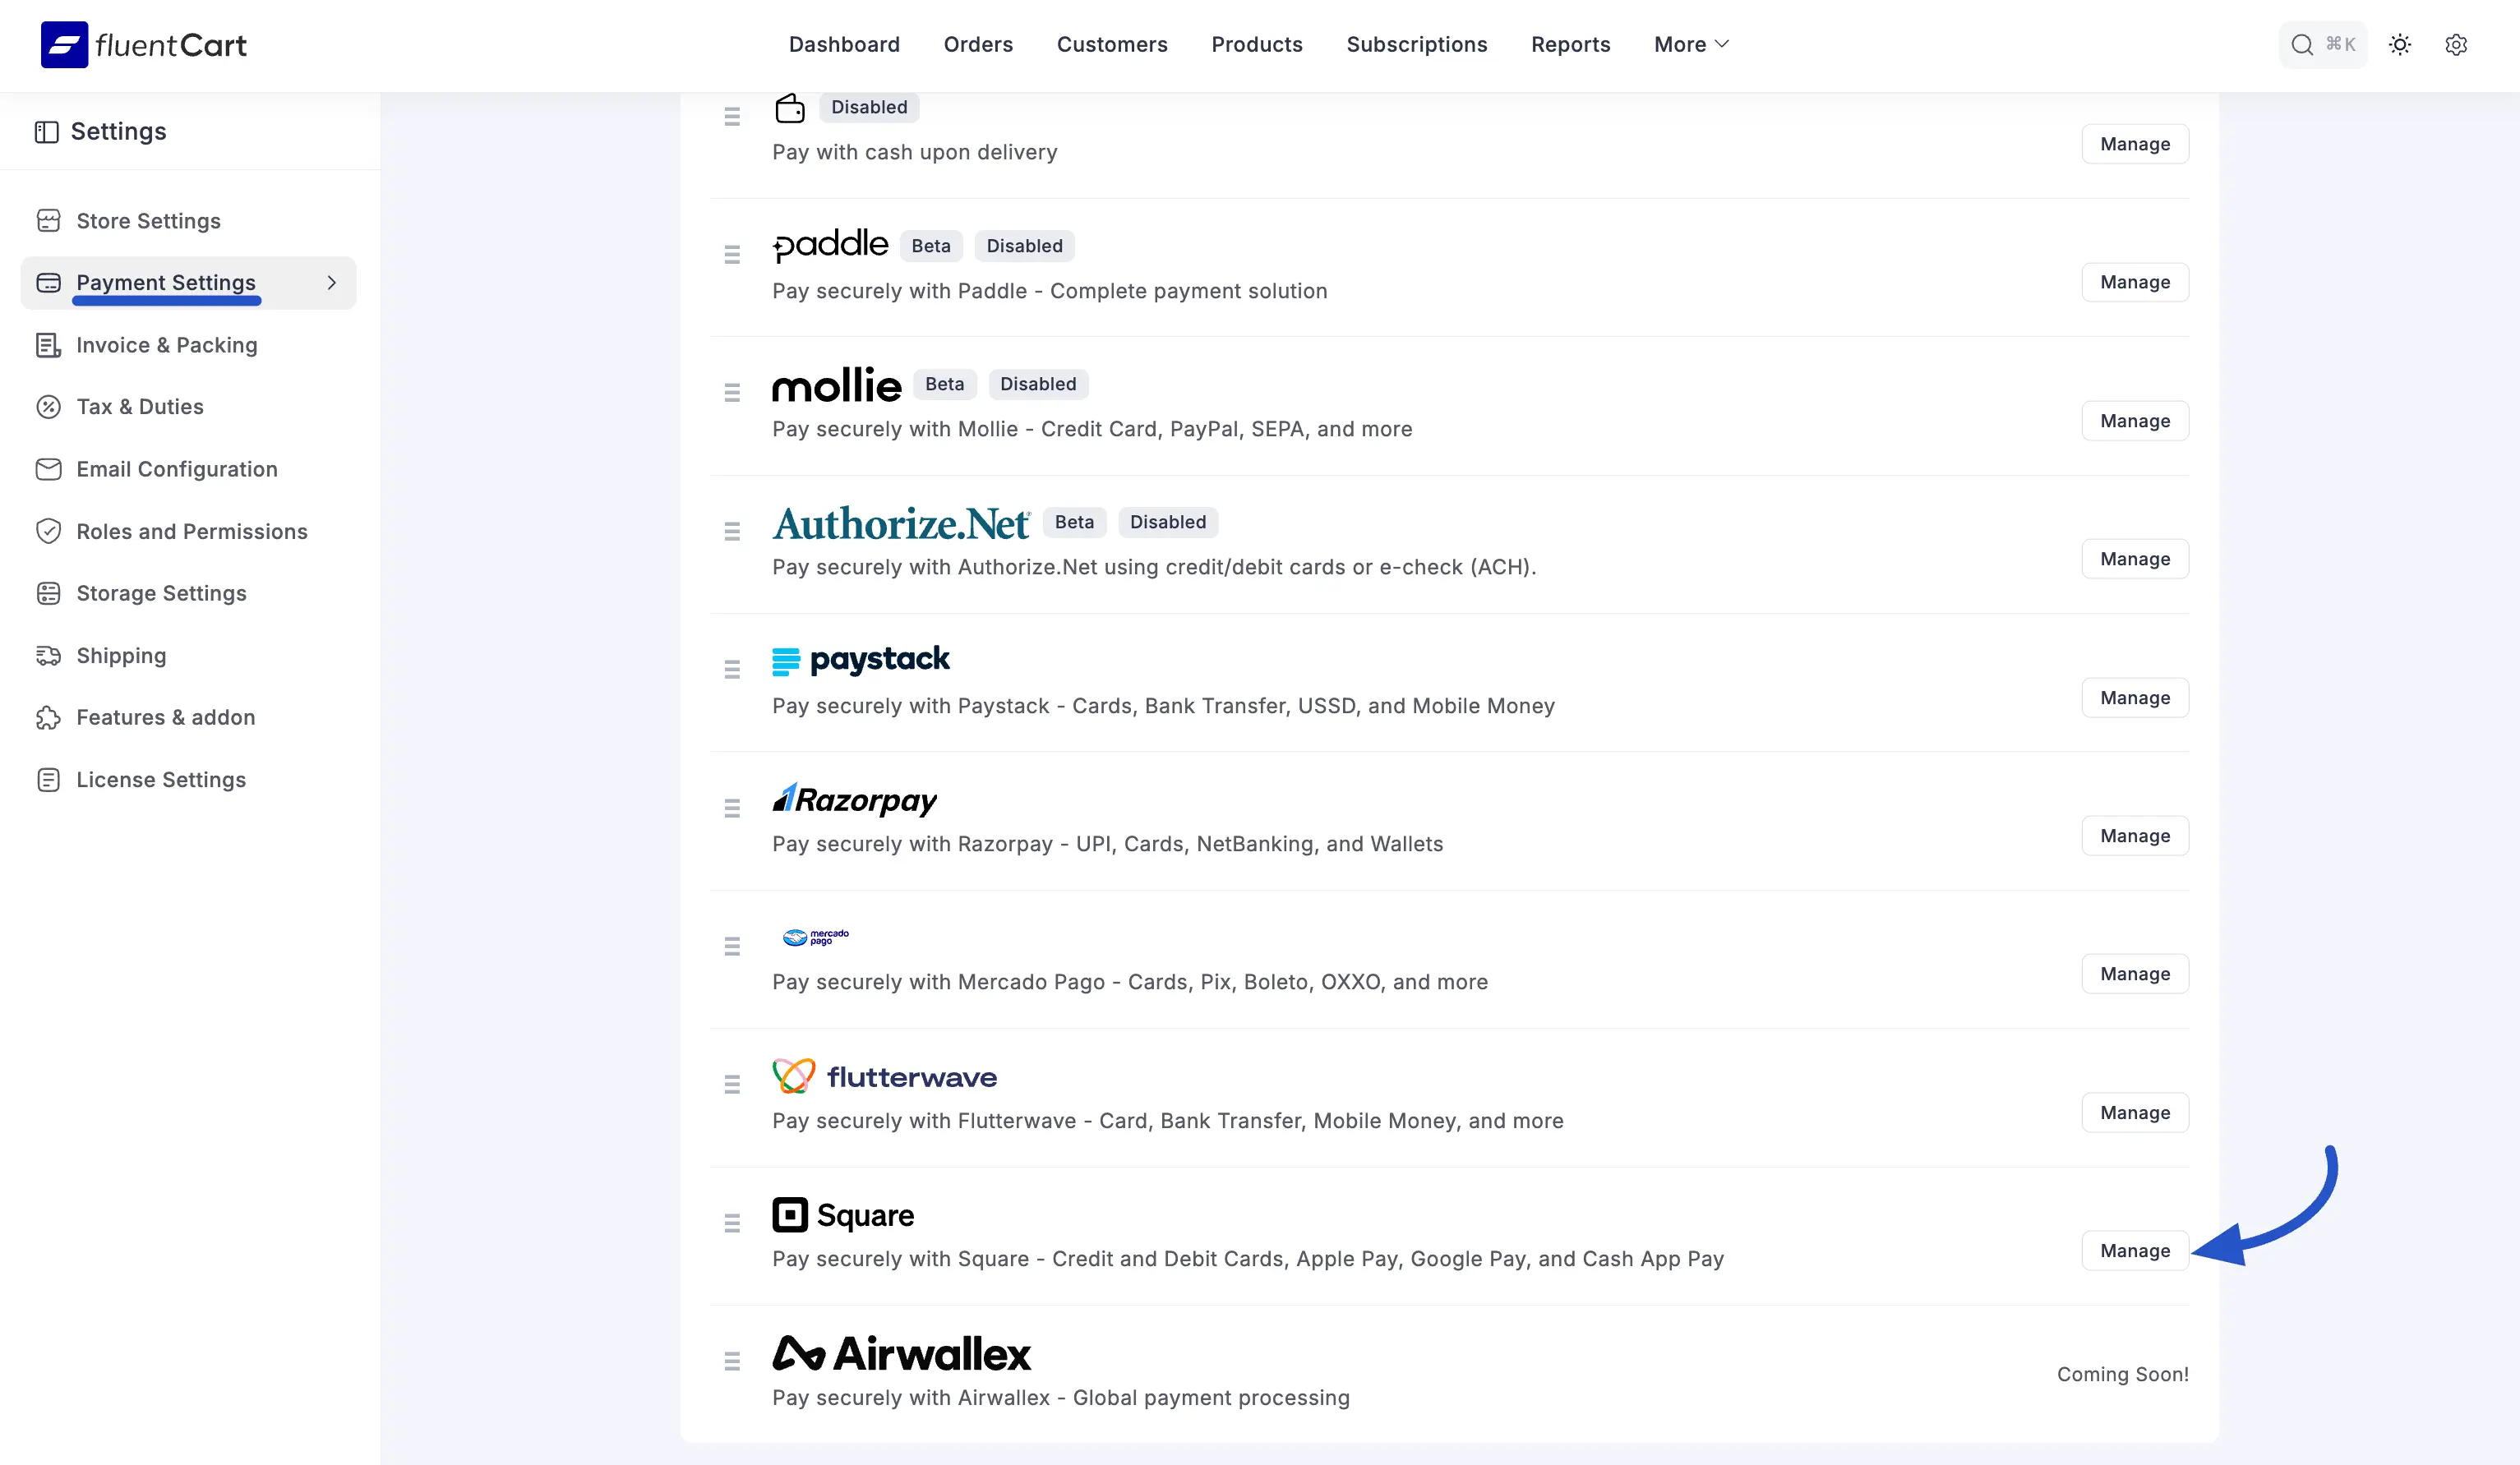
- Click on the Payment Settings tab.
- You will see a list of available payment gateways. Find Square and click the Manage button next to it.
- Since Square is a premium add-on, you will be taken to the Square Payment Gateway page. Click the Install & Activate button to enable it for your store.
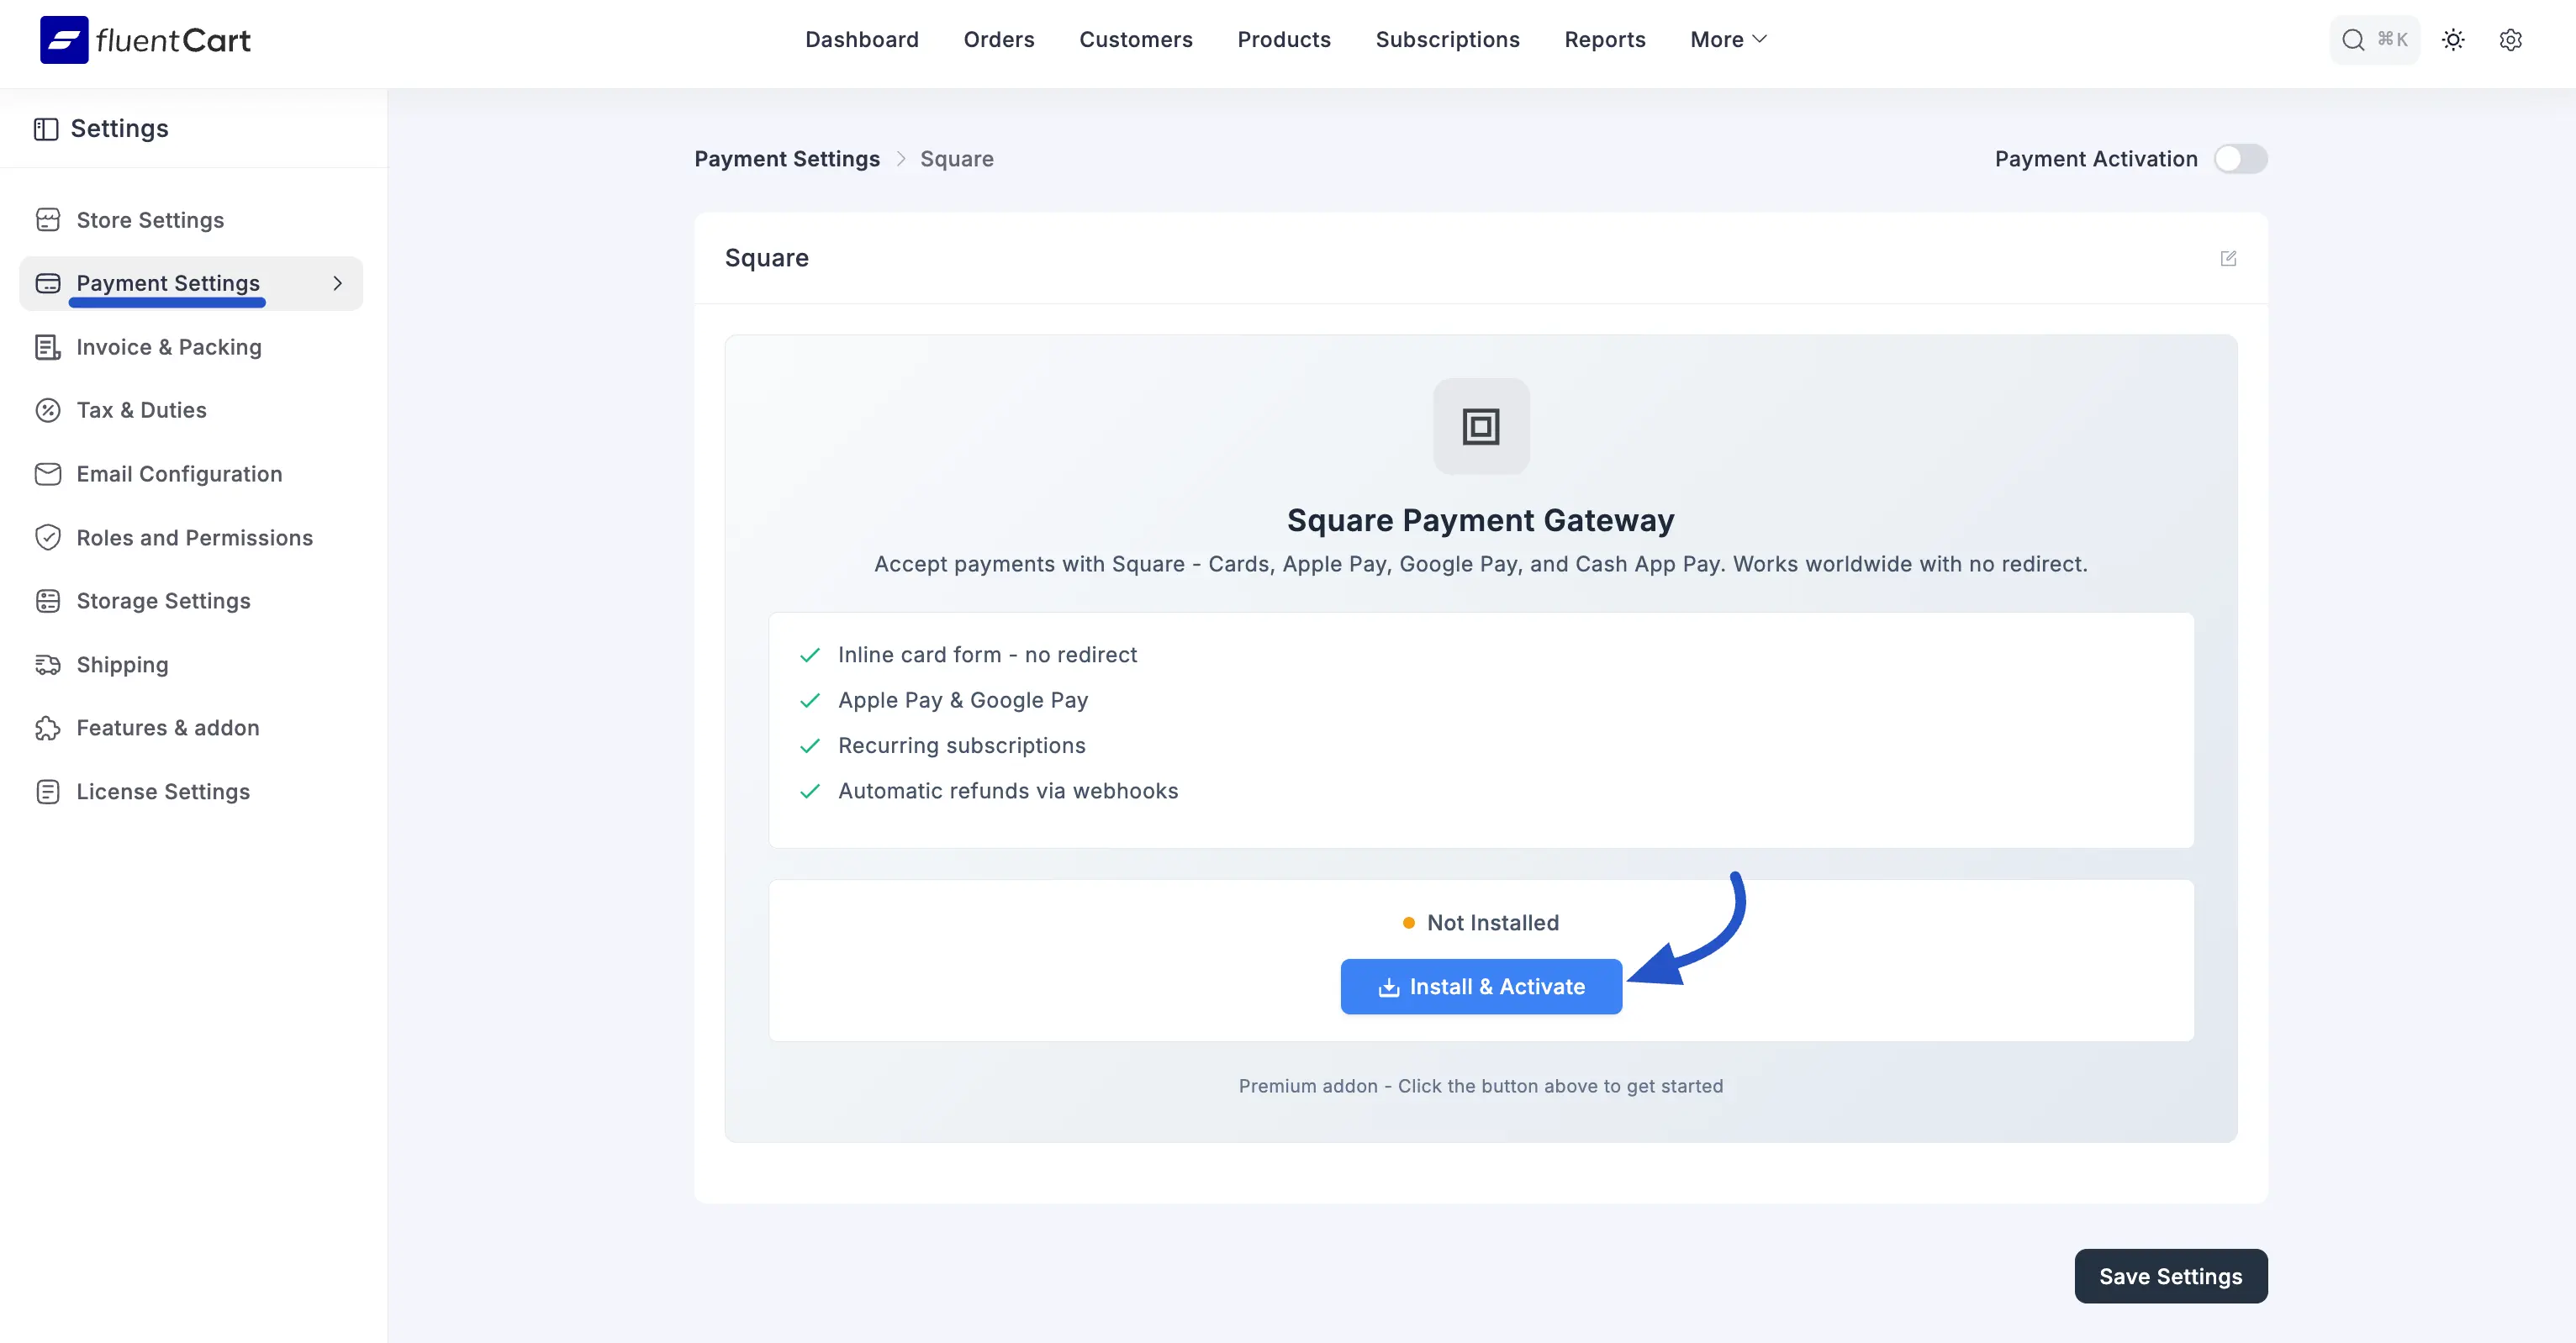
Once activated, you will land on the main Square Settings page where you will configure the connection.
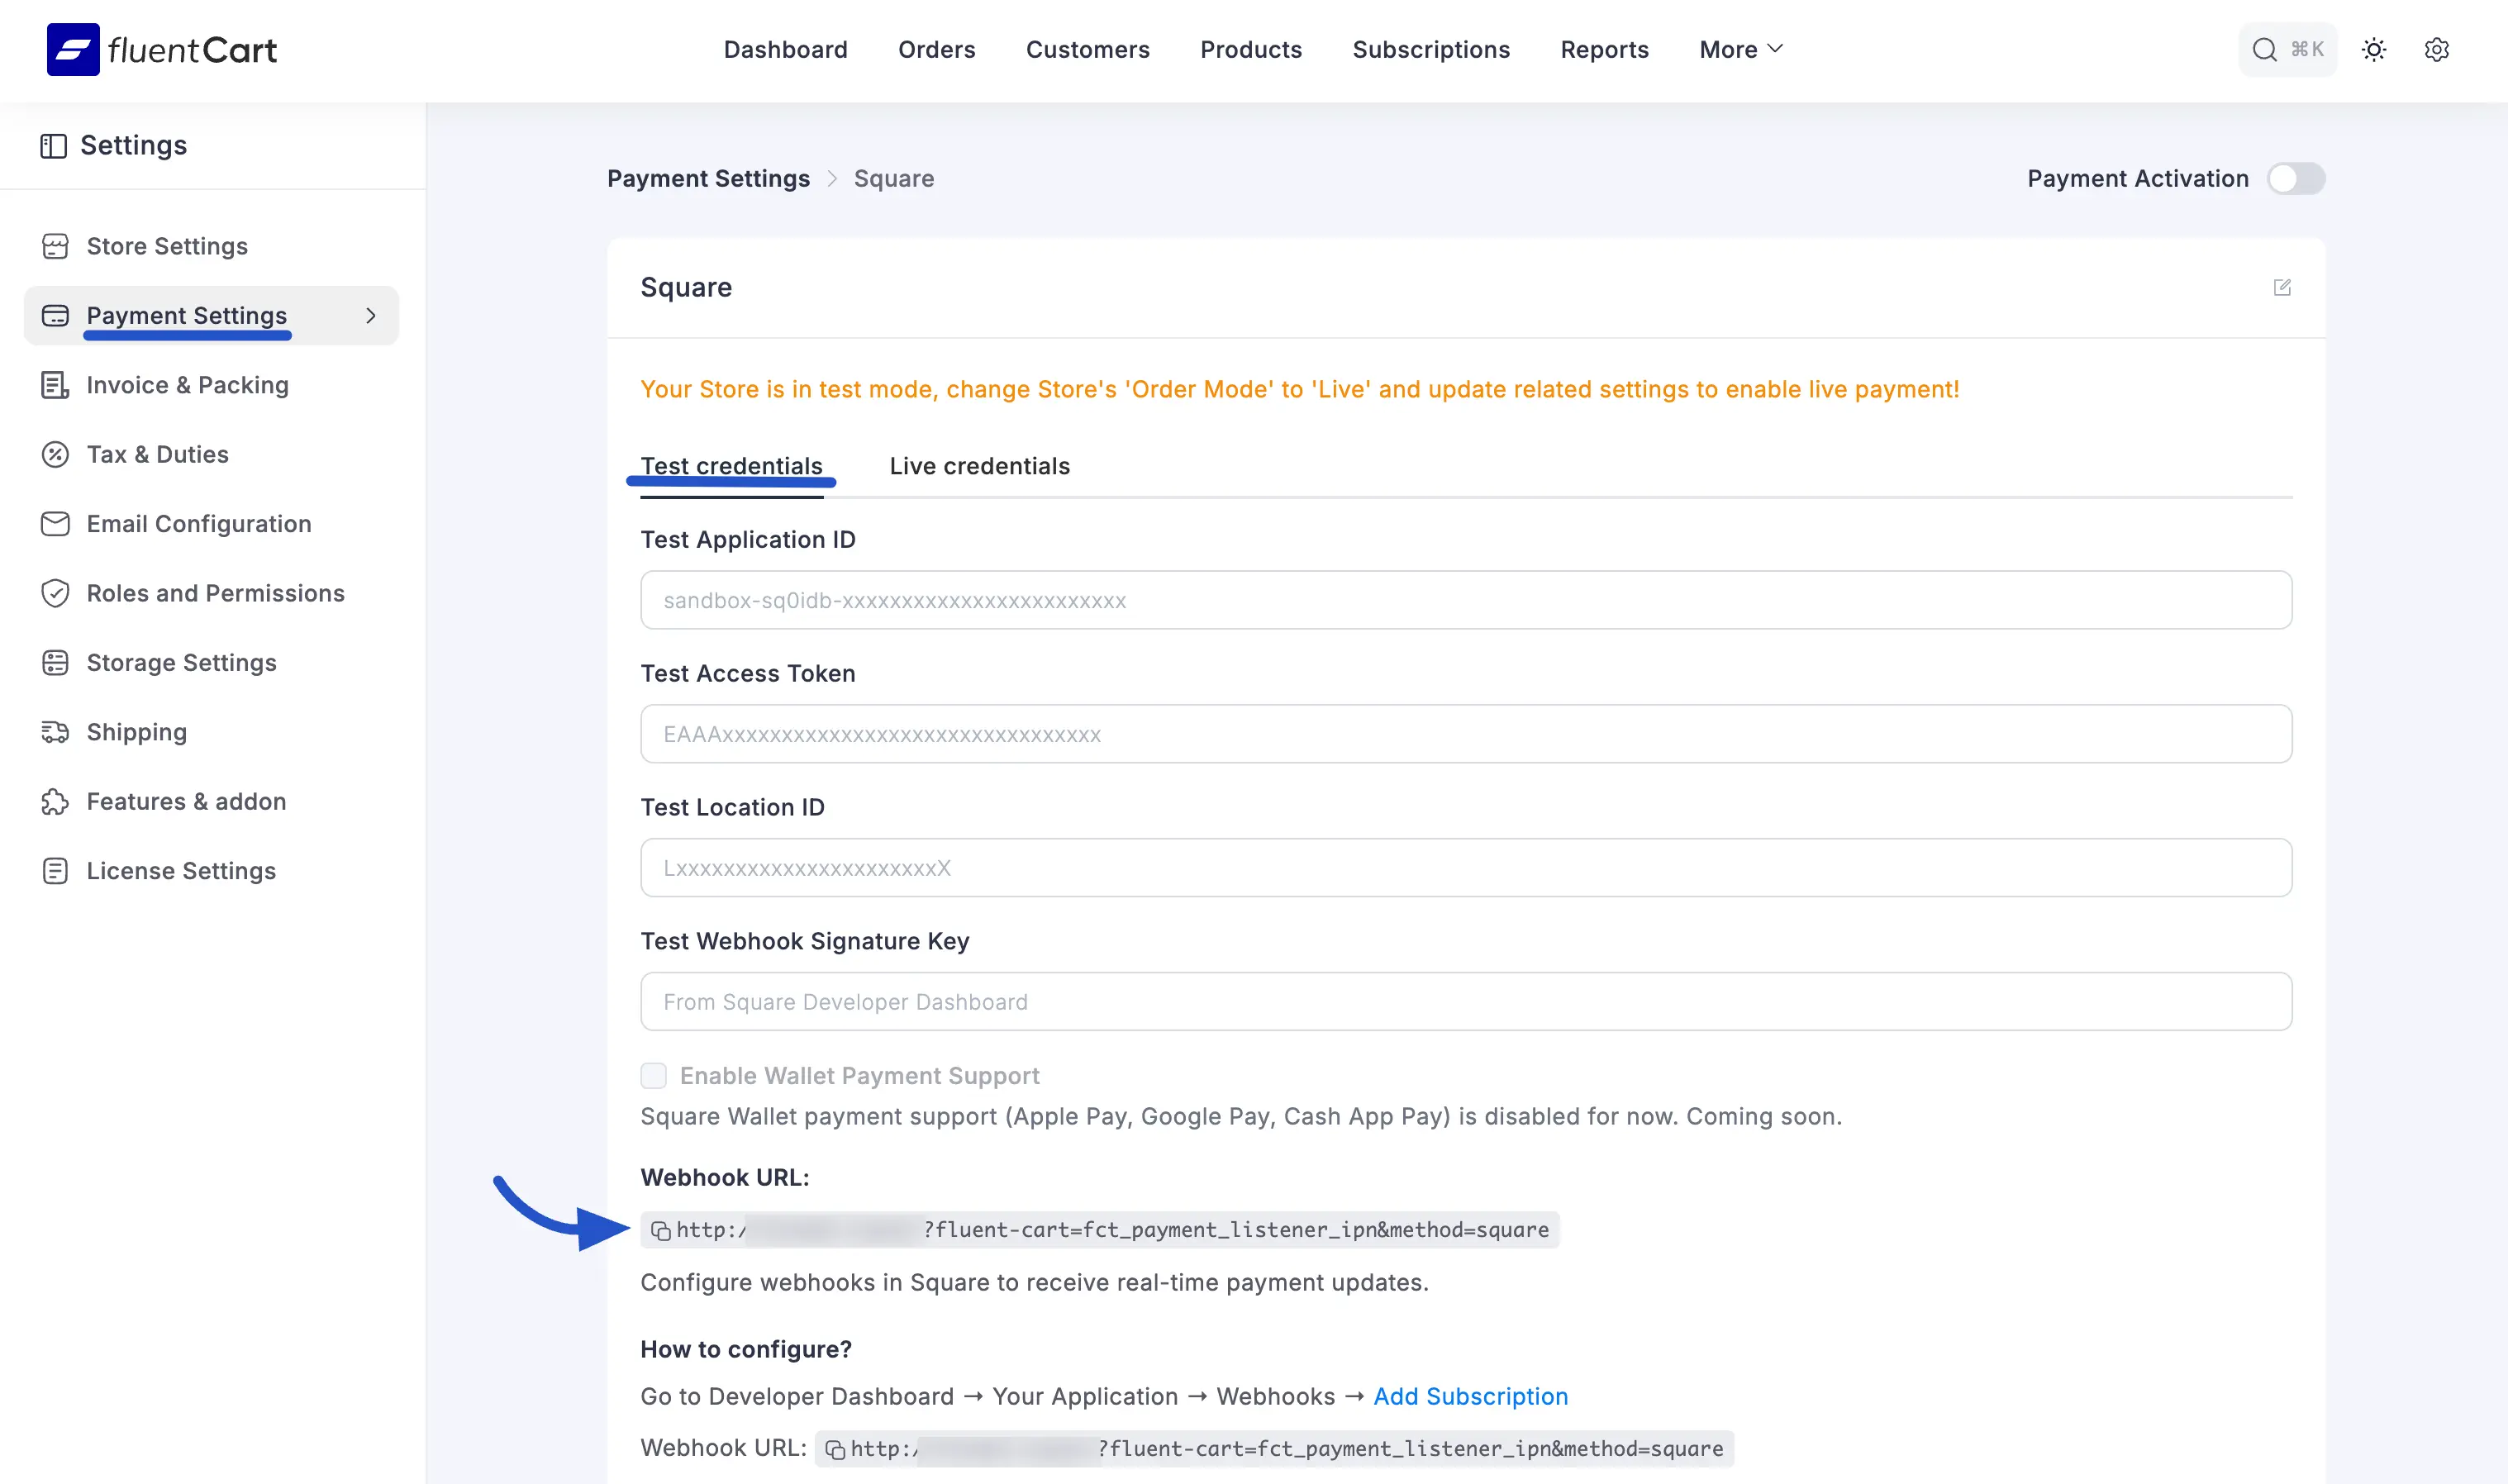
On this page you will see two tabs, Test credentials and Live credentials. It is highly recommended to start with Test credentials to make sure everything is working correctly before accepting real payments. You will need to fill in the following fields:
- Test Application ID
- Test Access Token
- Test Location ID
- Test Webhook Signature Key
You will also see a Webhook URL that you will copy into Square in a later step. To collect the credentials, log in to your Square Developer Dashboard.
Step 2: Create an Application in Square Developer Dashboard
To connect your store, you need to create a new application in the Square Developer Dashboard.
- Log in to your Square Developer Dashboard.
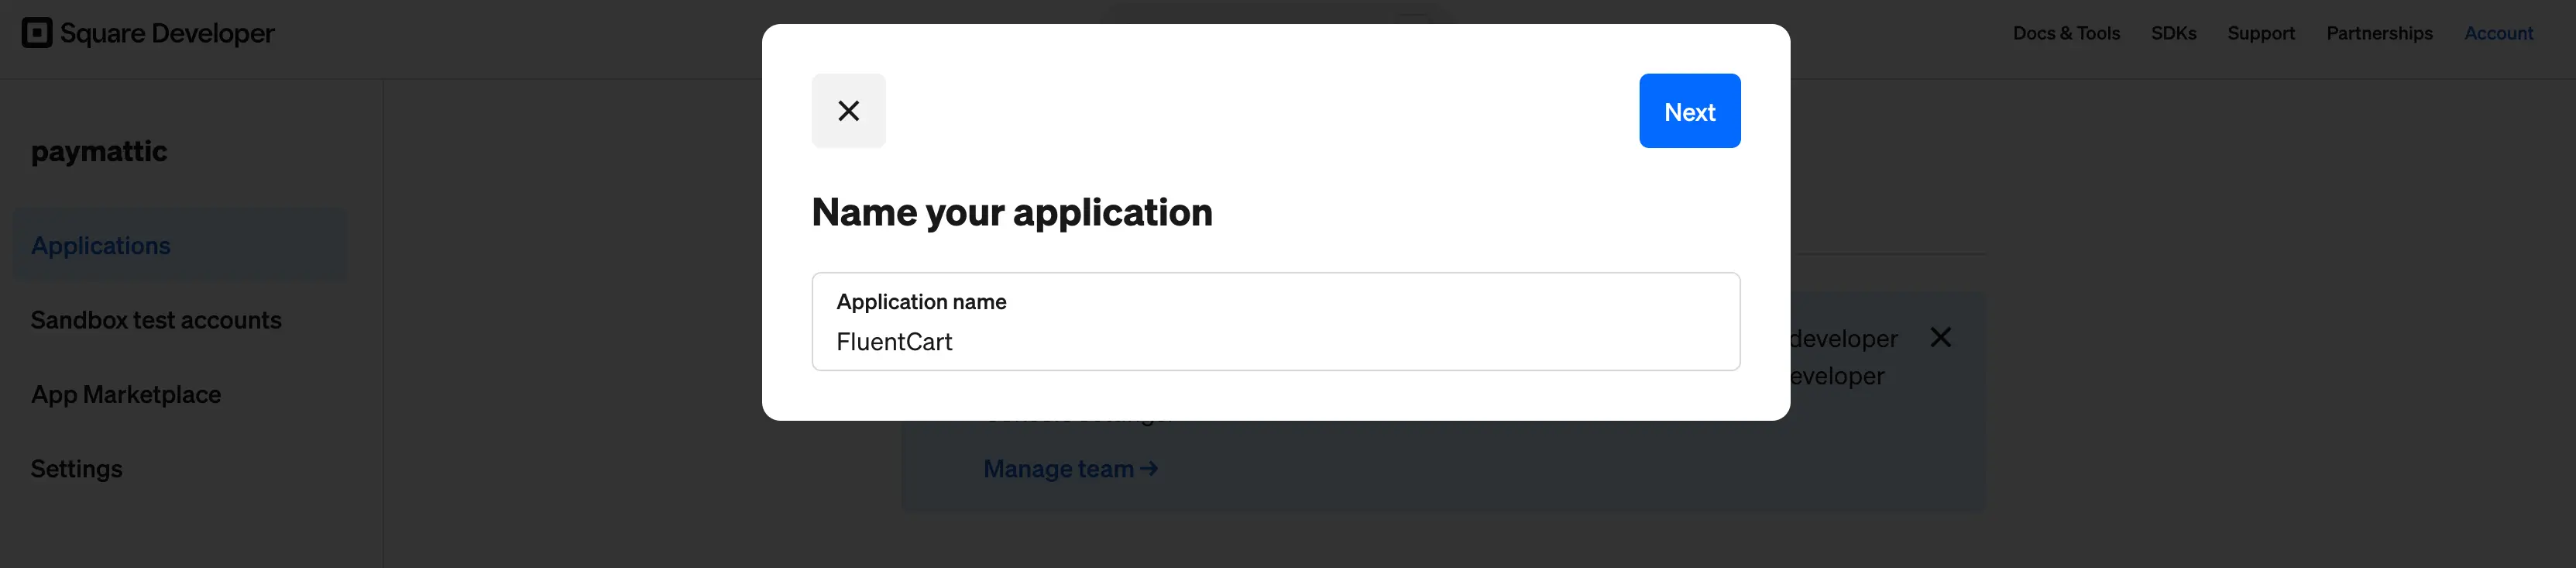
- On the Applications page, click the + (plus) card to create a new application.
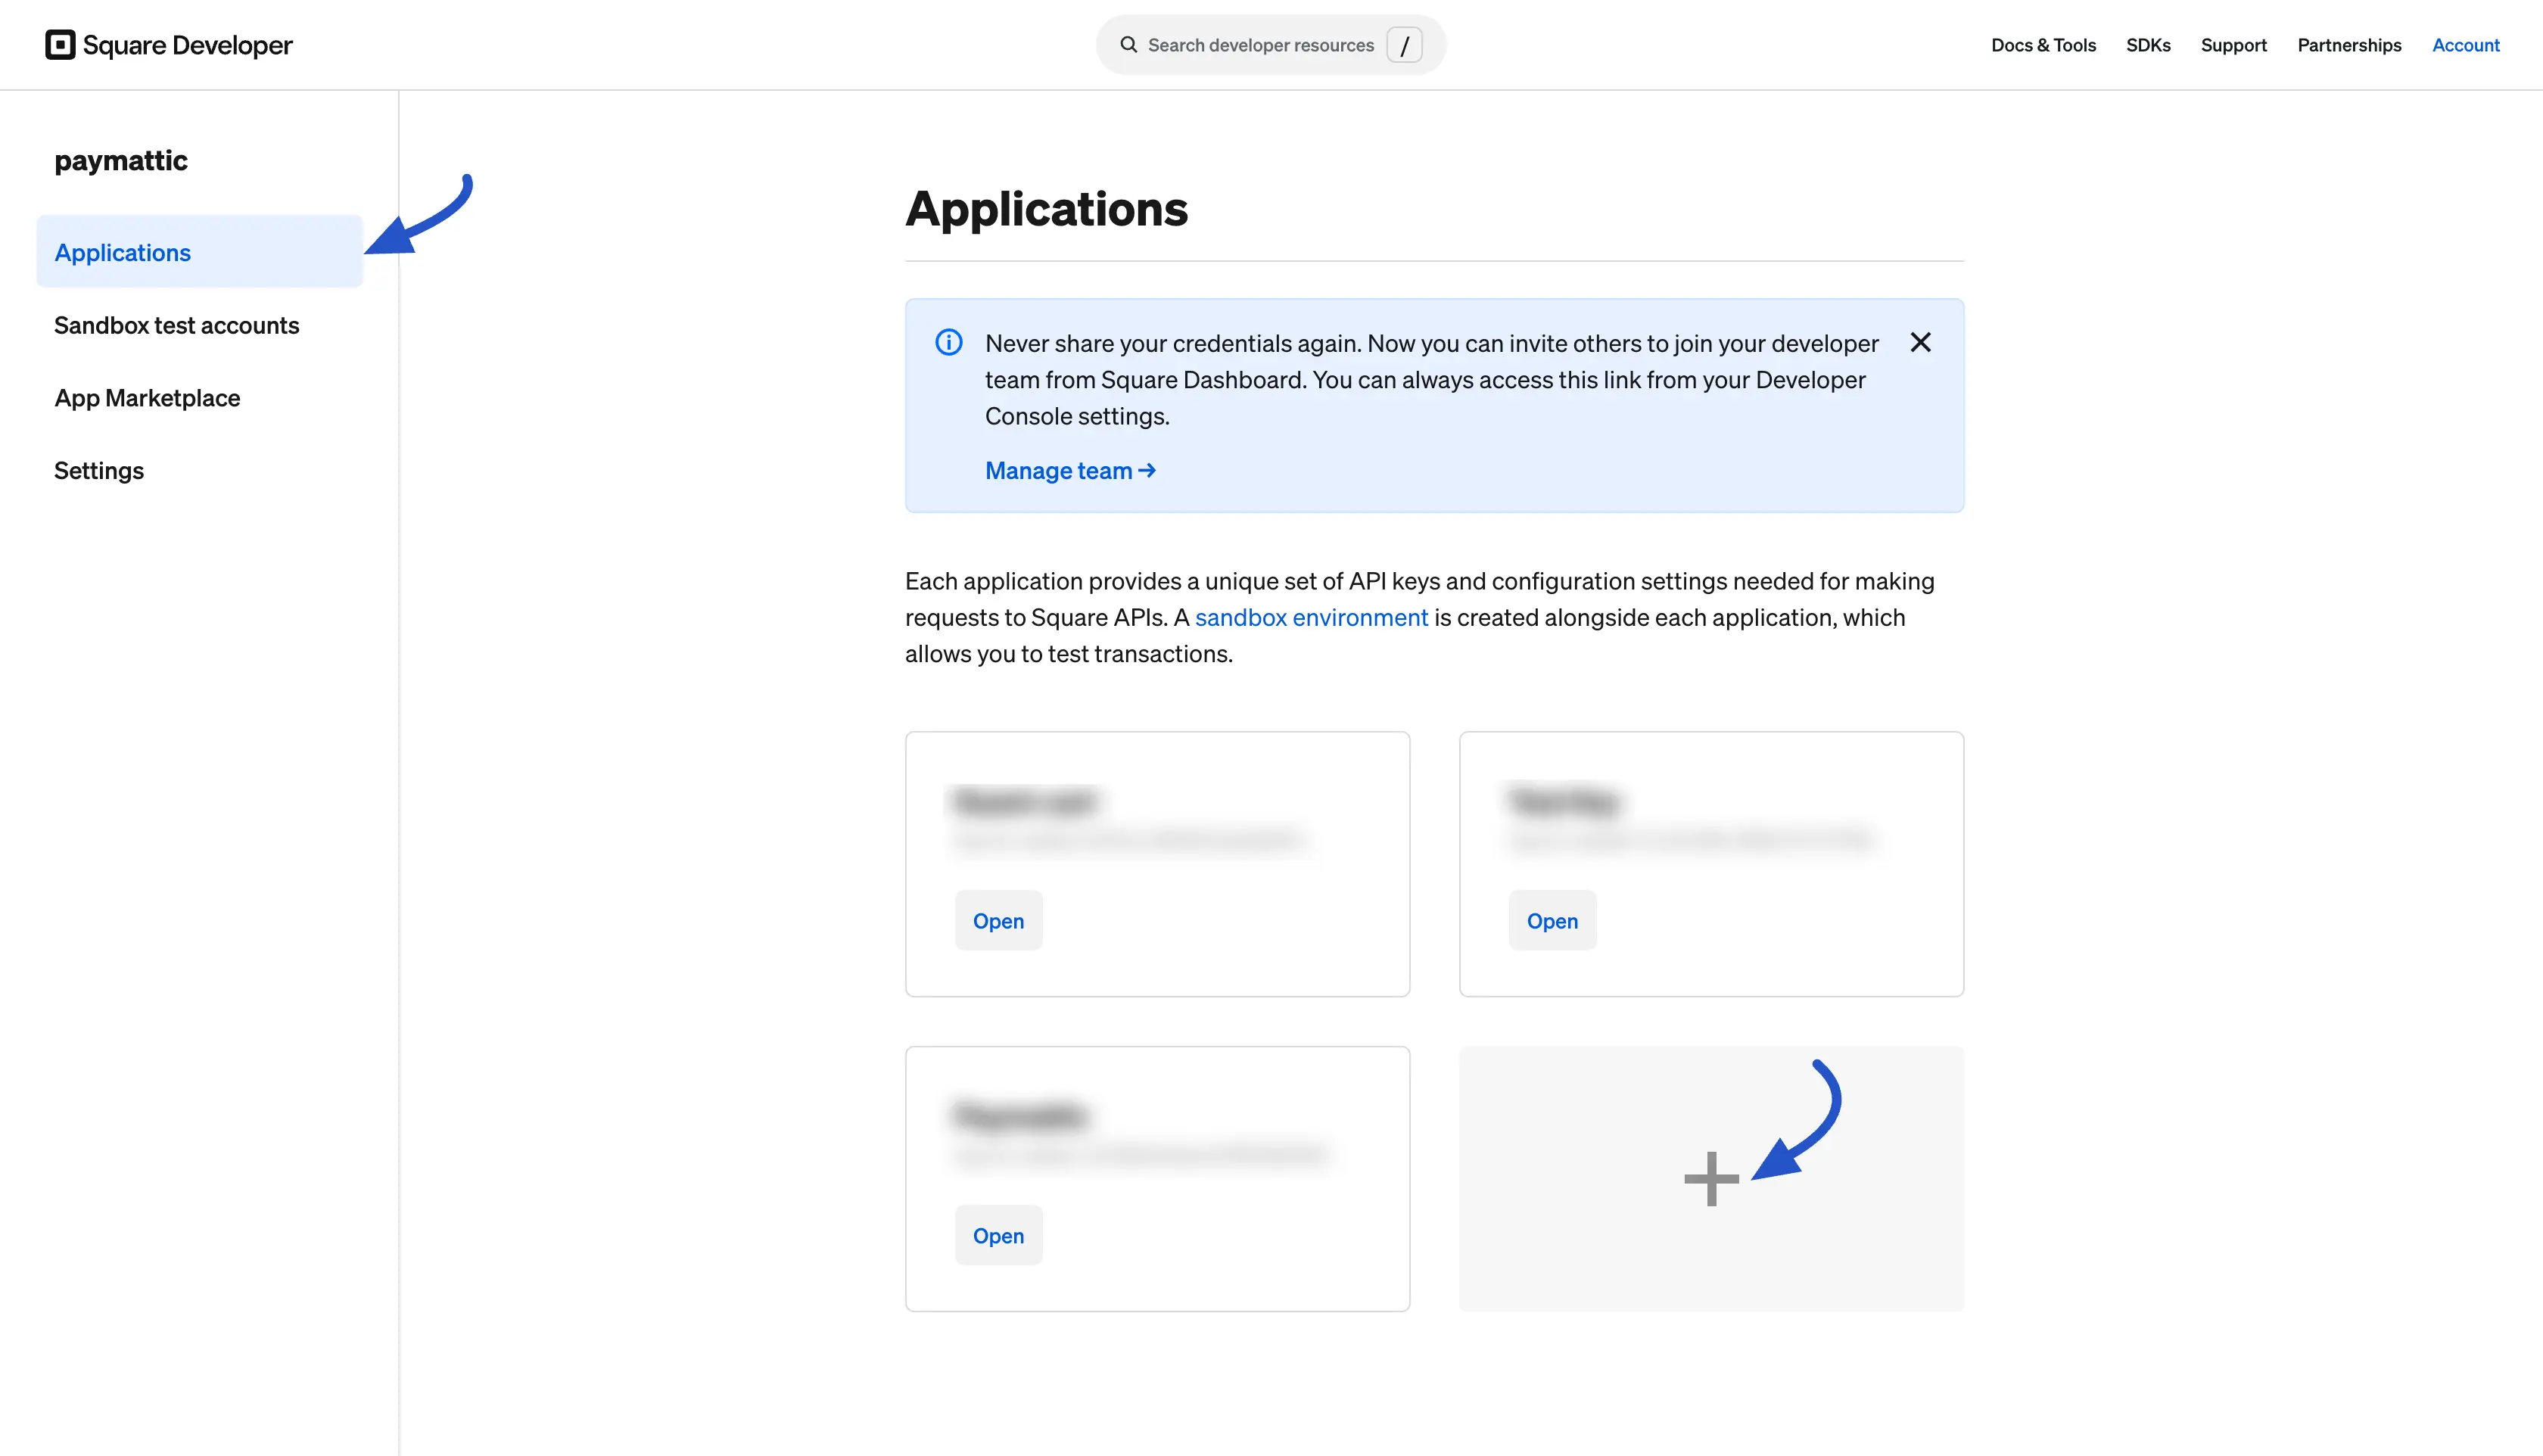
- A modal titled Name your application will appear. Type a name for your application (e.g.,
FluentCart) and click Next. Follow the remaining prompts as per your requirements to finish creating the application.
Step 3: Get Your API Credentials from Square
Once your application is created, you can grab the credentials FluentCart needs.
- Open your newly created application from the Square Developer Dashboard.
- Make sure the Sandbox toggle at the top is selected (you will switch to Production later when going live).
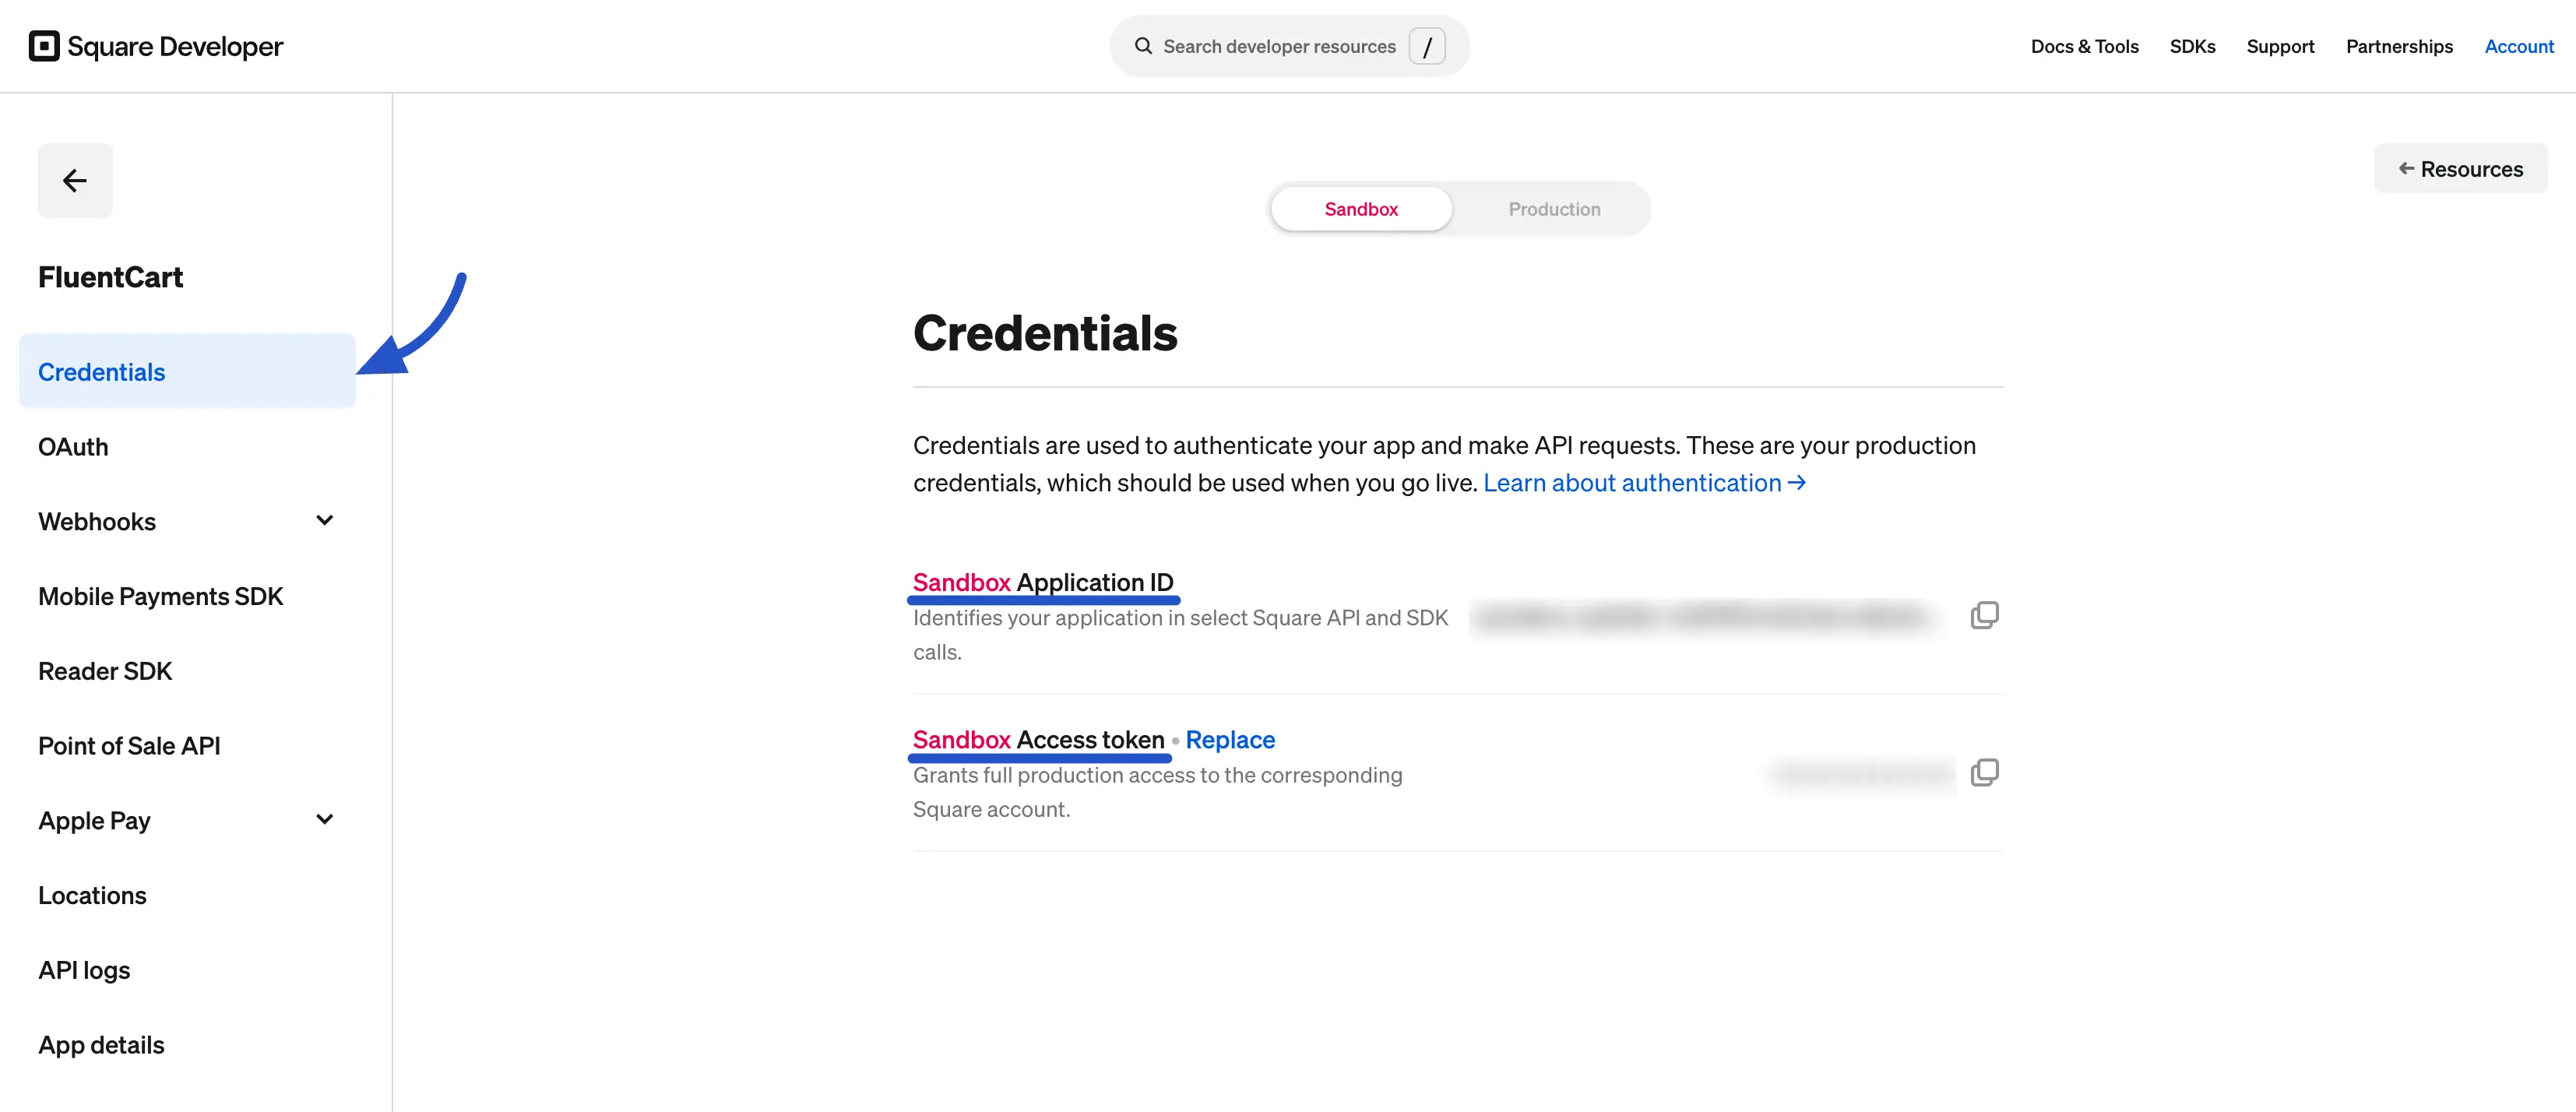
- From the left sidebar, click Credentials.
- On this page you will see two values. Click the Copy icon next to each:
- Sandbox Application ID - paste this into the Test Application ID field in FluentCart.
- Sandbox Access token - click Replace if needed, then paste this into the Test Access Token field in FluentCart.
Info: Test Mode vs. Live Mode The Sandbox credentials let you test transactions without using real money. When you are ready to go live, repeat these steps from the Production tab and paste the values into the Live credentials tab in FluentCart.
Get Your Location ID
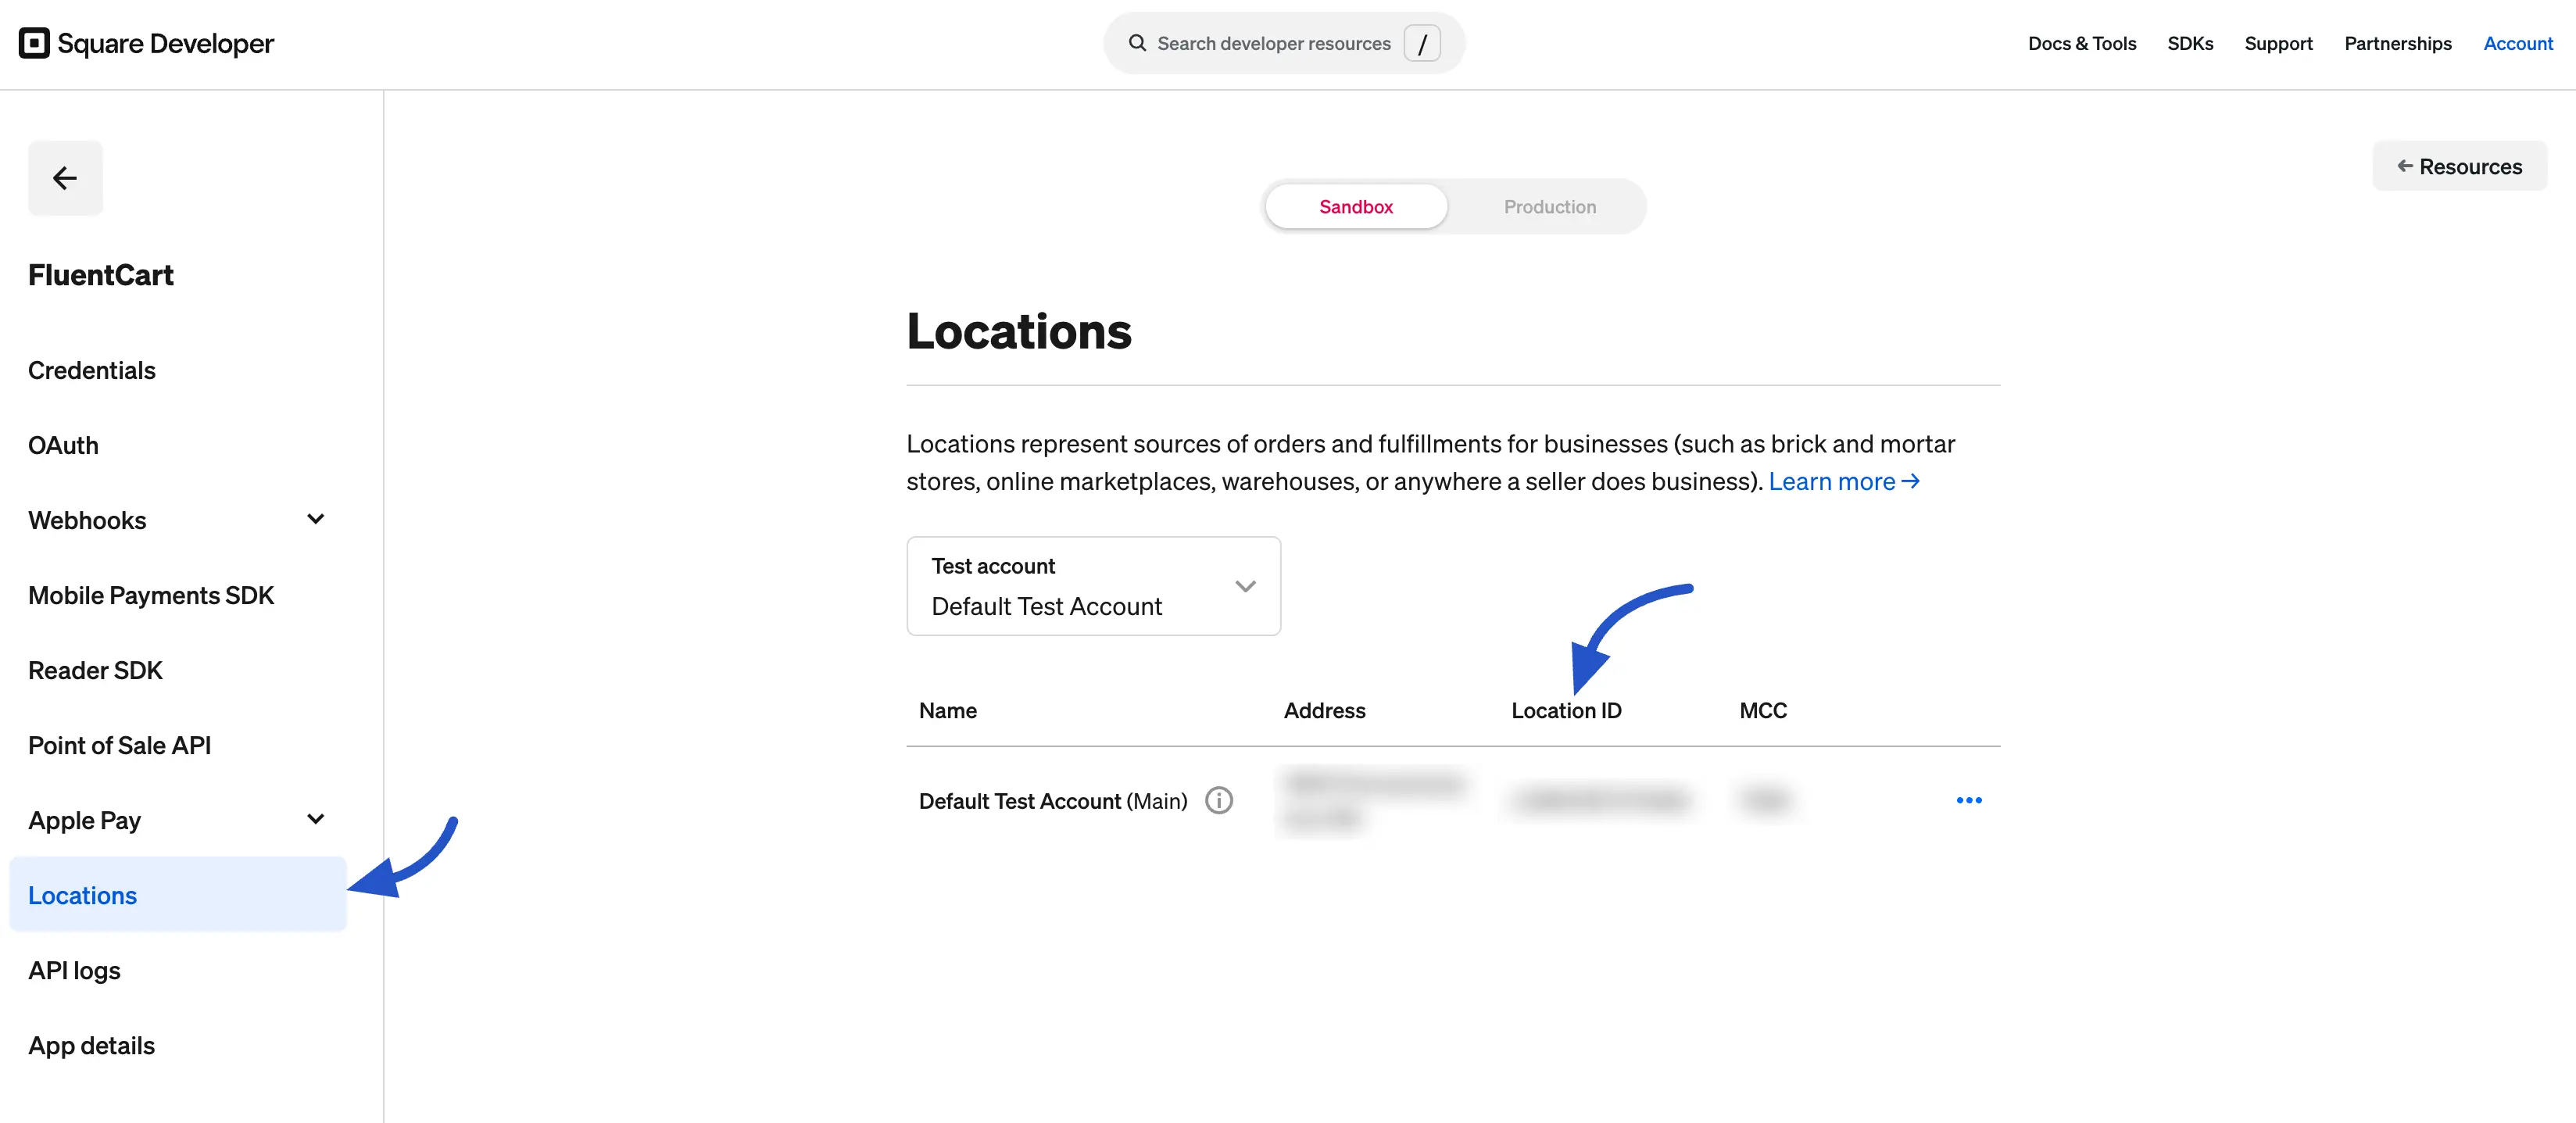
Square uses Locations to represent the source of your orders.
- Still inside your application, click Locations from the left sidebar.
- Find your Default Test Account (Main) in the list.
- Copy the value under the Location ID column.
- Paste it into the Test Location ID field in FluentCart.
Step 4: Set Up the Webhook in Square
Webhooks are essential for Square to send real-time updates to FluentCart, such as confirming successful payments, processing refunds, and handling subscription renewals.
- Go back to your FluentCart Square Settings page and copy the Webhook URL shown at the bottom of the form.
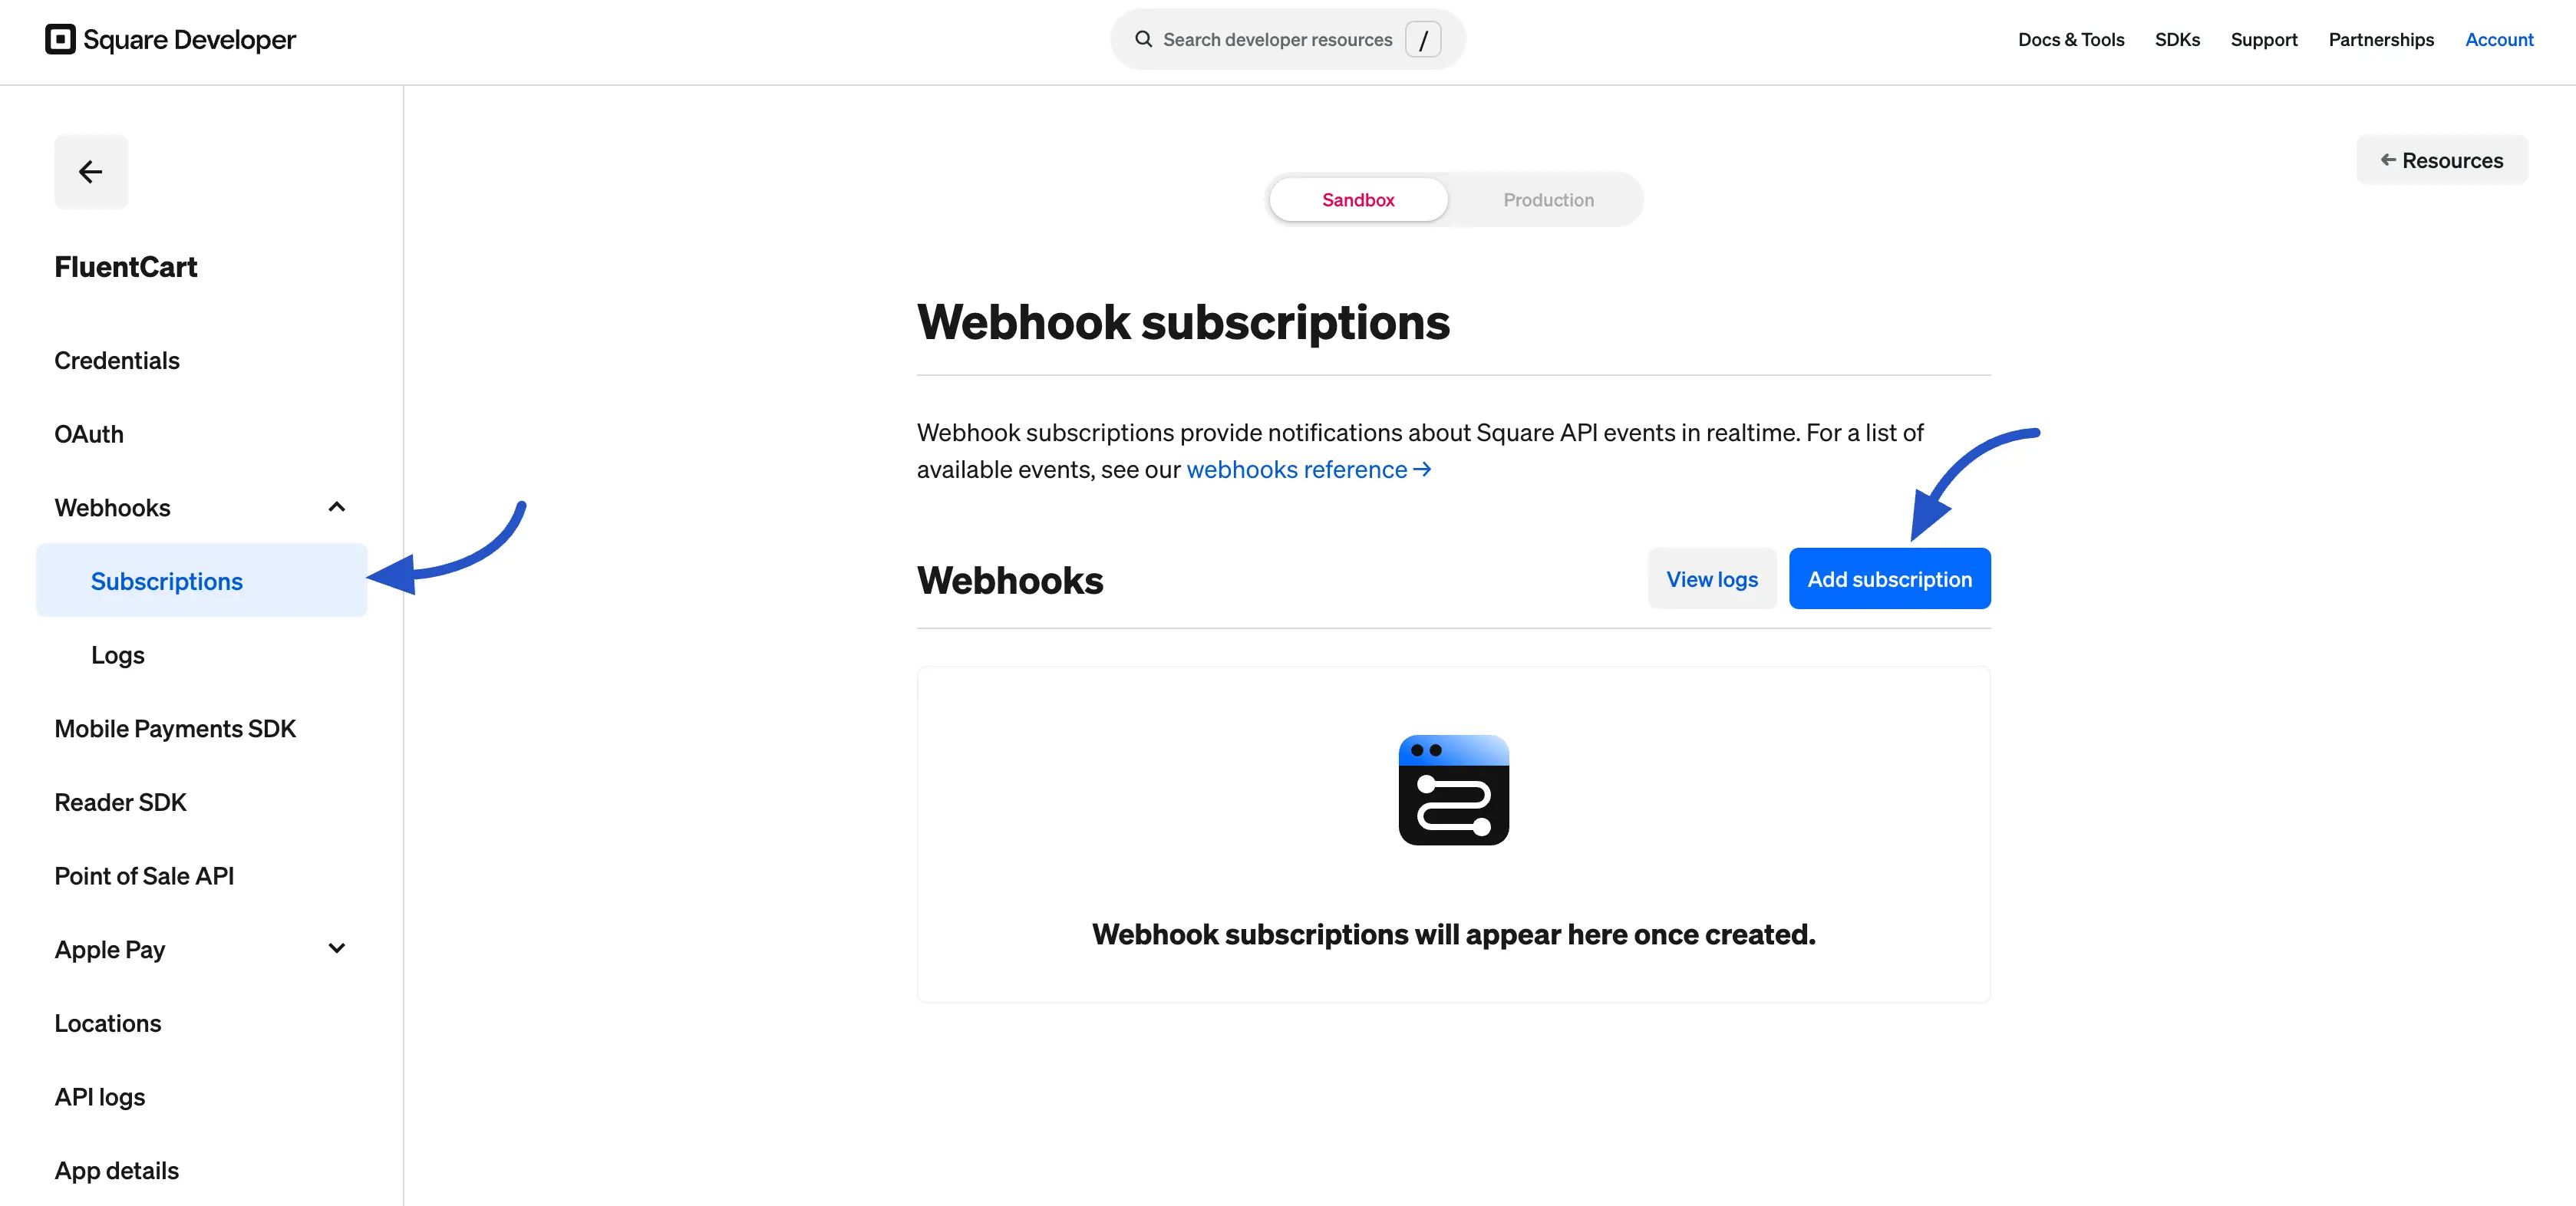
- In your Square Developer Dashboard, expand Webhooks in the left sidebar and click Subscriptions.
- Click the Add subscription button on the right side of the page.
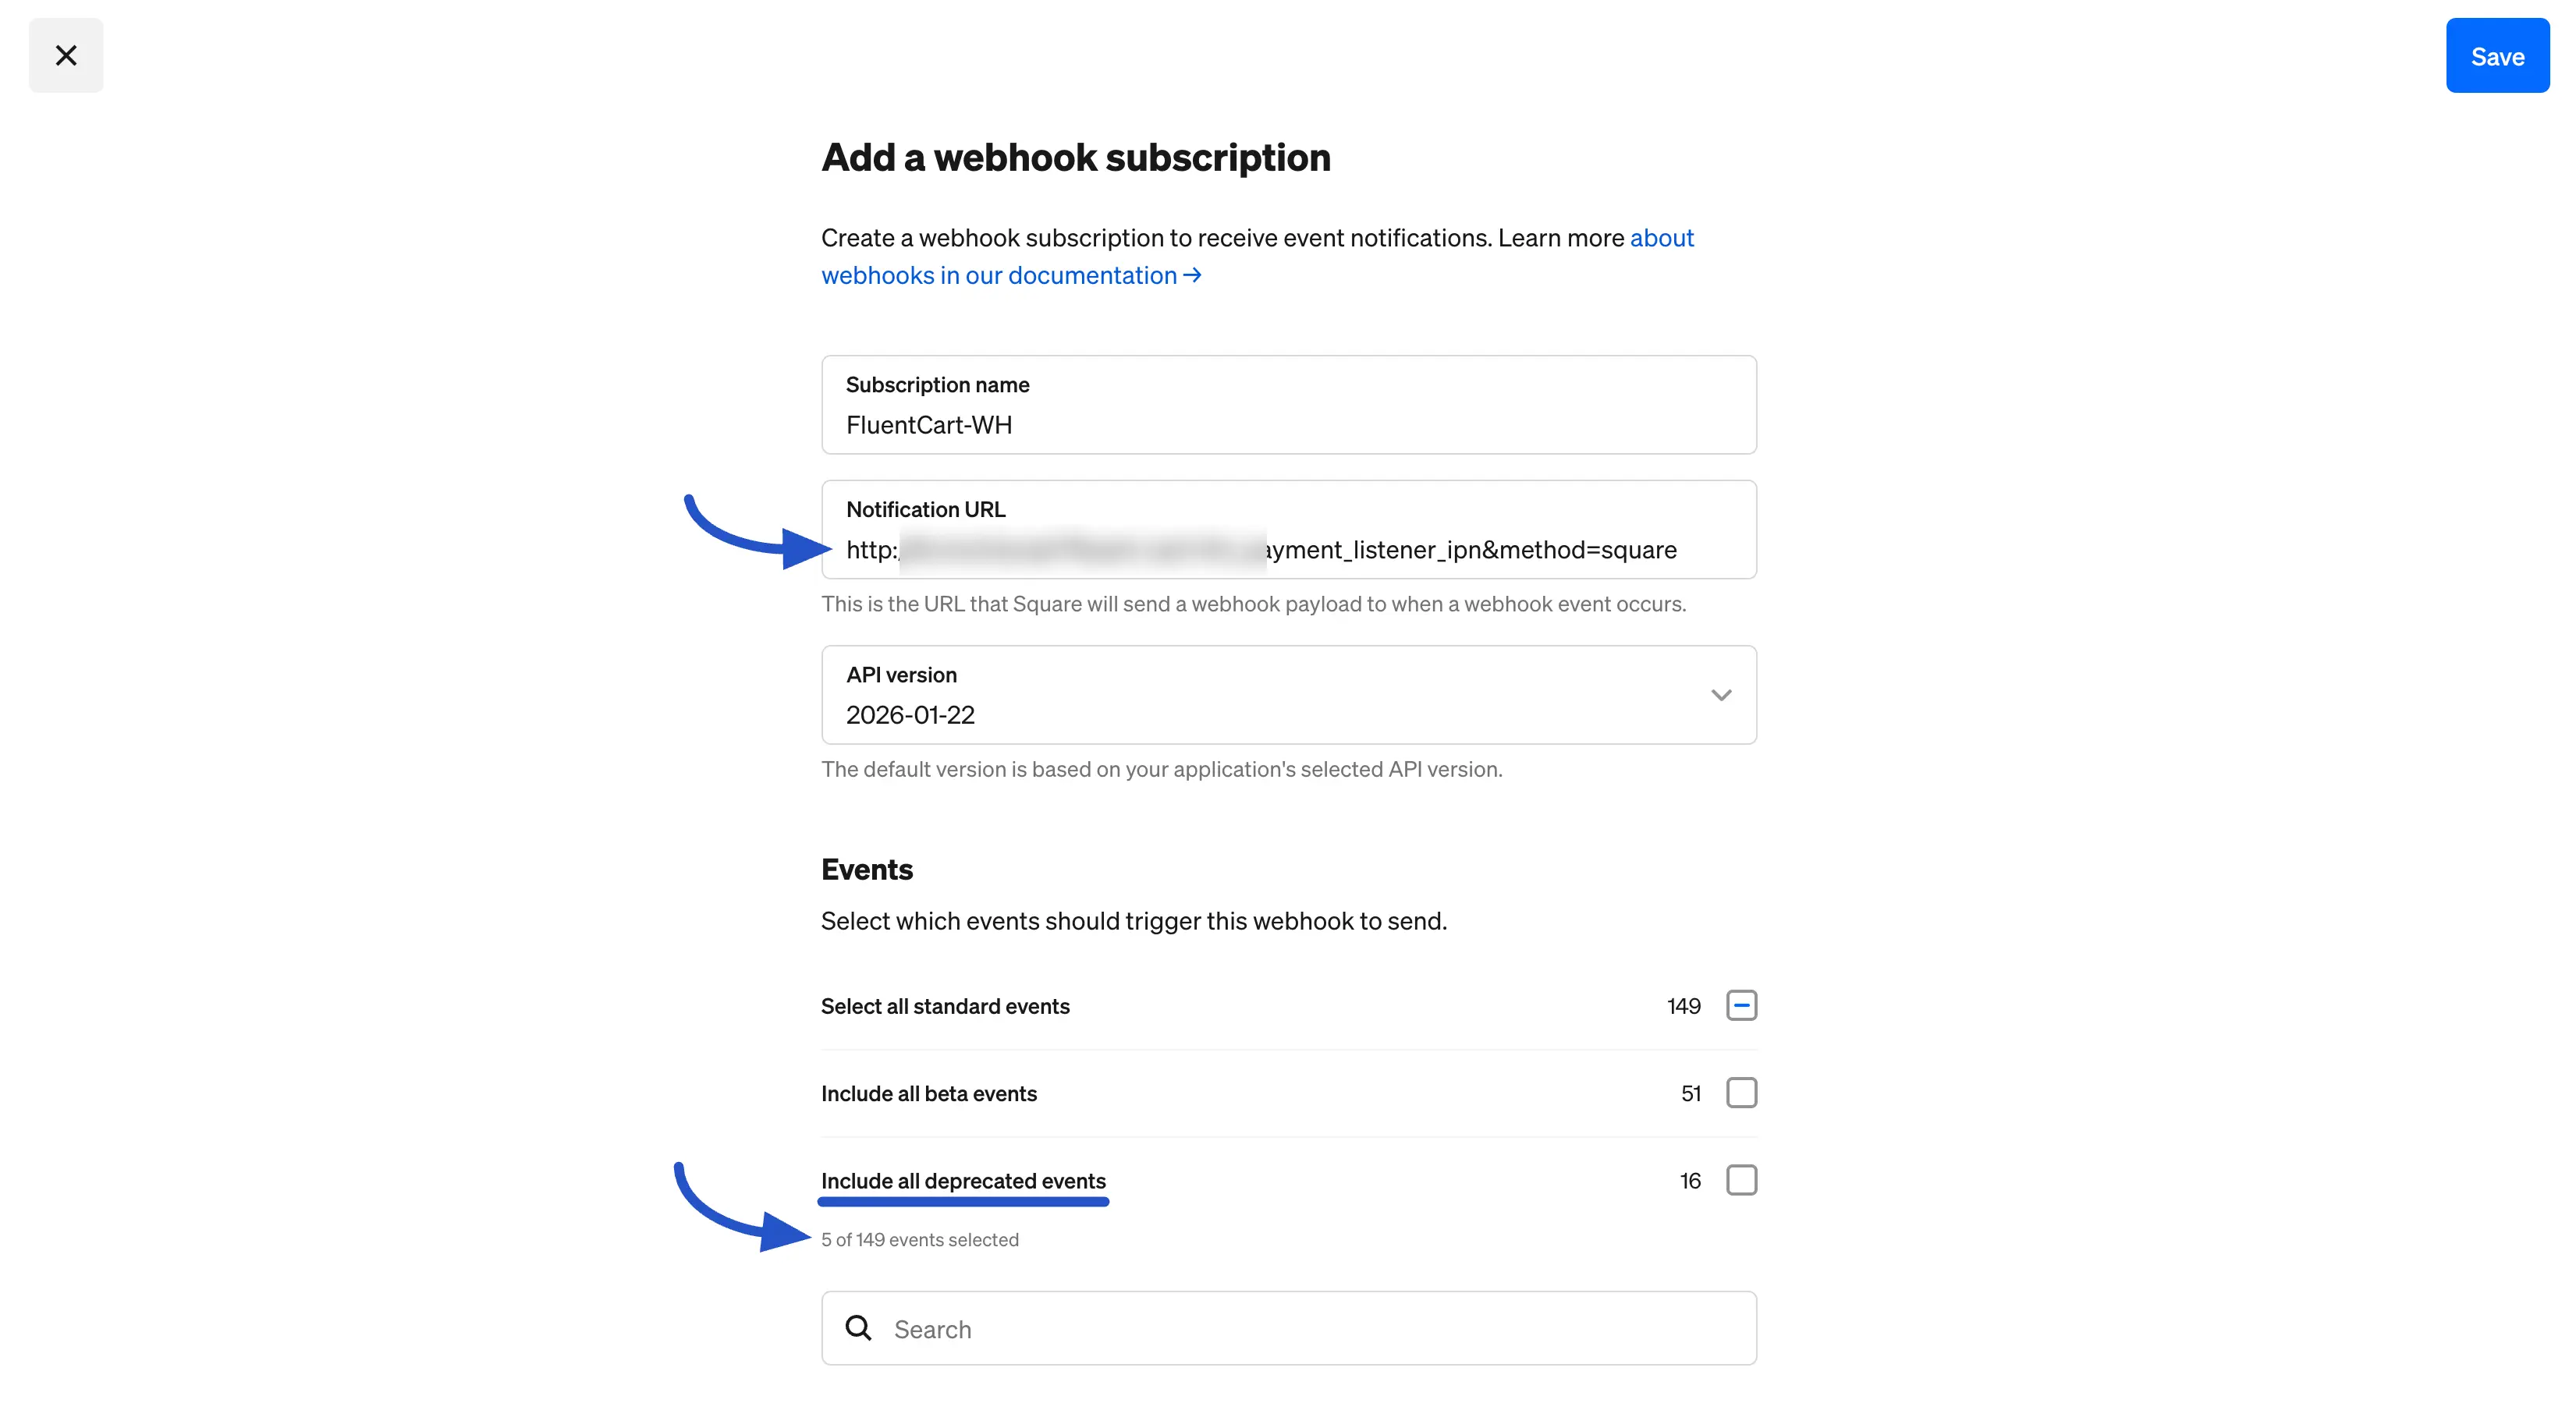
- In the Add a webhook subscription form, fill in the following:
- Subscription name: Give it a recognizable name like
FluentCart-WH. - Notification URL: Paste the Webhook URL you copied from FluentCart.
- API version: Leave this set to the default (latest) version.
- Subscription name: Give it a recognizable name like
- Under the Events section, search for and select the following 5 events that FluentCart needs:
payment.updatedrefund.updatedsubscription.updatedinvoice.payment_madeinvoice.scheduled_charge_failed
- Click Save at the top right to create the subscription.
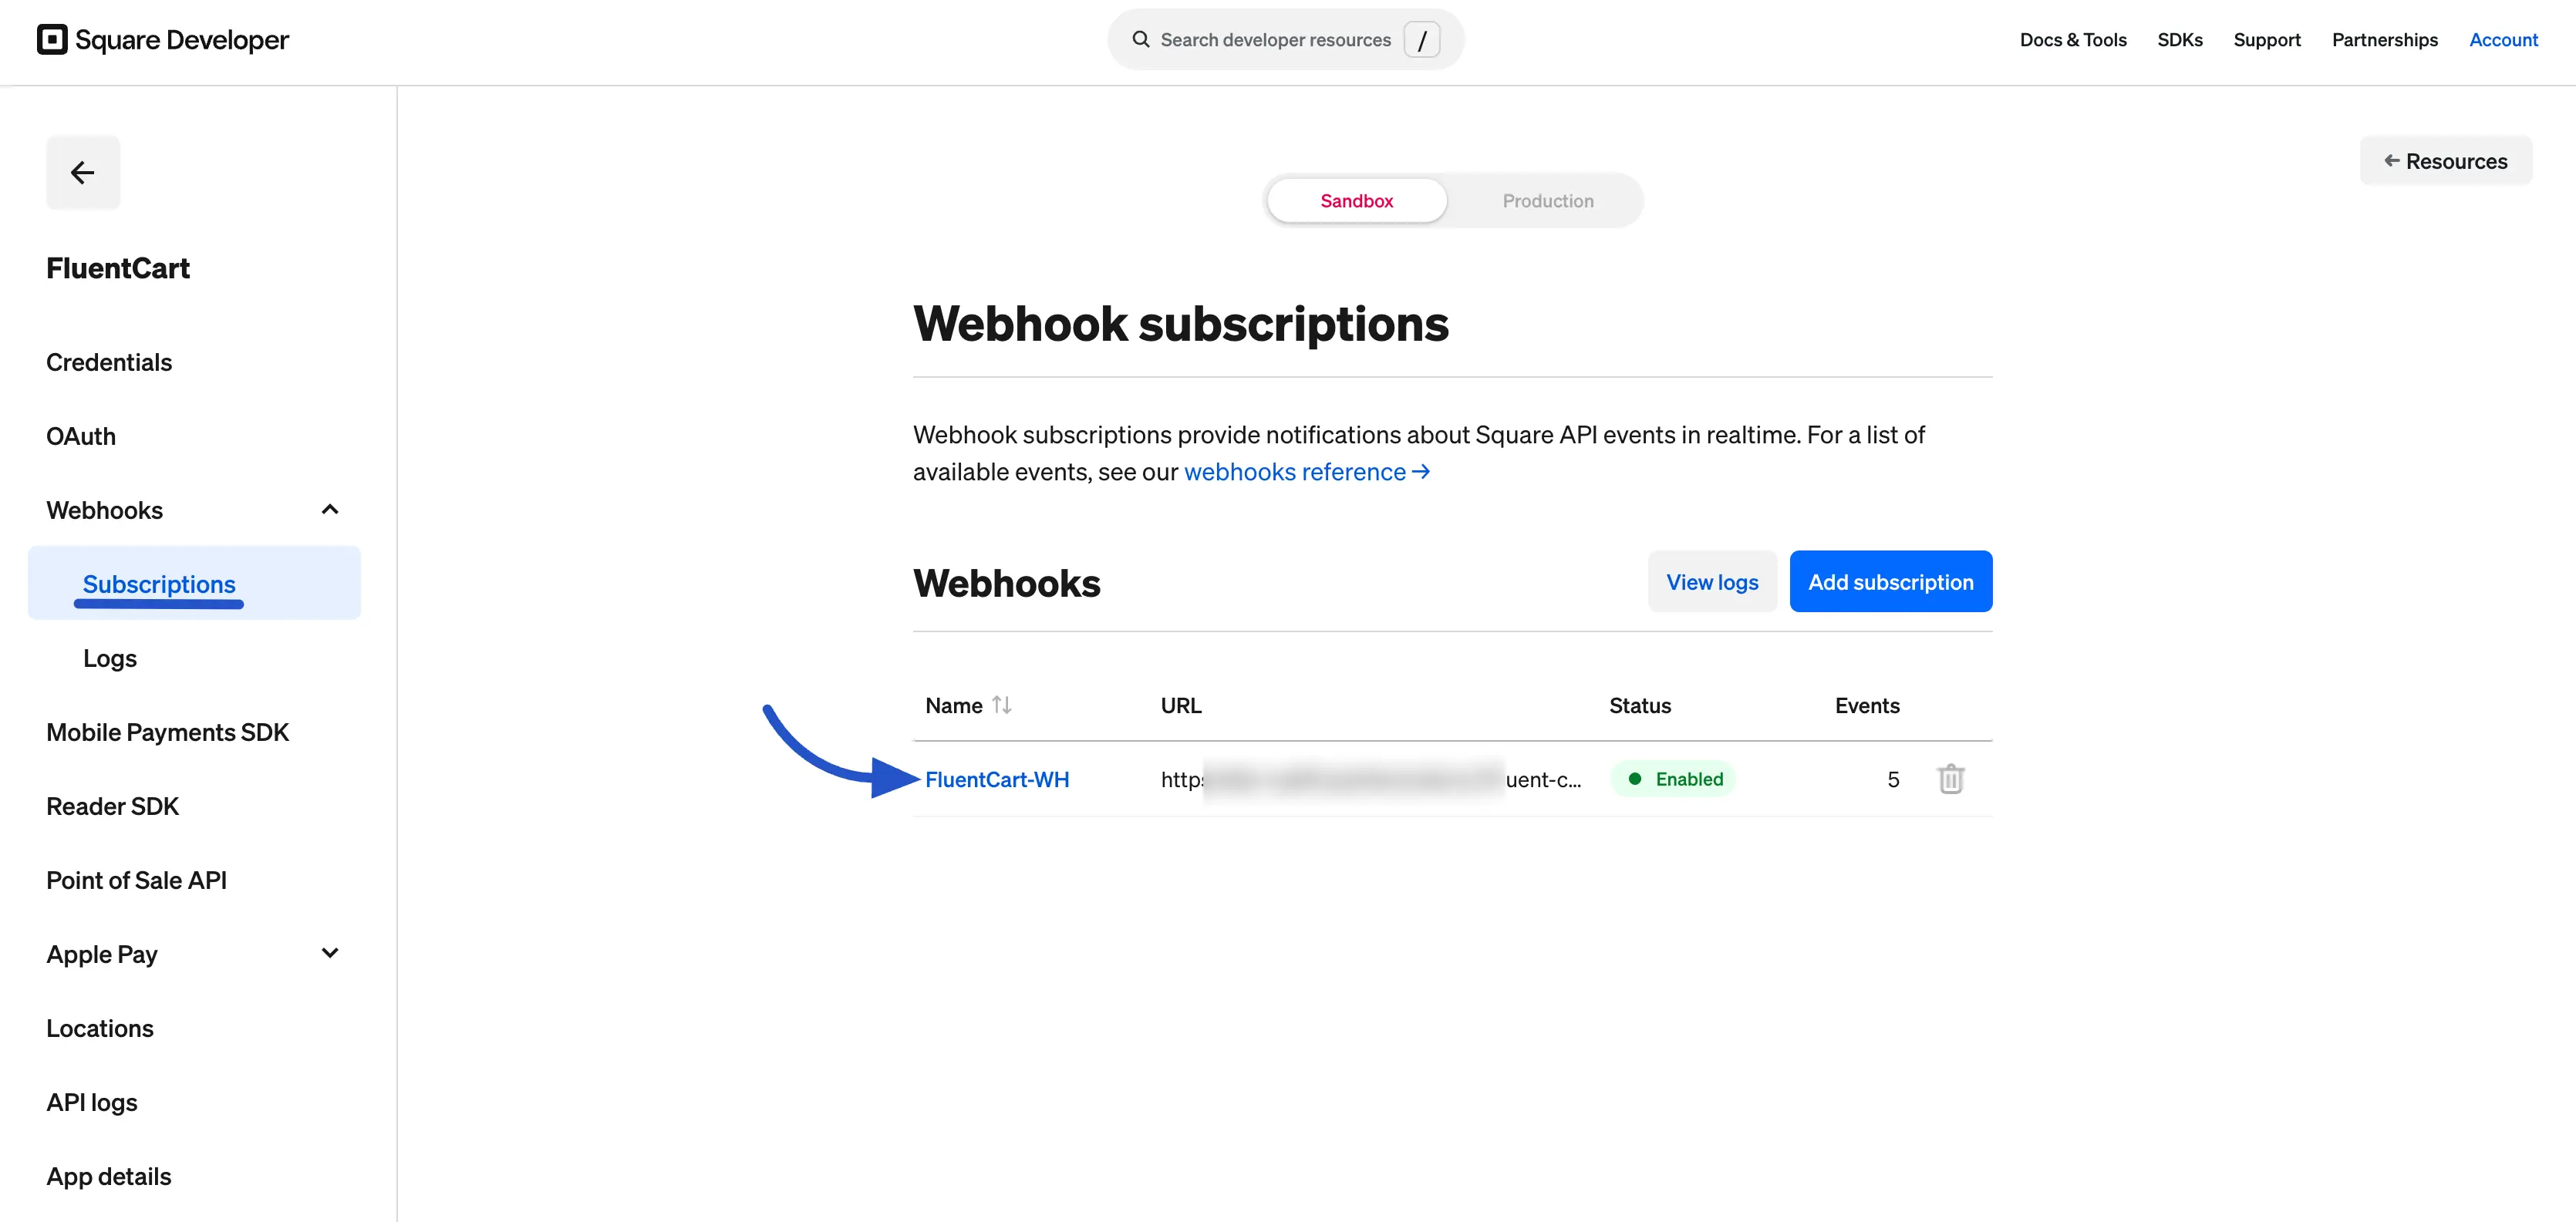
Once saved, your new webhook will appear in the Webhooks list with the Enabled status and 5 events selected.
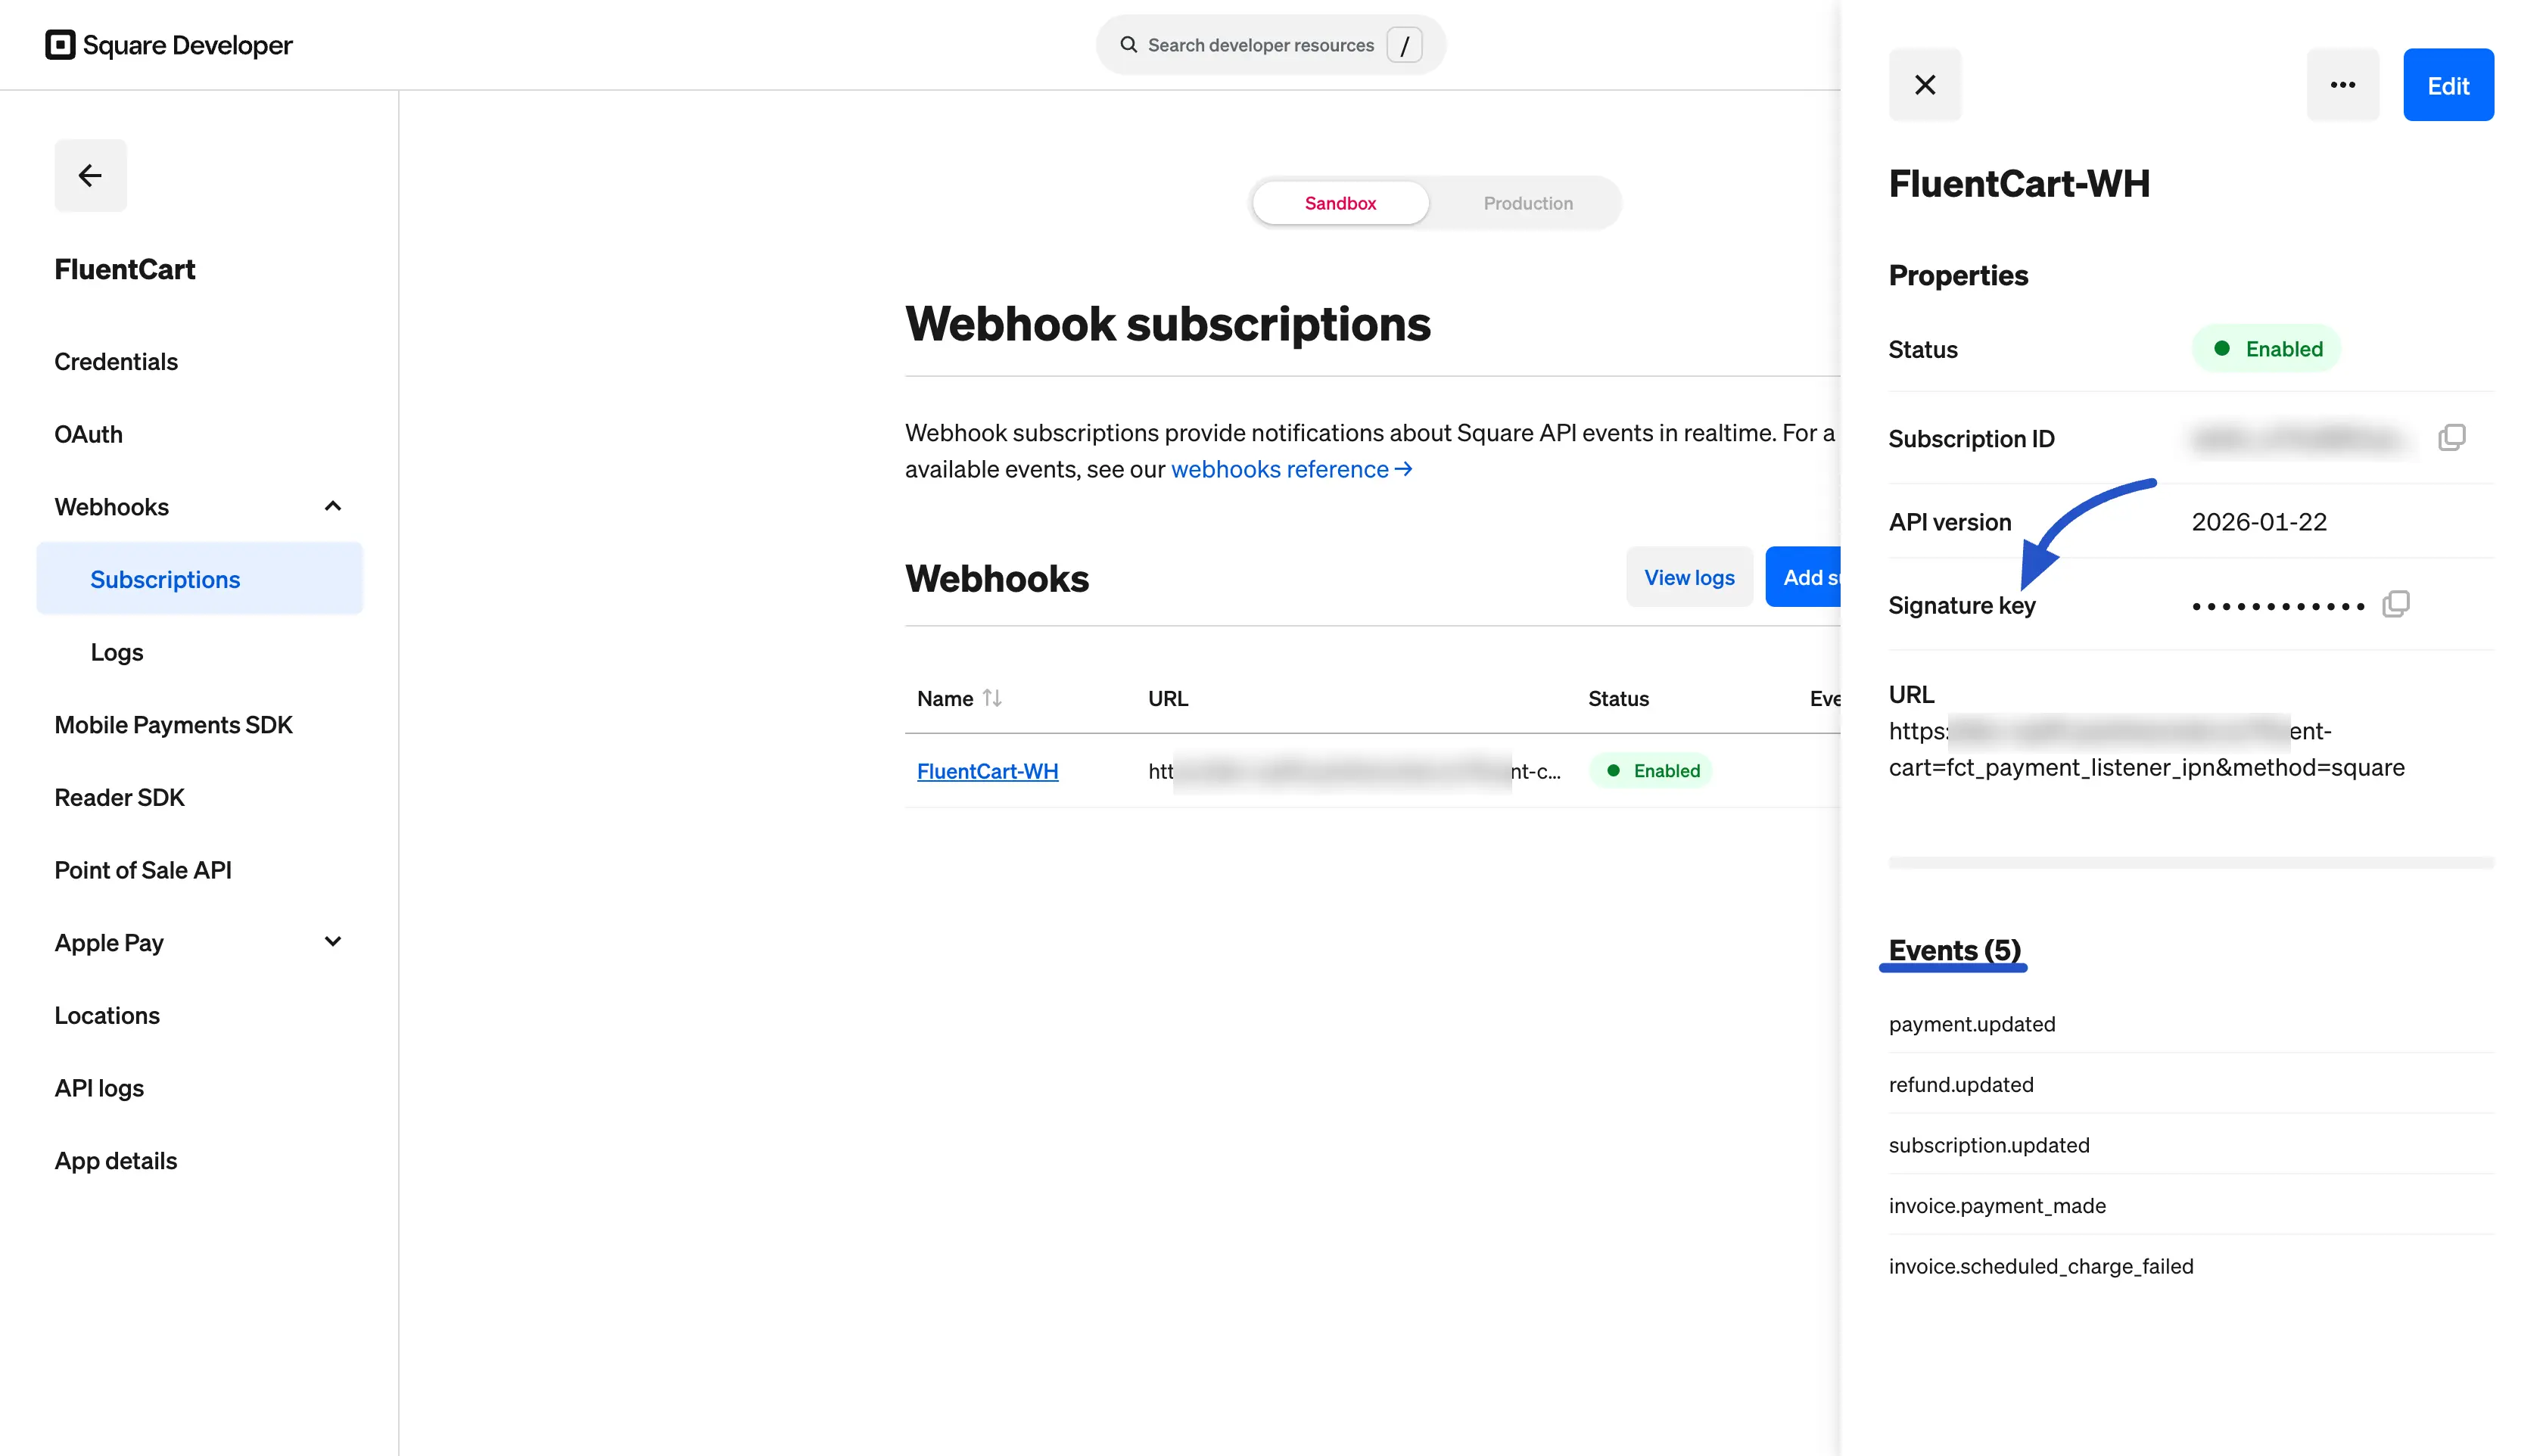
Copy the Signature Key
Now you need to grab the Signature Key that secures the webhook communication.
- Click the FluentCart-WH webhook entry from the list to open its details panel on the right.
- Locate the Signature key field and click the Copy icon next to it.
- Paste the value into the Test Webhook Signature Key field in FluentCart.
Step 5: Activate Payment and Save Settings
Now that you have all four credentials in place, it's time to activate the gateway.
- Go back to your FluentCart Square Settings page.
- Make sure all the fields under Test credentials are filled in:
- Test Application ID
- Test Access Token
- Test Location ID
- Test Webhook Signature Key
- Switch the Payment Activation toggle at the top right to ON. This makes Square available as a payment option at checkout.
- Click the Save Settings button at the bottom of the page.

Your Square integration is now complete and running in Test Mode. We recommend running a test transaction with a Square test card to make sure everything is working correctly.
Step 6: Go Live with Real Payments
When you're ready to start accepting real payments, follow these simple steps to switch from Test to Live mode:
- In your Square Developer Dashboard, switch the toggle from Sandbox to Production at the top of your application.
- Repeat Step 3 and Step 4 to collect your Production Application ID, Production Access Token, Production Location ID, and Production Webhook Signature Key.
- Return to your FluentCart Square Settings page and click the Live credentials tab.
- Paste the production credentials into their matching fields and click Save Settings.
- Finally, make sure your store's main Order Mode is set to Live under FluentCart Pro > Settings > Store Settings.
Your Square integration is now live and ready to securely process payments for your store.
Note
Square Wallet payment support (Apple Pay, Google Pay, Cash App Pay) is disabled at the moment and will be available soon. Card payments and recurring subscriptions are fully supported.