Appearance
Invoice & Packing Settings
The Invoice & Packing section in FluentCart allows you to customize the templates for various printable documents essential for order fulfillment. This enables you to create branded and consistent documents, such as invoices and packing slips, that accompany your products.
INFO
Please note that the templates on this page are marked as being under active development, so their functionality may evolve.
Step 1: Navigate to Invoice & Packing Settings
To begin customizing your documents, you first need to access the correct settings page.
- From your WordPress dashboard, navigate to FluentCart Pro > Settings.
- Click on the Invoice & Packing tab from the left-hand menu.
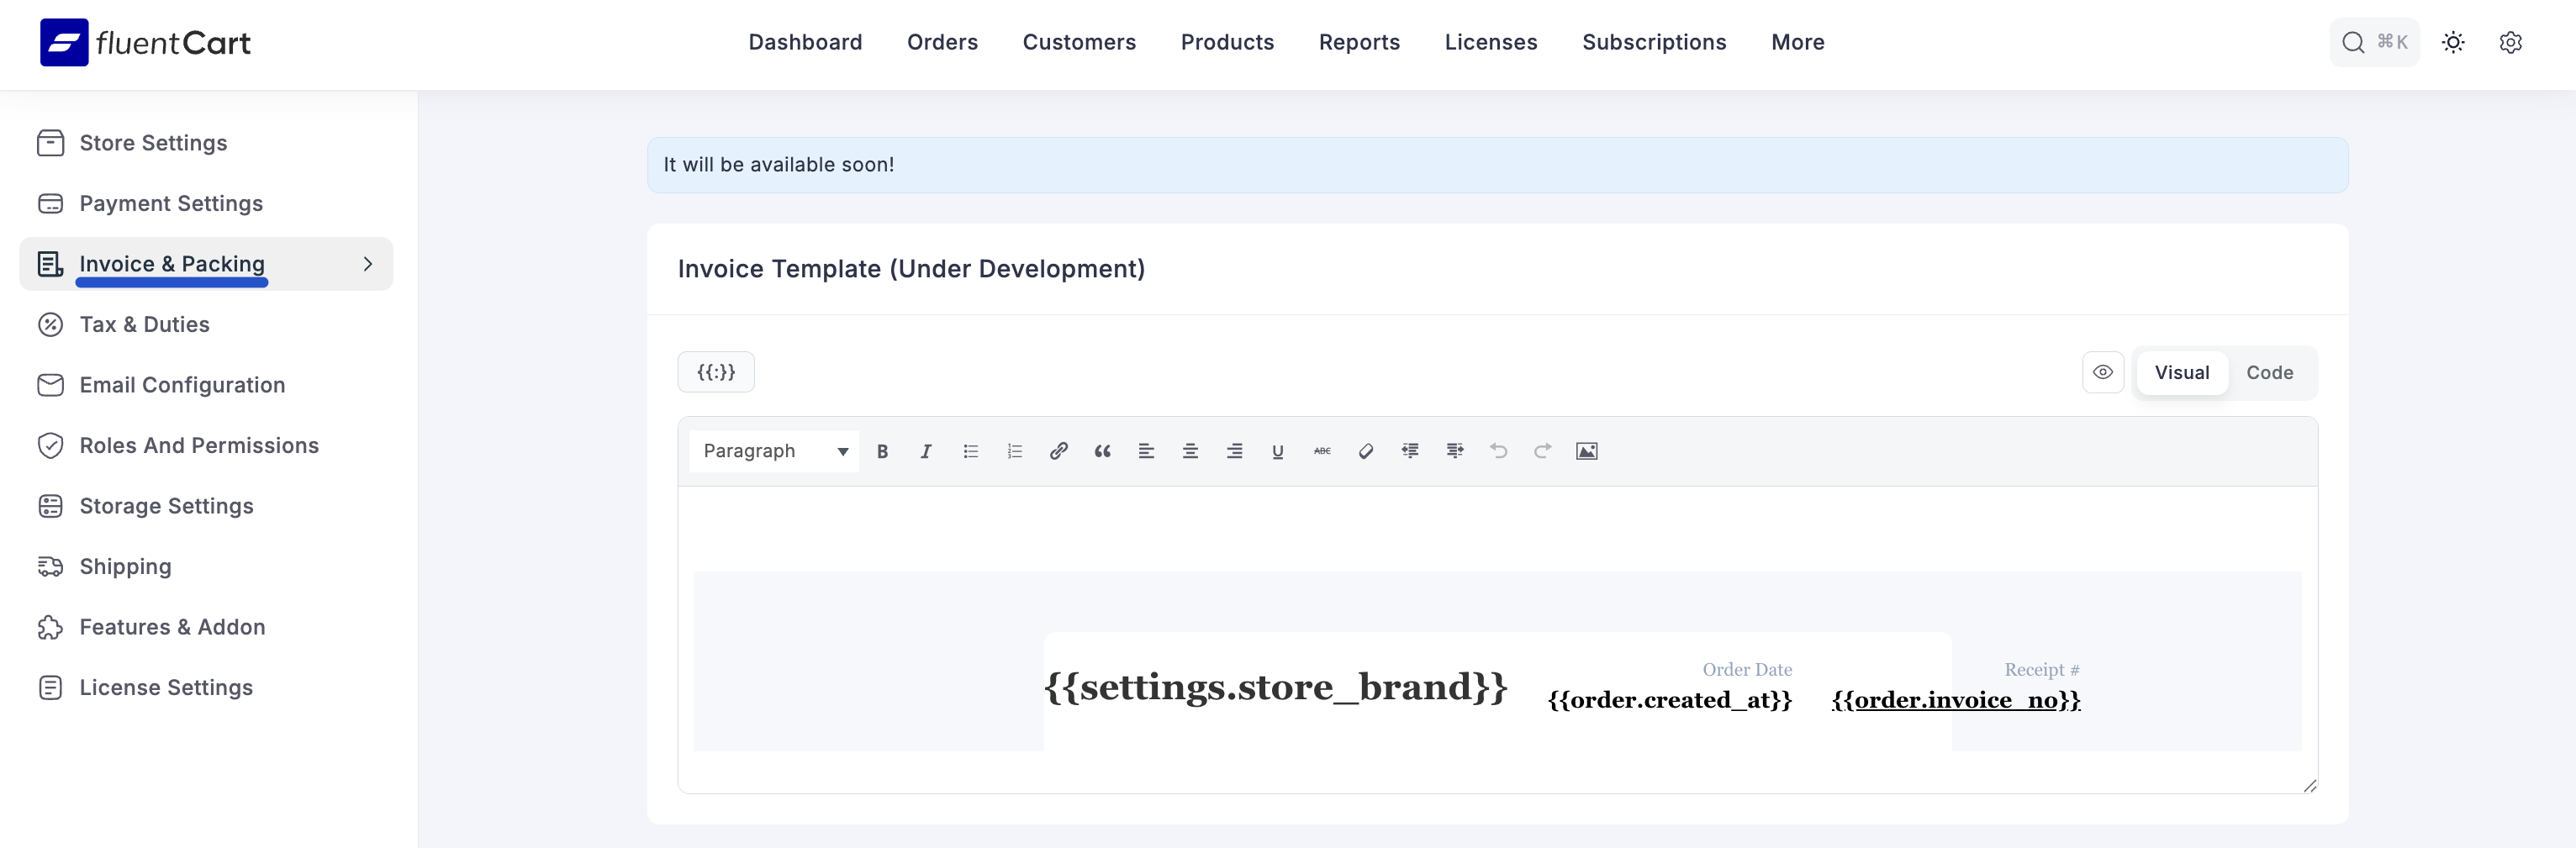
Step 2: Understand the Available Templates
On this page, you will find a series of editors for different types of fulfillment documents. While the customization process is the same for all, each serves a unique purpose:
- Invoice Template: The official bill for the customer, detailing the products purchased and the total cost.
- Packing Slip Template: A list of all items included in a shipment, typically placed inside the package for the customer to verify the contents.
- Delivery Slip Template: A document that accompanies the shipment, often used by the courier and customer as proof of delivery.
- Shipping Slip Template: Contains shipping information and is often used as a simplified address label.
- Dispatch Slip Template: An internal document used by your team to confirm that an order has been picked, packed, and sent out for delivery.
Step 3: Customize a Template
The customization process is identical for each of the five templates. Select the template you wish to edit and use the provided tools.
Direct Editing: You can directly type in the editor to add custom messages, format text, or adjust the layout.
Advanced Editing: For precise control, you can switch between the Visual editor and the Code editor to work directly with the template's HTML.
Using Shortcodes: To automatically include order-specific details like customer names, addresses, or order IDs, use shortcodes.
- Place your cursor in the editor where you want the information to appear.
- Click the Add ShortCodes dropdown menu.
- Select the desired placeholder from the list to insert it into the template.

Step 4: Save Your Templates
After you have finished customizing your templates, you must save your changes.
Scroll to the bottom of the page and click the Save Settings button. Your new layouts will now be used when generating these documents for future orders.
VAT Numbers on Generated PDFs
When a customer provides a VAT number at checkout, FluentCart automatically renders it inside the billing address block of generated PDF receipts (Order Receipt, Renewal Receipt, Refund Notice, and Invoice). You don't need to edit the template or add a custom shortcode — the VAT line appears under the customer's address only when a VAT number is present, so B2C receipts are unaffected.
This makes the documents compliance-ready for B2B customers in the EU, UK, and other VAT jurisdictions. See PDF Invoice Templates for the full PDF customization workflow.