Appearance
Mailing Settings
The Mailing Settings section is the central place for managing the global sender identity and email footer for all automated emails sent from your FluentCart store. Configuring these settings correctly ensures your emails look professional, reach your customers' inboxes, and stay compliant.
Accessing Mailing Settings
- From your WordPress dashboard, navigate to FluentCart Pro > Settings.
- Click on the Email Configuration tab. The Mailing Settings page opens by default.
Configuration Options
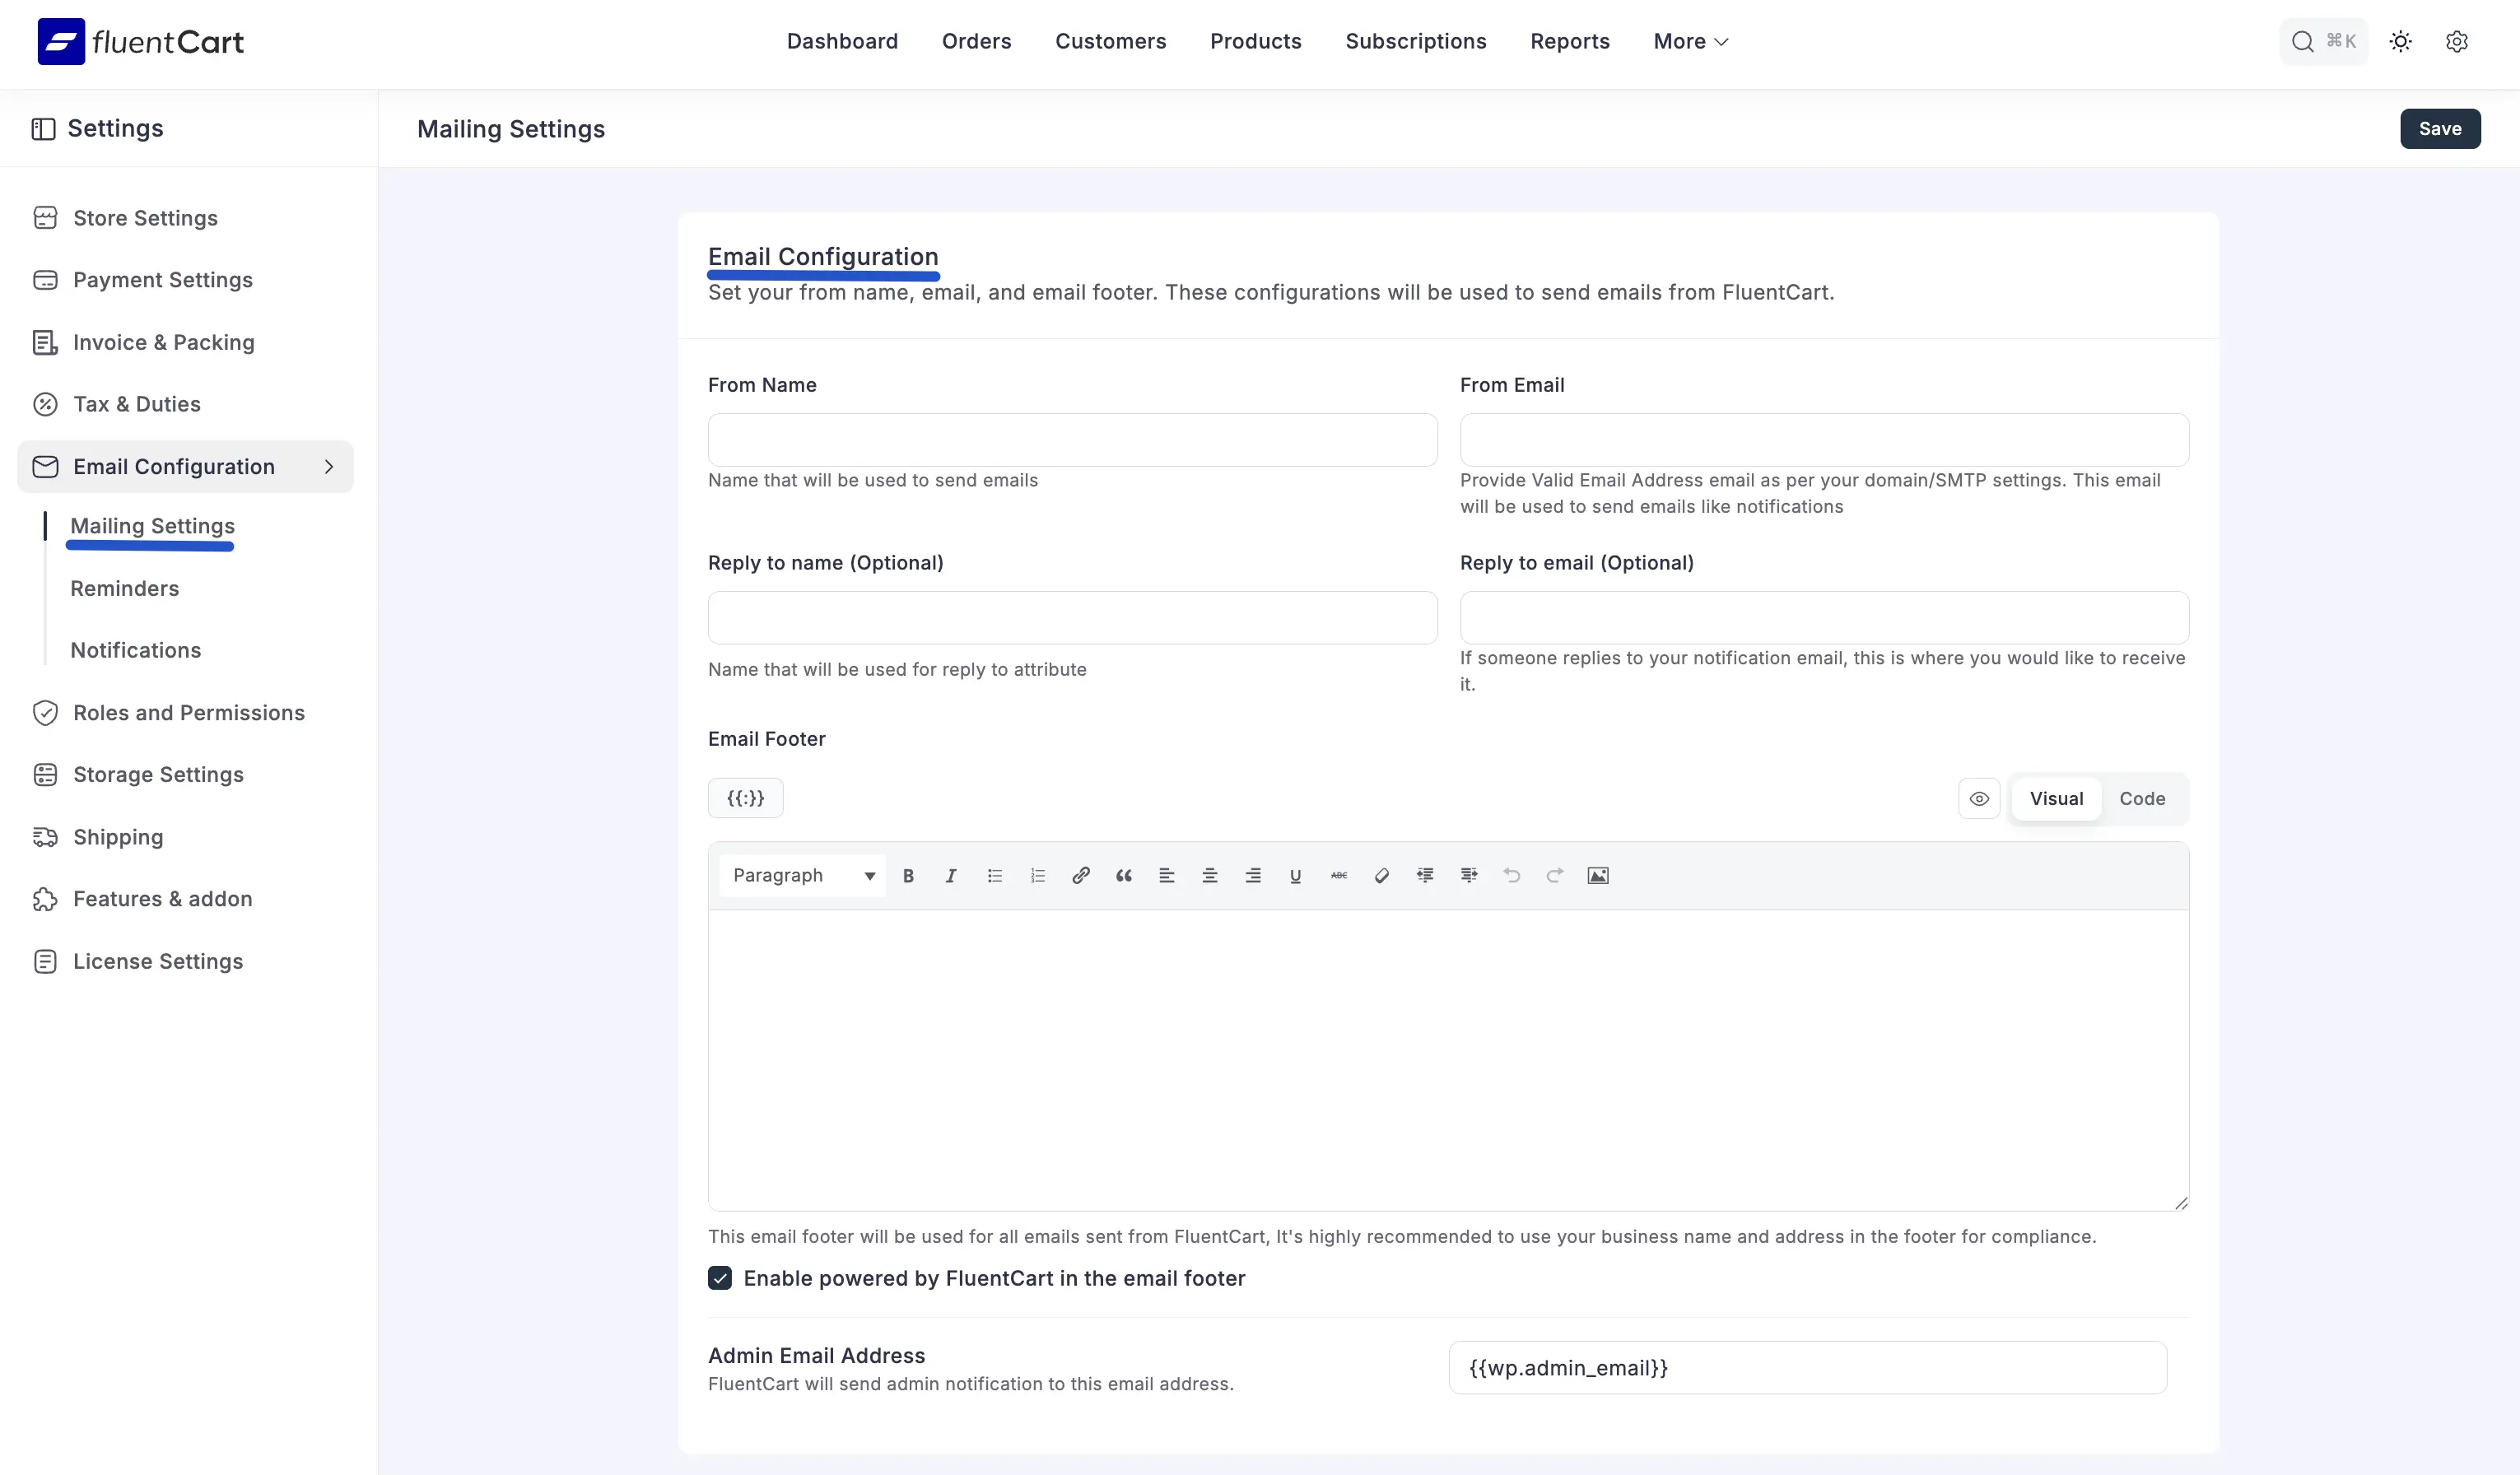
These settings apply globally to all emails sent from FluentCart, including order confirmations and notifications.
- From Name: The name your customers will see as the sender of all store emails. Use your store or brand name here.
- From Email: The email address that emails will be sent from. Make sure to use a valid email address that matches your domain or SMTP configuration — this directly affects whether your emails land in the inbox or spam folder.
- Reply to Name (Optional): If you want replies to be addressed to a different name than the sender, enter it here.
- Reply to Email (Optional): The email address where customer replies to your notification emails will be delivered. If left empty, replies will go to the From Email address.
- Email Footer: Use the rich text editor to compose a footer that will appear at the bottom of every email sent from your store. You can switch between Visual and Code views for advanced formatting, and use the shortcode icon
{;}to insert dynamic values. It is highly recommended to include your business name and physical address in the footer for legal compliance. - Enable powered by FluentCart in the email footer: Check this box to automatically append a "Powered by FluentCart" line to your email footer.
- Admin Email Address: The email address where FluentCart will send all administrative notifications. By default, this is pre-filled with
{{wp.admin_email}}, which automatically pulls the primary administrator email from your WordPress settings. You can replace this with any specific address if needed.
Saving Your Changes
Once you have configured these settings, click the Save button in the top-right corner to apply your changes.