Appearance
Features & Addons
The Features & Addon section in FluentCart is the central hub for managing the plugin's modular functionality. This area allows you to activate or deactivate high-level modules, ensuring that your store's backend remains clean and optimized by only running the features you actually need.
Accessing Features & Addon
To manage your store's modules:
- Log in to your WordPress Dashboard.
- Navigate to FluentCart > Settings in the side menu.
- Select the Features & Addon tab from the left-hand sidebar.
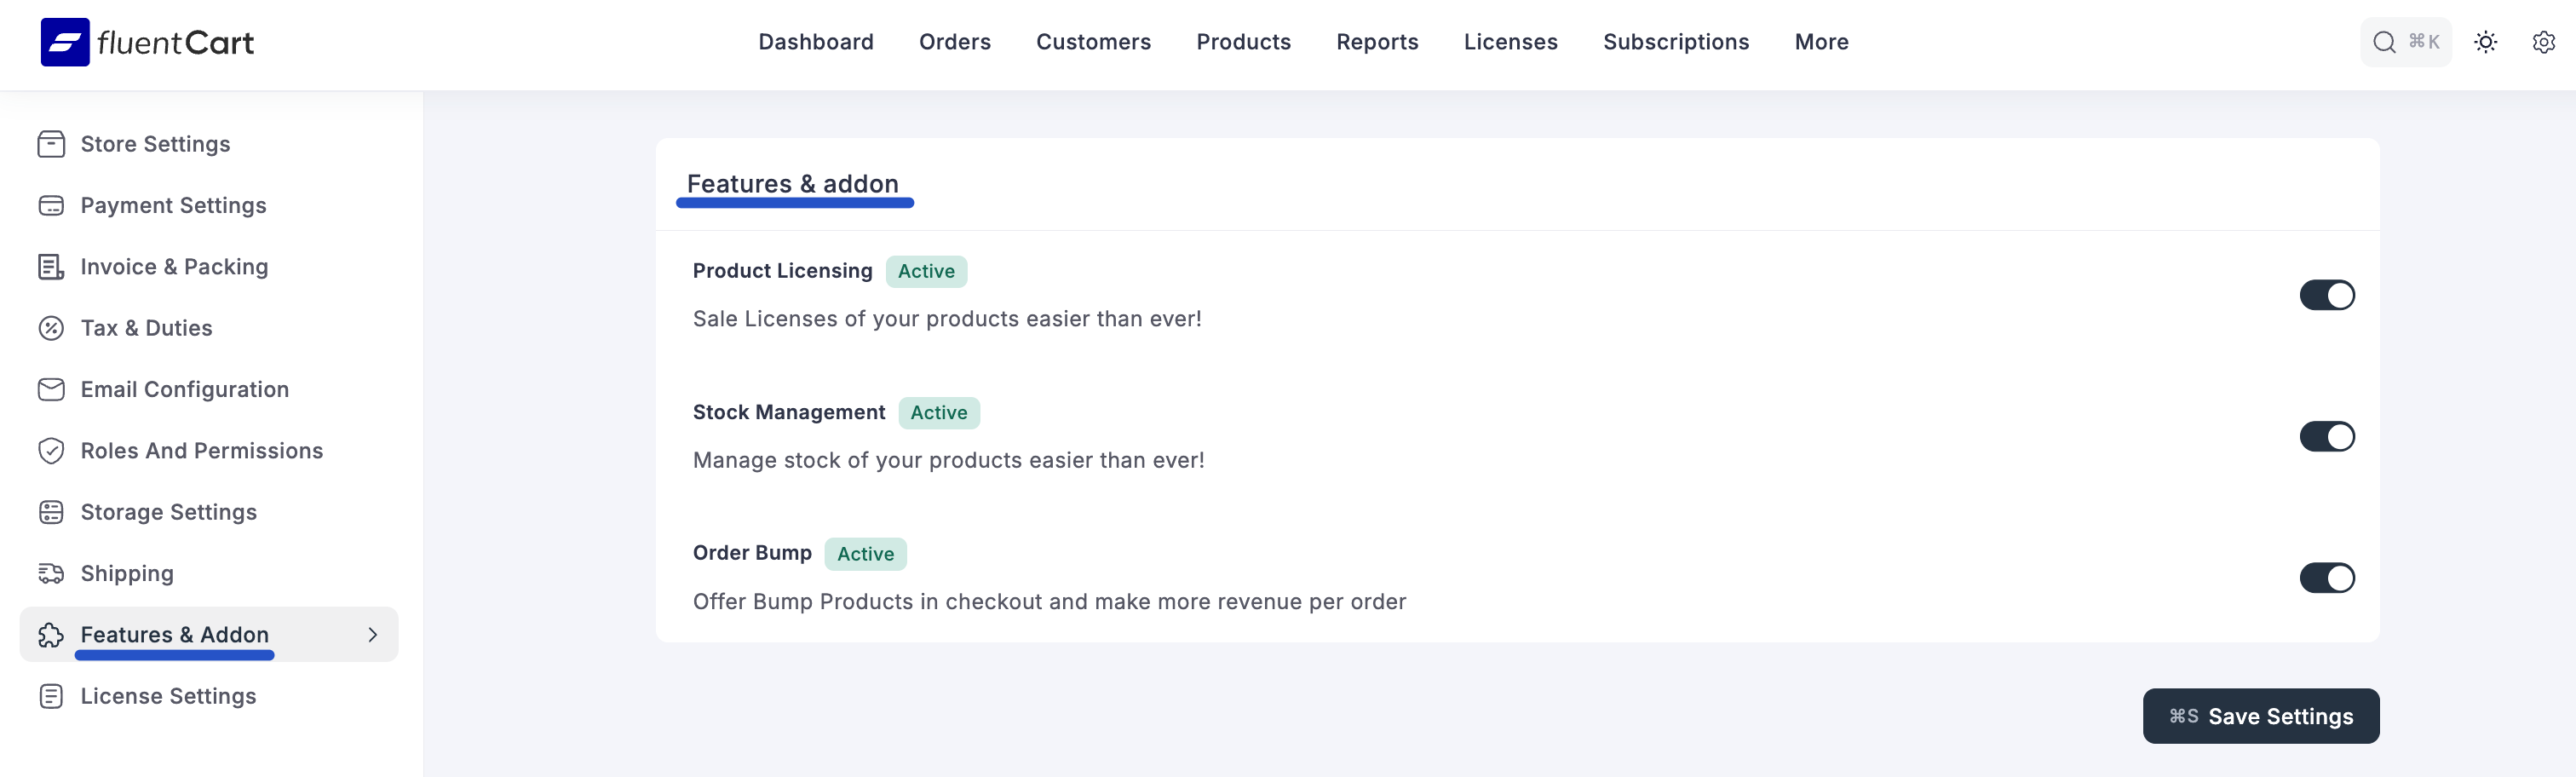
Managing Available Modules
In this section, you will find toggles for core features. When a feature is toggled on, it will display an Active badge; otherwise, it will show as Inactive.
1. Cloudflare Turnstile
This module provides advanced security for your checkout page.
- Function: Protects your stores checkout page from spam and malicious bots using Cloudflare’s invisible reCAPTCHA technology.
- Configuration: Once enabled, you will be prompted to enter your Turnstile Site Key and Turnstile Secret Key to complete the integration. See Cloudflare Turnstile Integration for full setup and key configuration.
2. Product Licensing
This is the cornerstone for digital product sellers and software developers.
- Function: Enables the entire software licensing system.
- When Active: You can generate, manage, and sell license keys for products like software, plugins, or digital assets. See Creating Licensed Product and Managing Licenses (customer-facing).
- When Inactive: All licensing-related fields and settings will be hidden from the product management screens.
3. Stock Management
Allows you to maintain a clear overview of your physical or limited digital inventory.
- Function: Enables inventory tracking tools, allowing you to set stock levels and display "In Stock" or "Out of Stock" messages to customers. For details, see Inventory Management.
4. Order Bump
A powerful tool for increasing your Average Order Value (AOV).
- Function: Allows you to offer relevant add-on products directly on the checkout page, encouraging customers to add one more item to their purchase just before they pay. See Order Bump for creating and managing order bumps.
5. Advanced Inventory
A dedicated inventory workspace for stores that need more than per-product stock fields.
- Function: Adds a central Inventory admin menu (injected next to Products) with cross-catalog stock views, bulk stock updates, an auditable adjustment history, and export. Every stock change is recorded with the user, timestamp, old and new values, and an adjustment reason.
- Requirements: Stock Management (above) must be enabled first. Advanced Inventory activates only when both toggles are on.
- When Inactive: The Inventory admin menu is hidden and no adjustment history is recorded. Per-product stock still works through the basic Inventory Management screen.
- When Active: See Advanced Inventory for the full workflow.
6. MCP (AI Assistant Access)
This module exposes a secure endpoint that lets AI assistants like Claude, Cursor, and Codex connect to your store.
- Function: Turns on the FluentCart MCP server so AI clients can read store data and run operator tasks, scoped to the connecting account's permissions.
- Configuration: Ships off. See Connecting AI Assistants (MCP) for requirements, enabling, and client setup.
Saving Your Changes
After toggling any feature on or off:
- Review your selections to ensure they match your store's requirements.
- Click the Save Settings button located at the bottom right of the screen.
Note: Some features, like Cloudflare Turnstile, may require additional configuration (such as API keys) immediately after activation to function correctly.
Installing Licensed Addons (One-Click Installer)
Below the core feature toggles, the Features & Addon page also lists every licensed addon that ships with your FluentCart Pro license — for example, Fluent PDF and other premium extensions. You no longer need to download a ZIP file from your account, upload it through the WordPress plugin uploader, and then activate it. The whole flow has been collapsed into a single click.
Prerequisites
Before the one-click installer becomes available, make sure:
- You have a valid FluentCart Pro license verified on the site. See Licensing Settings for how to verify your license.
- Your server can make outbound HTTPS requests to the FluentCart update servers (this is the case on virtually every standard WordPress host).
How to Install an Addon in One Click
- Navigate to FluentCart Pro > Settings > Features & Addon.
- Scroll to the Plugin Addons section at the bottom of the page.
- Find the addon card for the addon you want to install (e.g., Fluent PDF).
- Click the Install & Activate button on the card.
FluentCart will fetch the addon directly from the licensed update server, install it, and activate it automatically. The card's status badge will switch to Active as soon as the process finishes — you can use the addon immediately, no page reload or upload needed.
Note: If the Install & Activate button is greyed out or replaced with a license prompt, your FluentCart Pro license either hasn't been verified or has lapsed. Verify your license from Settings > Licensing and the installer will become available again.
This makes the addon ecosystem feel like a first-class part of FluentCart — installing a premium addon now takes the same amount of effort as flipping a feature toggle.