Appearance
Cart & Checkout Settings
The Cart & Checkout settings are fundamental to shaping your customer's journey, from the moment they add a product to their cart to the final confirmation of their purchase. Optimizing these options is key to reducing friction, increasing conversions, and creating a seamless buying experience.
This section controls the visibility of the cart, how user accounts are created, and the format of your official receipts.
Accessing Cart & Checkout Settings
- From your WordPress dashboard, navigate to FluentCart Pro > Settings.
- Click on the Store Settings tab.
- From the sub-menu, select Cart & Checkout.
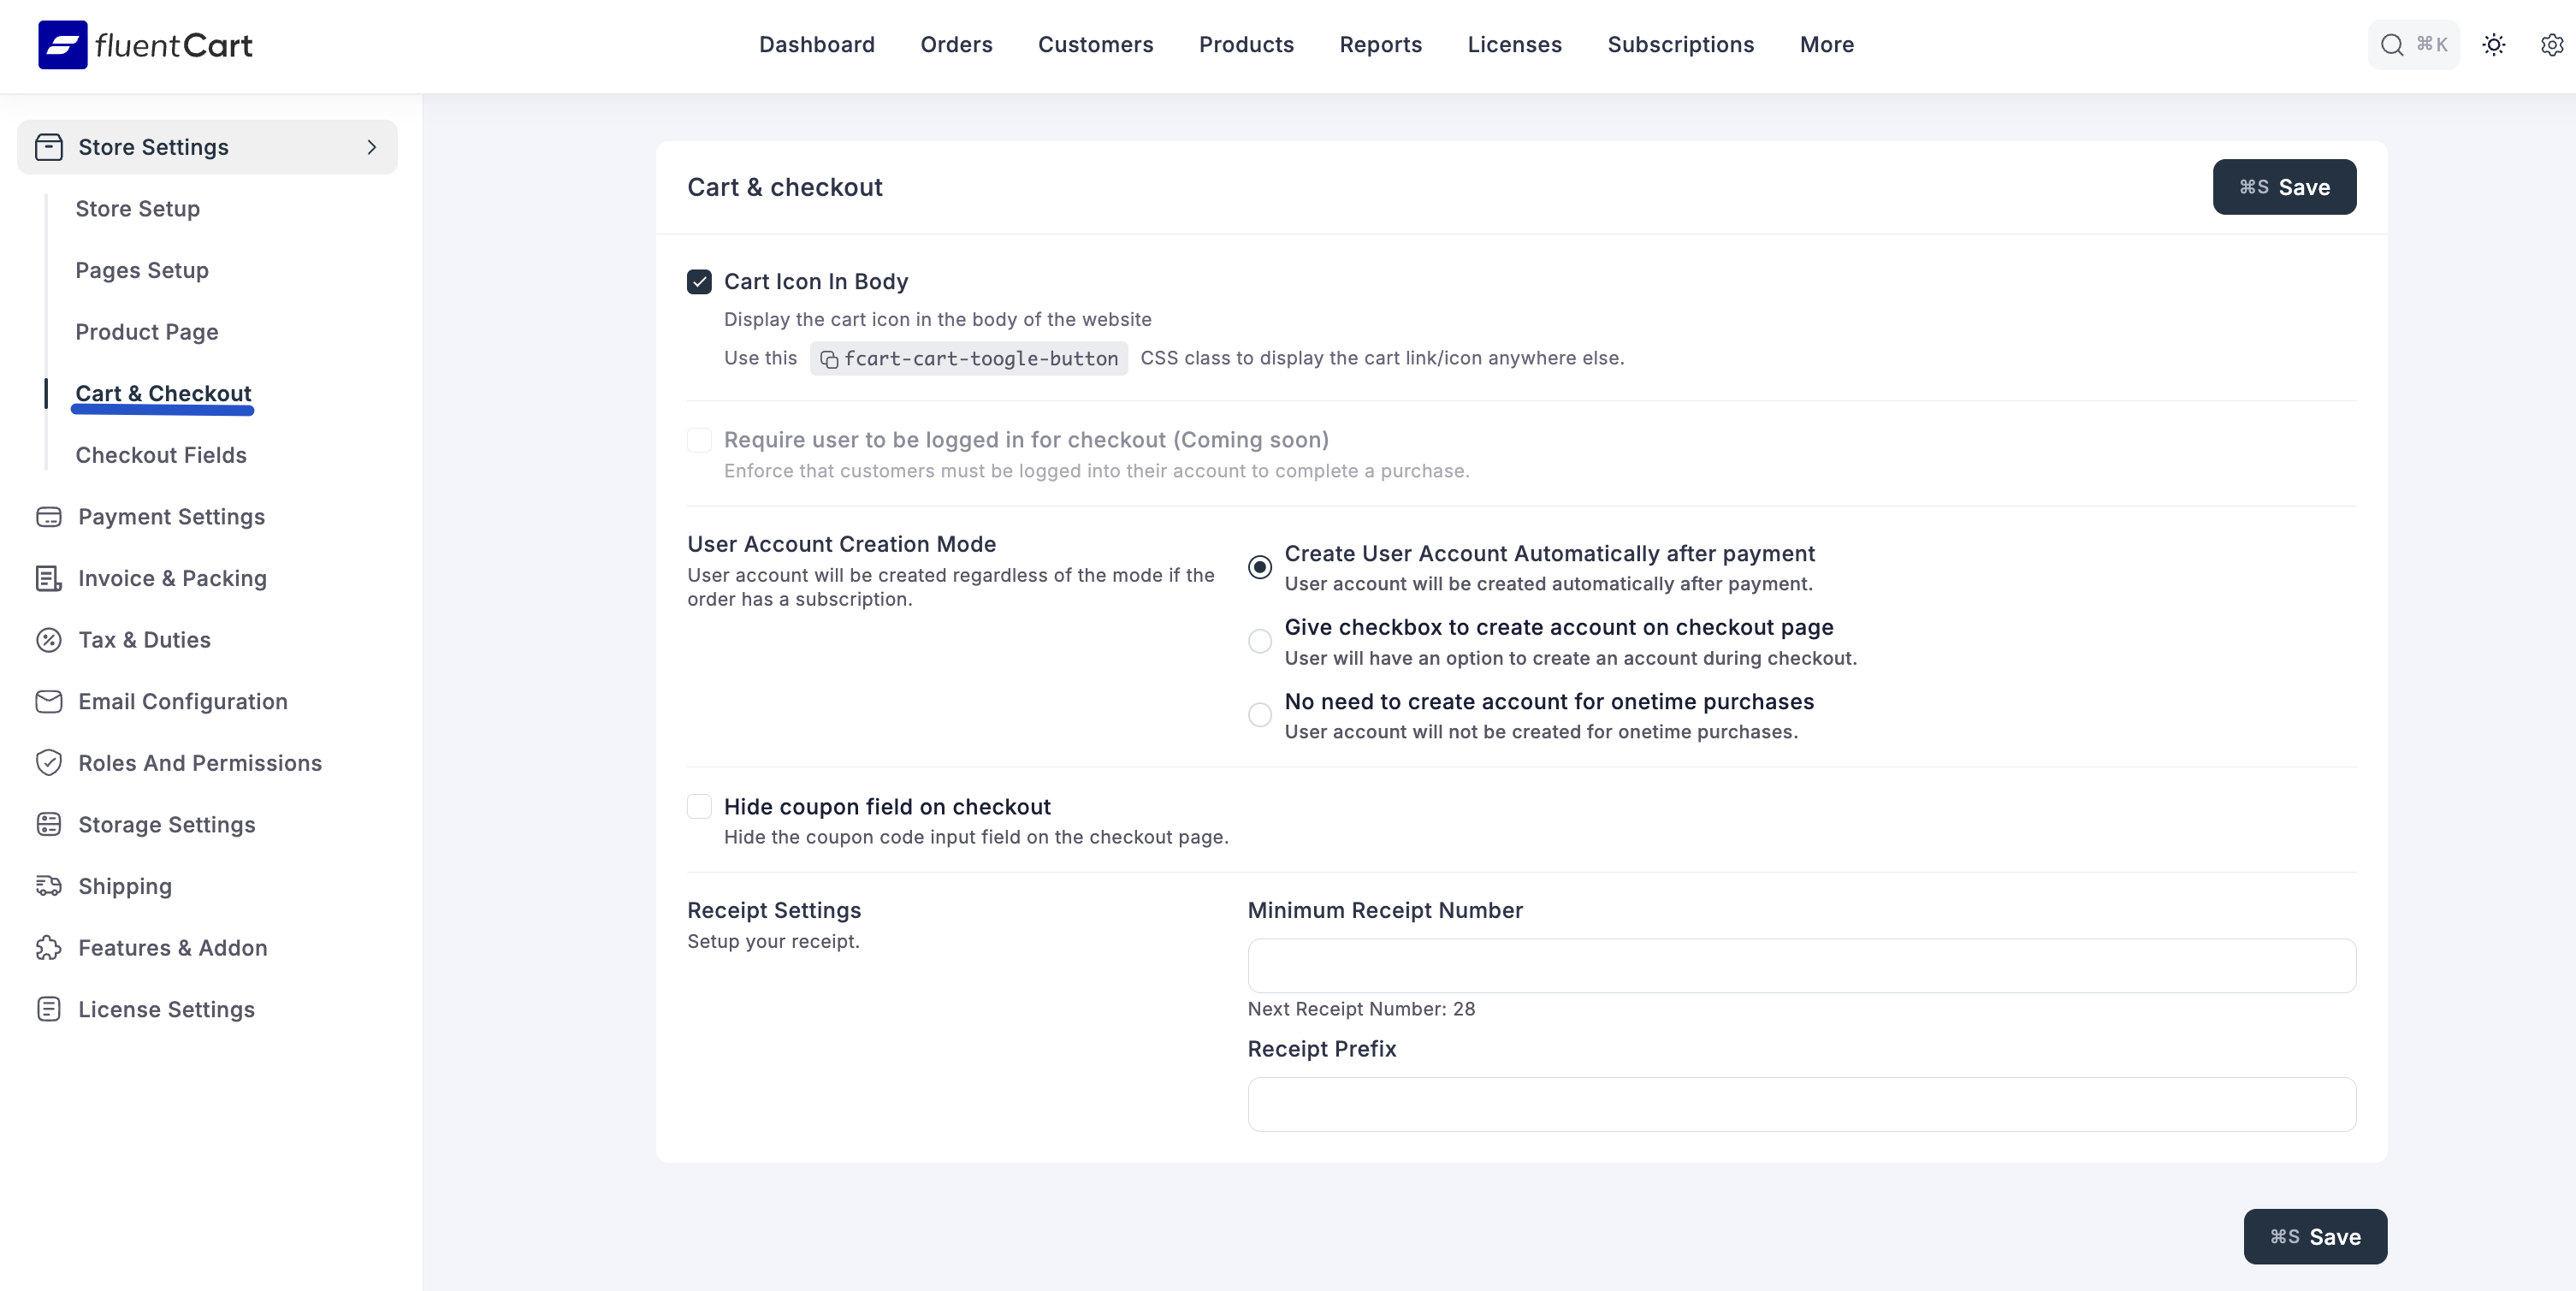
Cart Icon in Body
Enable this to display a floating cart icon that remains visible on the side of the screen as the user scrolls. This provides a convenient, one-click path for customers to return to their cart from anywhere on your site.
User Account Creation Mode
This is a crucial setting that defines how customer accounts are handled during checkout. Choosing the right option has a big impact on the user experience.
- Create User Account Automatically after payment: An account is automatically and seamlessly created for every customer after they complete their purchase. This is the recommended setting for stores selling subscriptions or licensed products, as it ensures customers have an account to manage their purchases without any extra steps.
- Give checkbox to create account on checkout page: This adds an "Create an account?" checkbox to the checkout page. It gives customers the choice, balancing the benefits of account creation with the convenience of a faster checkout.
- No need to create account for onetime purchases: This enables a full "guest checkout" experience for non-subscription products. It offers the lowest possible friction for new or one-time buyers and can significantly reduce cart abandonment.
Hide coupon field on checkout
Enable this option to remove the coupon code input field from the checkout page. This can be a strategic move to prevent customers from leaving your site to search for discount codes, a common cause of cart abandonment.
Receipt Settings
This section allows you to customize the numbering format for your store's official receipts, which helps with branding and organization.
- Minimum Receipt Number: Set the starting number for your receipts. Many businesses set this to a higher number (e.g., 1001) to appear more established than a store starting at receipt #1.
- Next Receipt Number: This is a non-editable field that conveniently shows you the number that will be assigned to the very next receipt generated by your store.
- Receipt Prefix: Enter a custom prefix that will be added before every receipt number (e.g., INV-, FC-). This is excellent for branding and makes your receipts instantly recognizable (e.g., YOURBRAND-1001).
After you have configured these settings to your liking, click the Save button to apply the changes to your store.