Appearance
Initial Setup Wizard
After successfully installing and activating FluentCart, a setup wizard appears automatically to walk you through the foundational settings of your store. The wizard is four short steps and covers your store details, tax collection, core pages, and starter products.
First-Time Setup
The wizard is designed to make your initial configuration smooth. If you skip it, you can configure these settings later from the FluentCart Settings menu. Most steps also expose a Skip for now or Skip All action in the footer if you want to defer them.
Steps of the Initial Setup Wizard
A progress bar runs along the top of every step (Step N of 4) so you always know how far through you are. Go Back moves you to the previous step, Continue advances, and the final step replaces Continue with a Save button (keyboard shortcut Cmd+S on macOS, Ctrl+S on Windows/Linux).
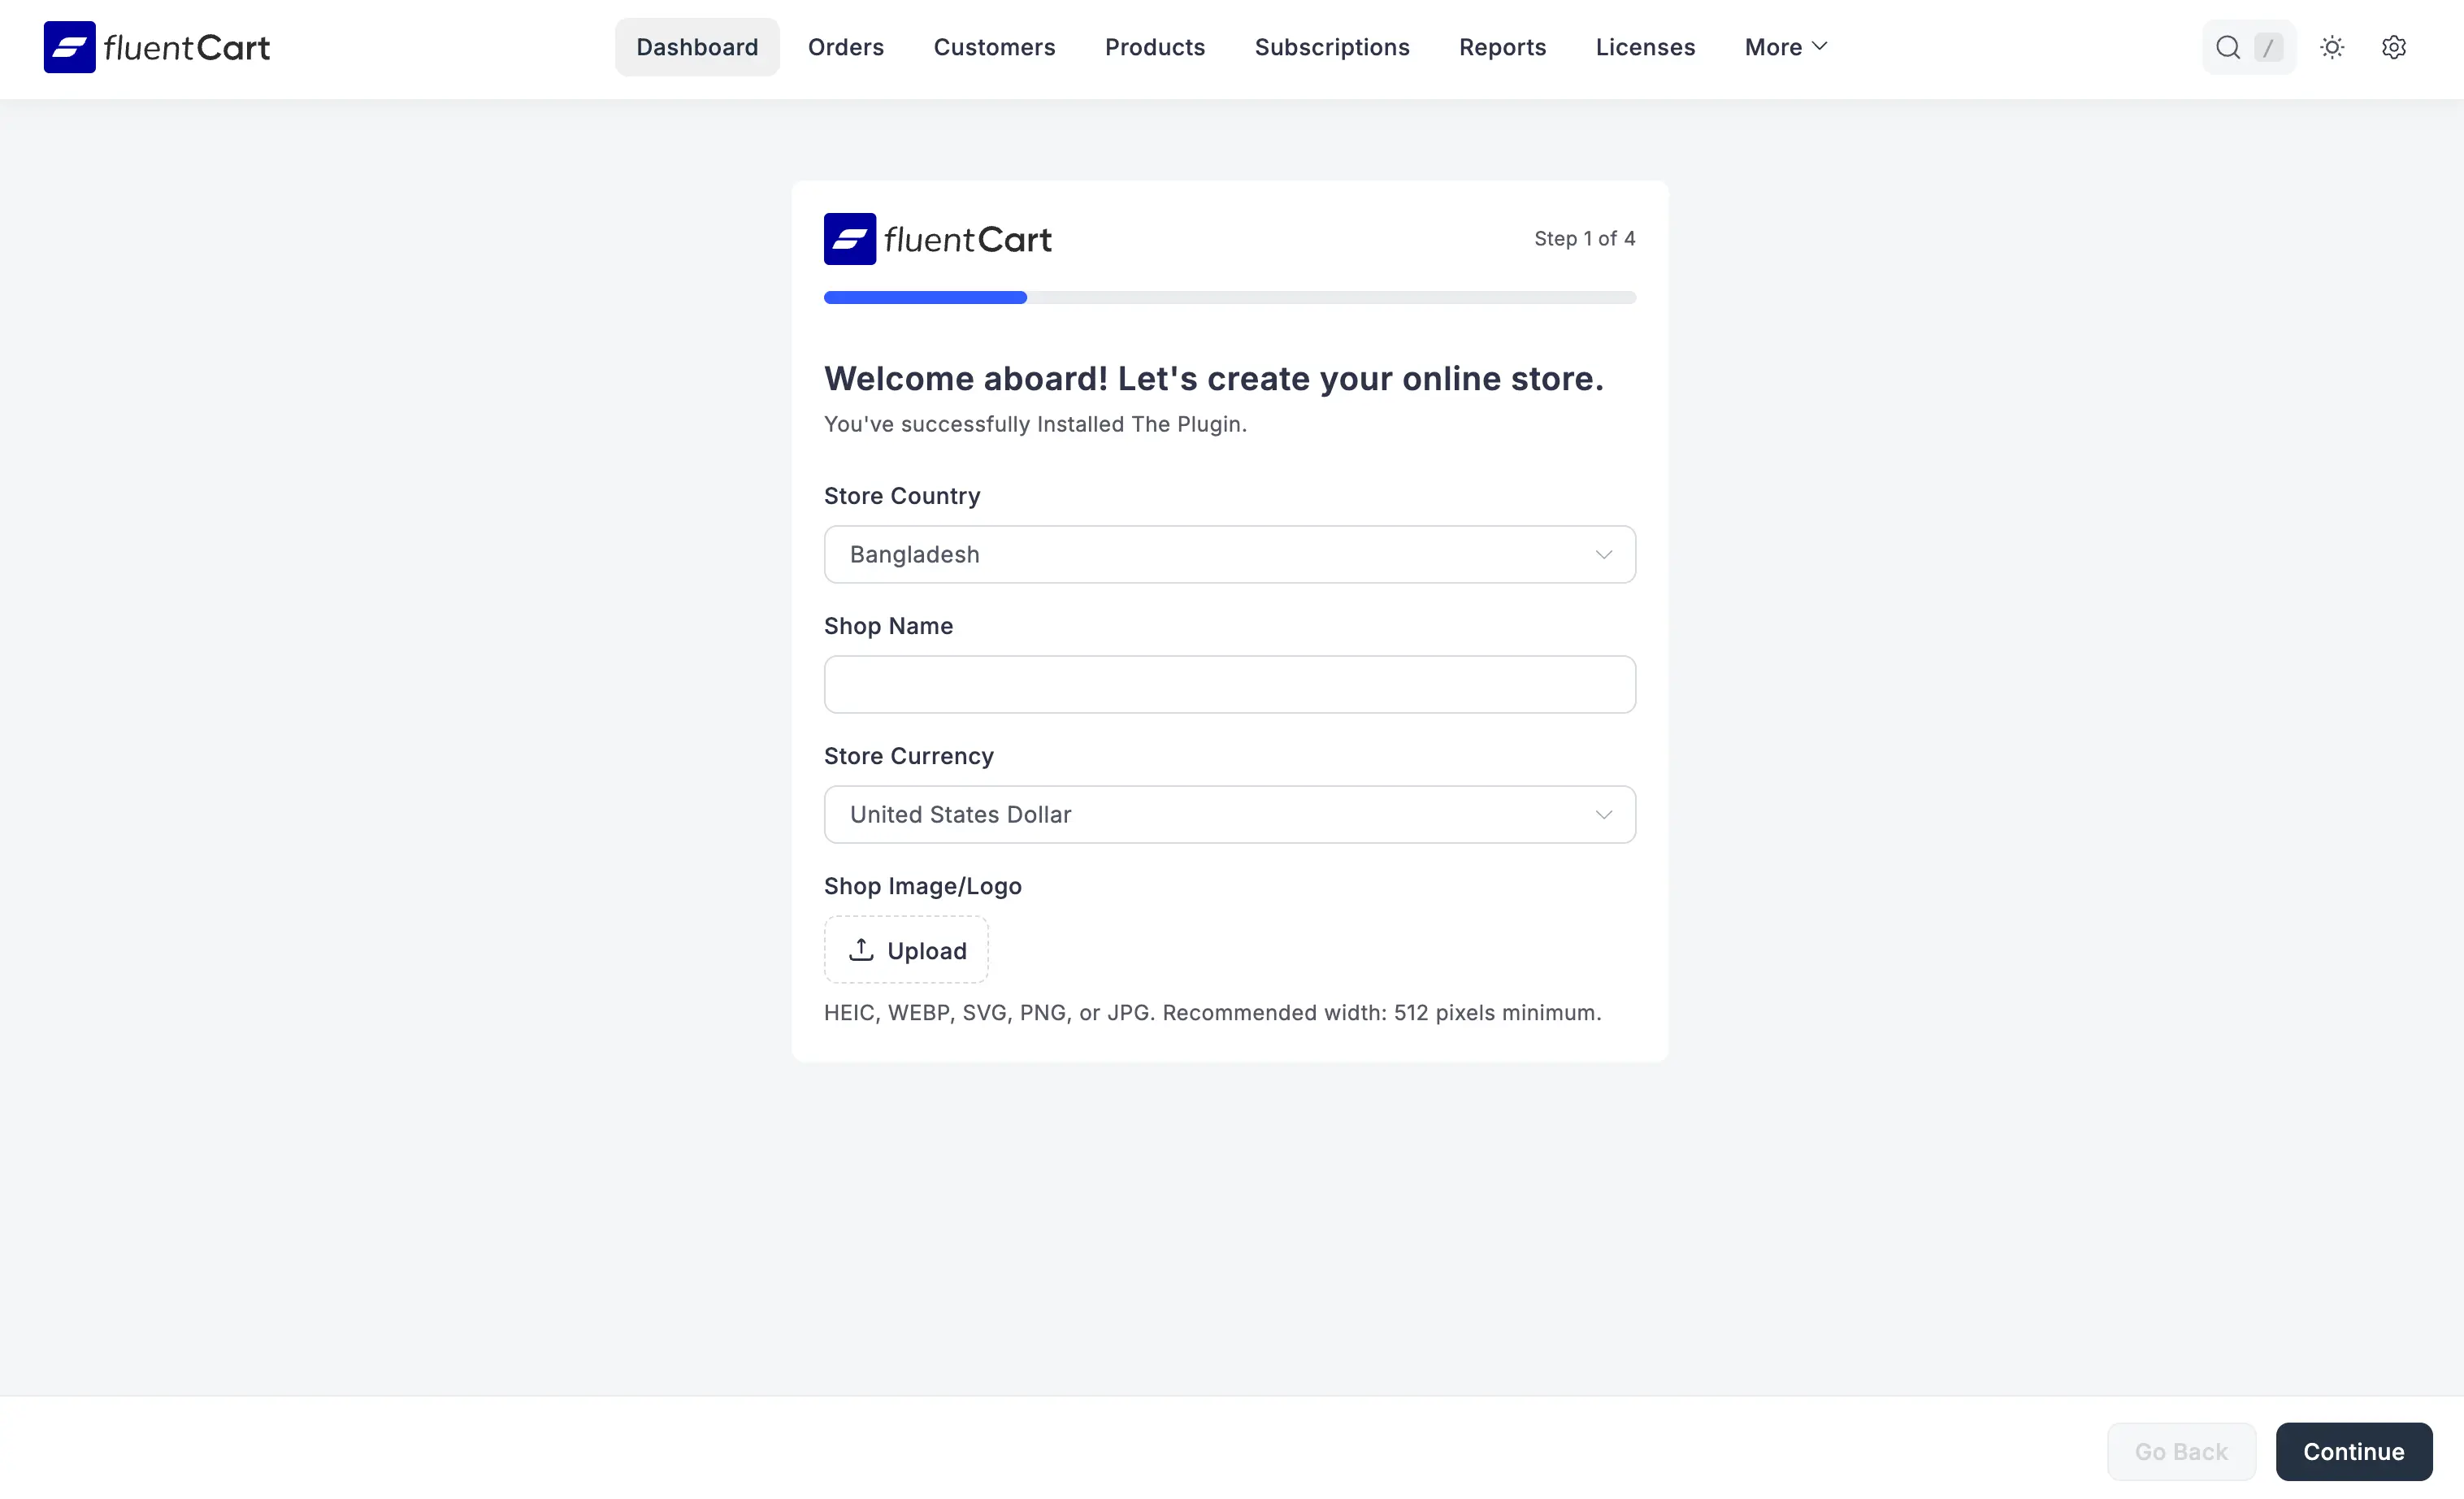
1. Store Details
The first step captures the basics about your store so FluentCart can pre-fill currency, address, and locale defaults across the rest of the admin.
- Store Country: Pick the country where your business is based. The selection feeds the next step's tax setup and your default shipping calculations.
- Shop Name: The public name of your online store. Appears in receipts, emails, and the storefront header.
- Store Currency: The primary currency your products are priced in. Defaults to United States Dollar; change it before you start adding products.
- Shop Image/Logo: Click Upload to add your brand's logo. Accepted formats: HEIC, WEBP, SVG, PNG, or JPG. Recommended width: 512 pixels minimum.
Click Continue to proceed to the next step.
Where to find later?
These settings can be accessed and modified anytime from FluentCart → Settings → Store Settings → Store Setup.
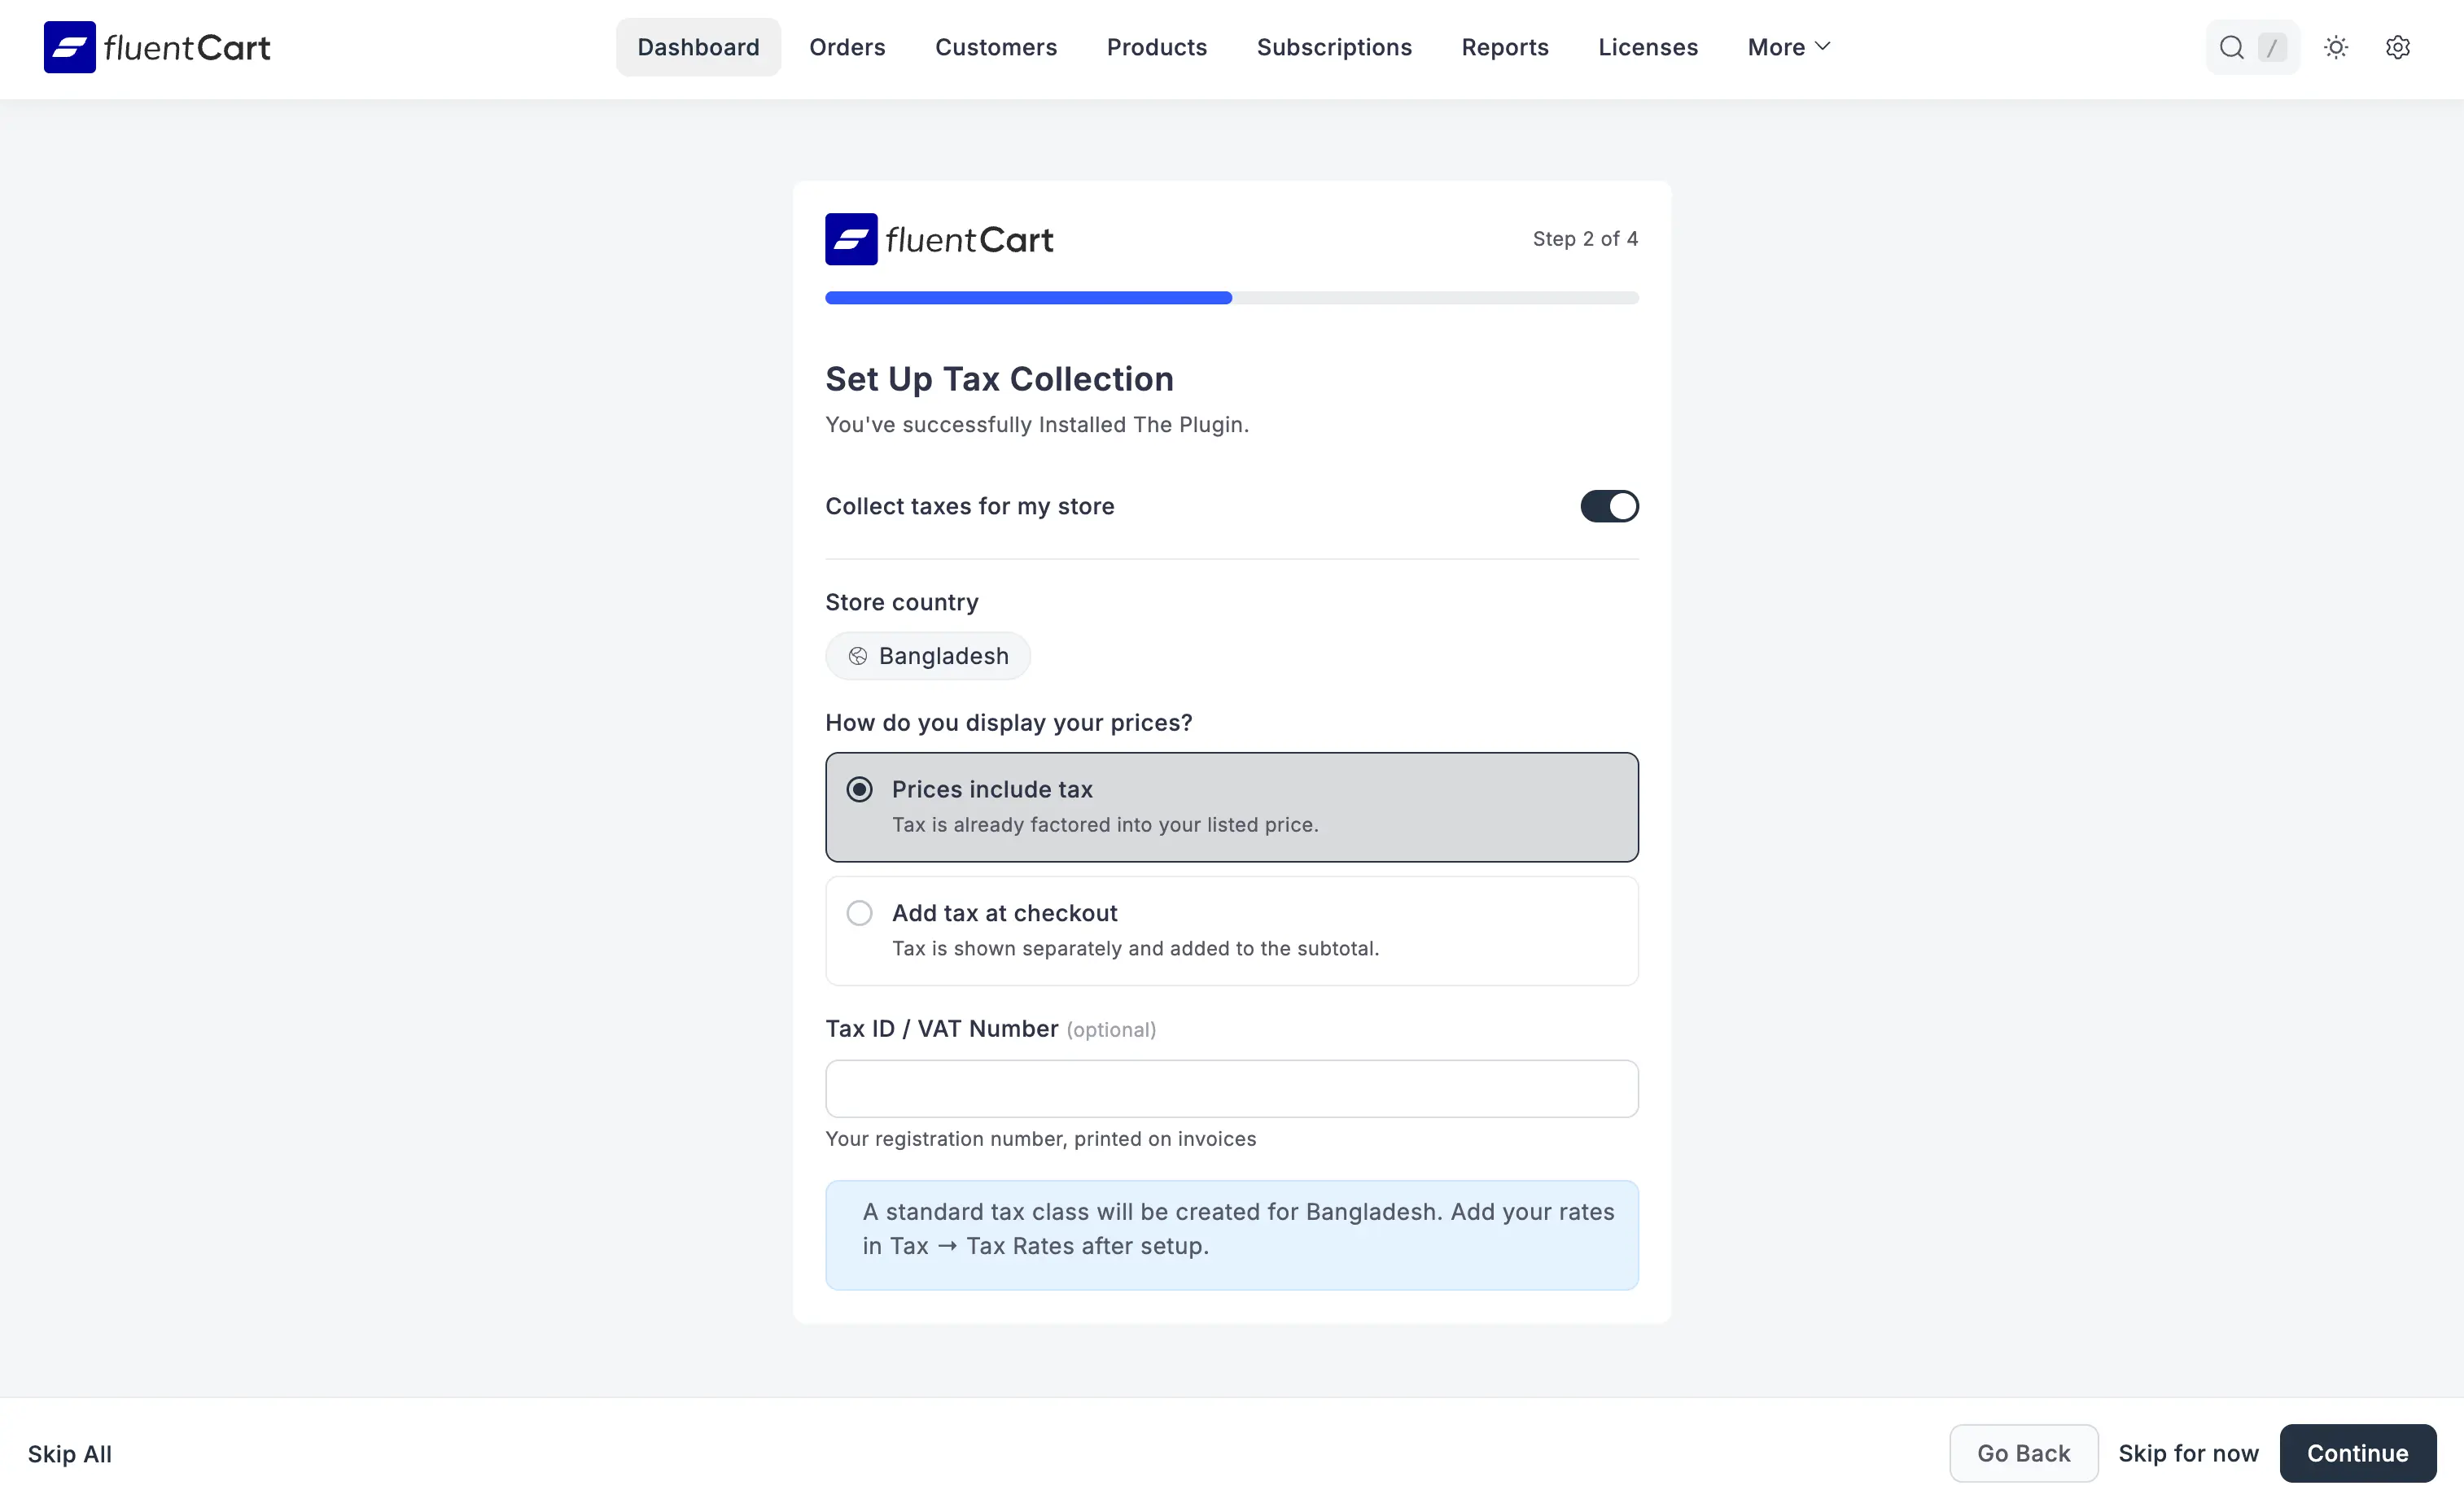
2. Set Up Tax Collection
The second step turns tax collection on or off and captures the high-level tax behaviour for your store. The card pre-fills your Store country from Step 1, so make sure that's right before continuing.
- Collect taxes for my store: Master toggle. Leave it on to collect tax at checkout; switch it off to ship without any tax calculations.
- How do you display your prices? Pick one:
- Prices include tax: the price on a product already contains tax. FluentCart splits the tax out for reporting, and the customer pays the listed number.
- Add tax at checkout: the listed price excludes tax. Tax is shown separately and added to the subtotal.
- Tax ID / VAT Number (optional): Your registration number. Printed on invoices and PDF receipts where local rules require it.
An advisory at the bottom of the card reminds you that a standard tax class will be created automatically for your store country, and that the actual per-region rates are set later under Tax → Tax Rates.
Click Continue to proceed. You can also choose Skip for now to leave tax disabled (configure it later) or Skip All to jump straight past the remaining wizard steps.
Where to find later?
These settings can be accessed and modified anytime from FluentCart → Settings → Tax Settings → Configuration, and per-region rates from Tax Settings → Rates. See Tax Configuration and Setting Up Tax Rates for the full walkthroughs.
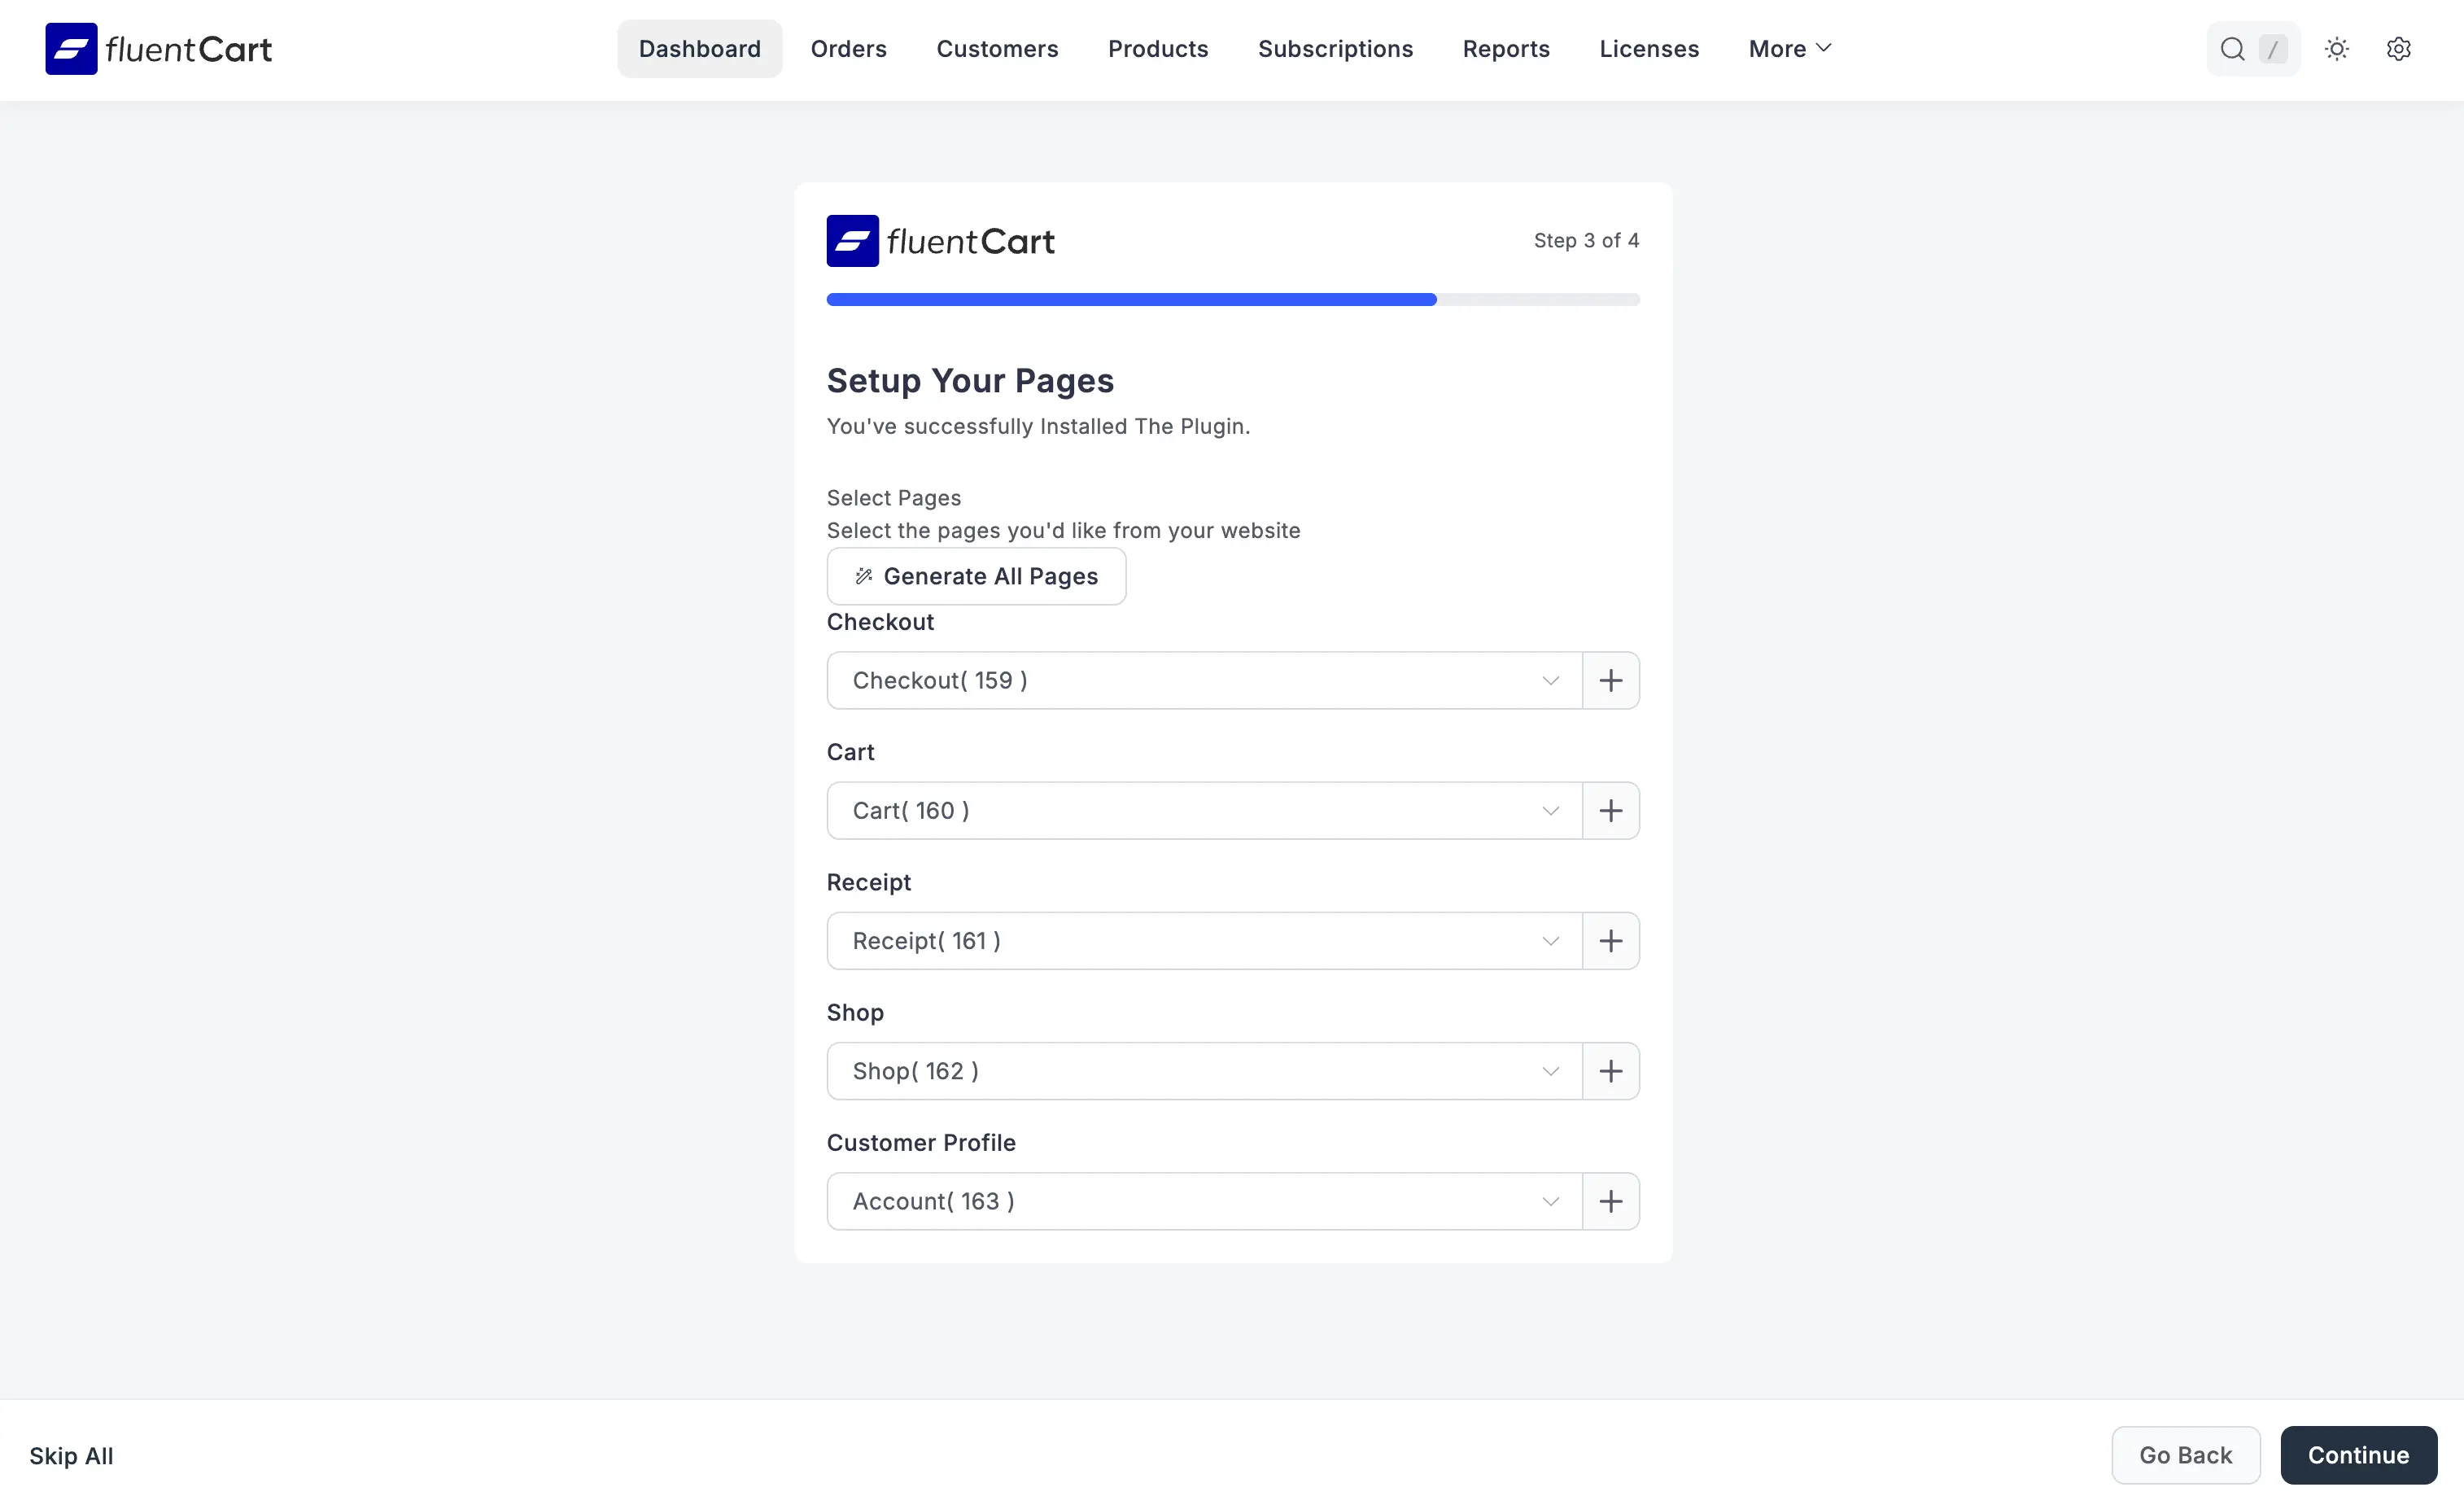
3. Setup Your Pages
The third step assigns FluentCart's core storefront functions (Checkout, Cart, Receipt, Shop, Customer Profile) to actual WordPress pages on your site. This is what makes the cart icon, the checkout form, and the customer dashboard reachable from the front-end.
You have three ways to fill in the page slots:
- Pick an existing WordPress page from each dropdown (the dropdown shows page titles followed by their ID, for example
Checkout( 159 )). - Click the
+icon next to a slot to create a fresh WordPress page wired up for that role with the correct shortcode embedded. - Click Generate All Pages at the top of the list to create all five pages in one shot, each with the right shortcode and assigned automatically.
Shortcodes powering each page
Every page must carry the matching FluentCart shortcode for its function to work. Using Generate All Pages or the per-slot + icon handles this automatically:
- Shop Page:
[fluent_cart_products] - Customer Profile Page:
[fluent_cart_customer_profile] - Cart Page:
[fluent_cart_cart] - Receipt Page:
[fluent_cart_receipt] - Checkout Page:
[fluent_cart_checkout]
Where to find later?
These settings can be accessed and modified anytime from FluentCart → Settings → Store Settings → Pages Setup.
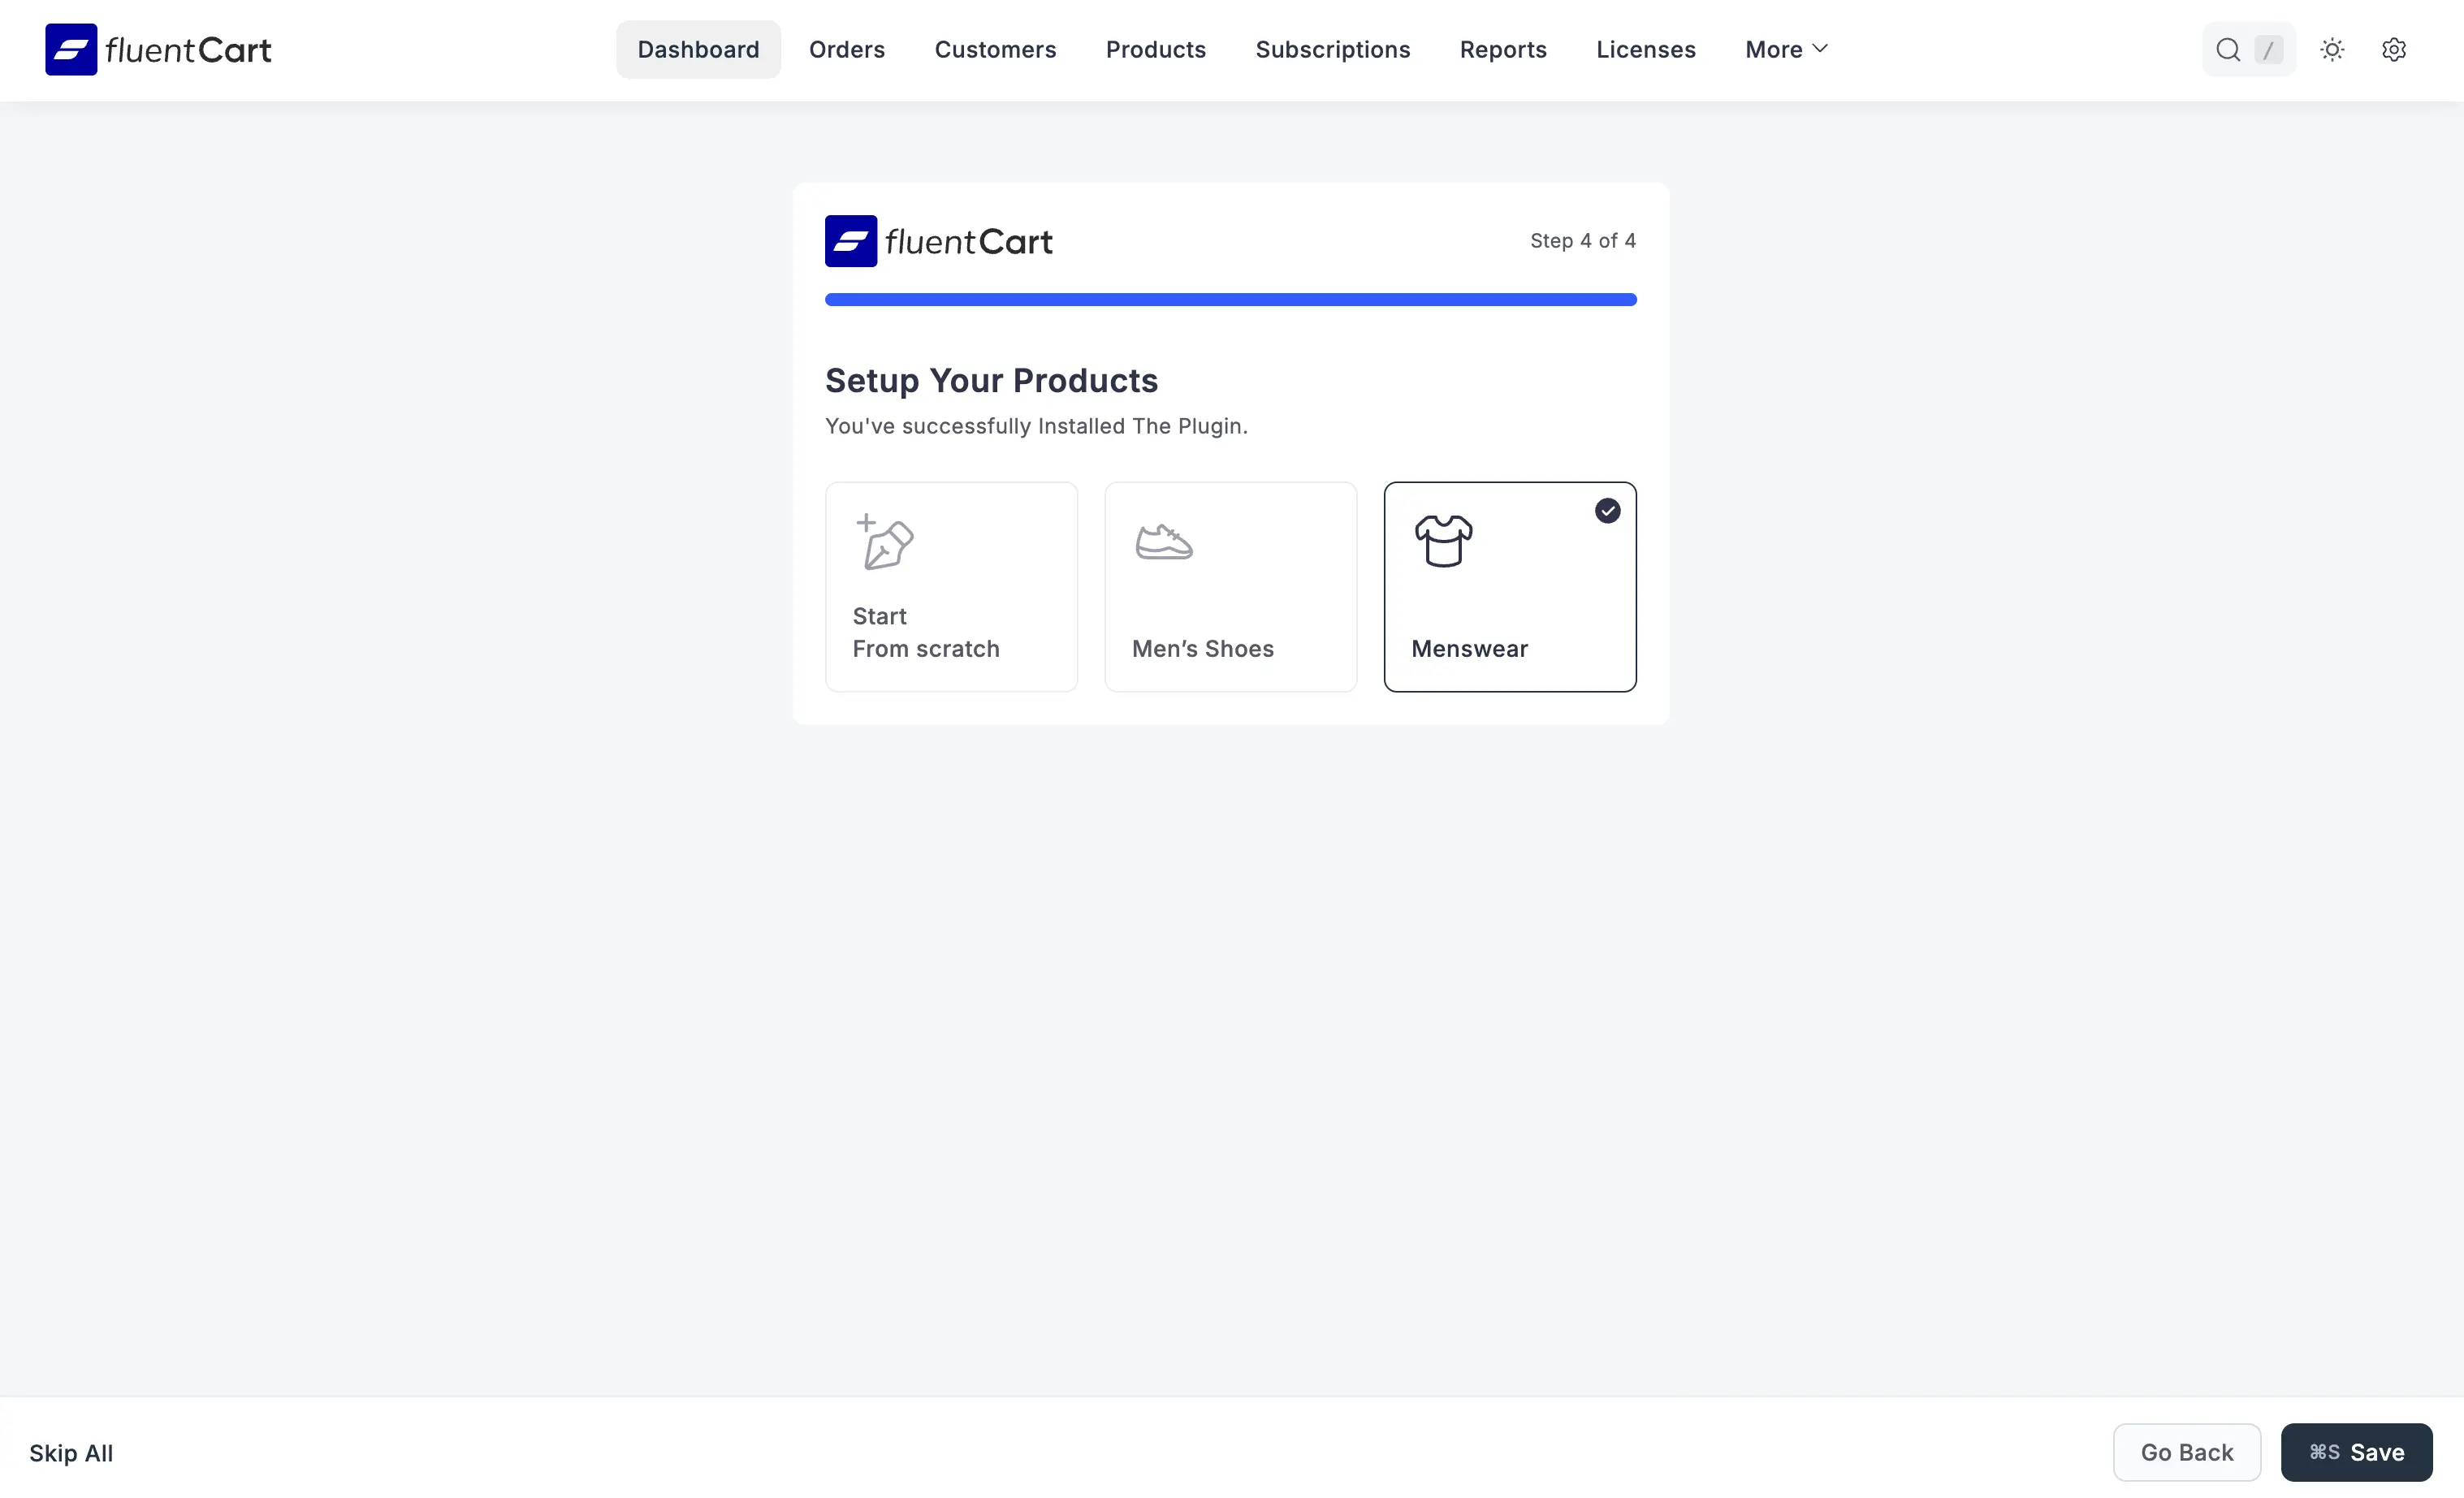
4. Setup Your Products
The final step gets your store off zero by either letting you start fresh or seeding it with sample content you can iterate on.
You have two paths:
- Start From scratch: Pick this if you'd rather build the catalogue yourself, one product at a time, after the wizard closes.
- Generate dummy content (Men's Shoes, Menswear, etc.): Pick one of the sample bundles to import a ready-made set of products, categories, and media. Useful for evaluating layouts, themes, and reports without typing in your own data first. A checkmark on a tile indicates it's selected.
Sample content uploads in the background and may take a few seconds depending on your network. You might need to reload the page once or twice for the imported items to show up in your product list and reports.
Click Save (or press Cmd+S / Ctrl+S) to finalize the wizard.
Completing the Wizard and Next Steps for Your Business
Once you've gone through all four steps, the wizard confirms the setup and drops you onto your FluentCart Dashboard.
The wizard gets you to a working baseline, but a production-ready store needs a few more touches:
- Set up Payment Gateways: Connect Stripe, PayPal, Cash on Delivery, or any of the supported gateways under Payment Settings.
- Add Your Products: Start creating physical products, digital products, or licensed digital products.
- Review Email Notifications: Customize the email templates so customers receive branded, informative updates.
- Explore Reports: Use the Reporting & Analytics section to monitor store performance.
- Configure Integrations: Connect FluentCart to your CRM, marketing tools, and other business systems.