Appearance
Creating & Managing Product Brands
Product Brands in FluentCart are a great way to group products from the same manufacturer or brand together. This helps with store organization and allows customers to easily find and shop for all products from a brand they like.
Properly assigning brands can significantly improve your store's navigation, enhance the customer's shopping experience, and even provide SEO benefits by creating brand-specific archive pages.
This guide will show you how to create, manage, and assign brands to your products.
Creating a New Brand
To get started, you first need to create your brands. This process is straightforward and allows you to build out your brand library before assigning it to products.
- From your WordPress dashboard, go to FluentCart Pro → Brands.
- This will take you to the main Brands screen. On the left side, you will see the "Add New Brand" form.
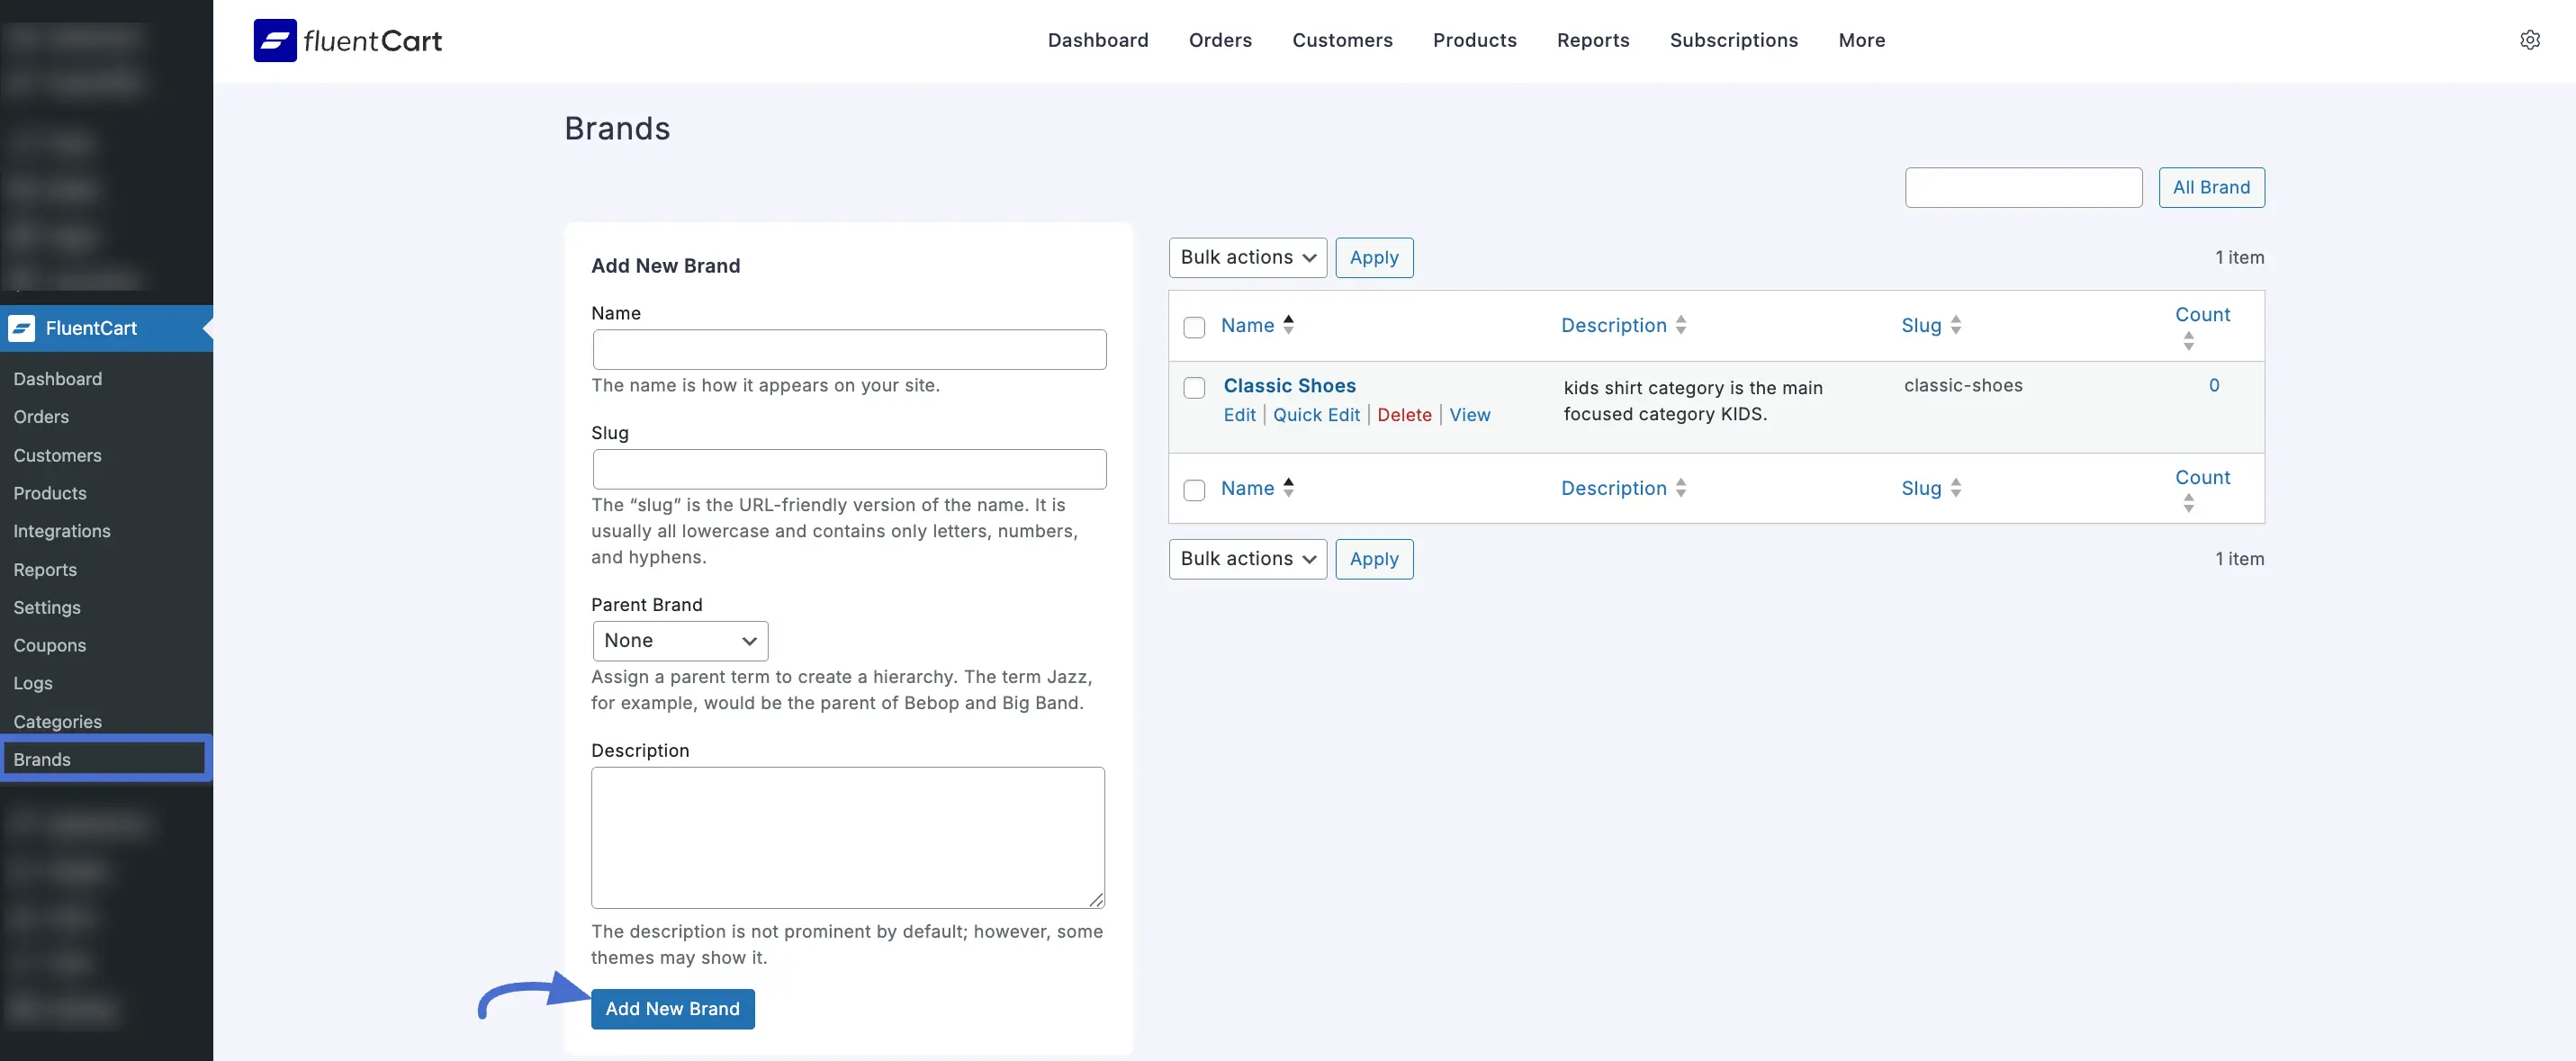
Fill in the details for your brand:
- Name: Enter the brand's name exactly as you want it to appear to your customers. This is the primary identifier for the brand.
- Slug: This is the URL-friendly version of the name, used in the web address for the brand's archive page. It should be all lowercase and contain only letters, numbers, and hyphens. FluentCart will automatically generate this from the name if you leave it blank.
- Parent Brand: This feature lets you create and organize brand levels. For example, if you sell a specific product line from a larger company, you could make "Air Jordan" a child of the "Nike" parent brand. For a top-level brand, simply leave this as "None."
- Description: Add a short description for the brand. Depending on your website's theme, this description may be displayed on the brand's archive page, providing customers with more context.
Click the Add New Brand button to save the brand. It will now appear in the list on the right.
Managing Existing Brands
The table on the right side of the Brands screen is your command center for managing all the brands you've created.
This list gives you a quick overview of each brand, showing its Name, Description, Slug, and the Count of products assigned to it. The "Count" is a handy way to see which brands are most popular in your store.
To manage your brands:
Sort the List: You can organize the list by clicking the small arrows next to a column title, such as "Name" or "Count." This makes it easy to find brands alphabetically or see which ones have the most products. Edit, Delete, and More: When you move your mouse over a brand in the list, a set of options will appear right below its name:
- Edit: This takes you to a separate screen to change all the brand's details.
- Quick Edit: Allows you to make fast changes to the name and slug without leaving the page.
- Delete: Permanently removes the brand.
- View: Lets you see how the brand's page looks on your live website.
Assigning Brands to a Product
Once your brands are created, you can assign them to your products.
- Navigate to the product you want to assign a brand to by going to FluentCart Pro → Products and clicking on a product to open its editor.
- On the product edit page, look for the Brands section on the right-hand side of the screen.
- In the Brands box, you can assign one or more brands to the product by checking the box next to any existing brand in the list.
- After assigning the brand(s), click the Update or Publish button at the top right of the page to save your changes. The brand will now be associated with that product.