Appearance
Theme Setup
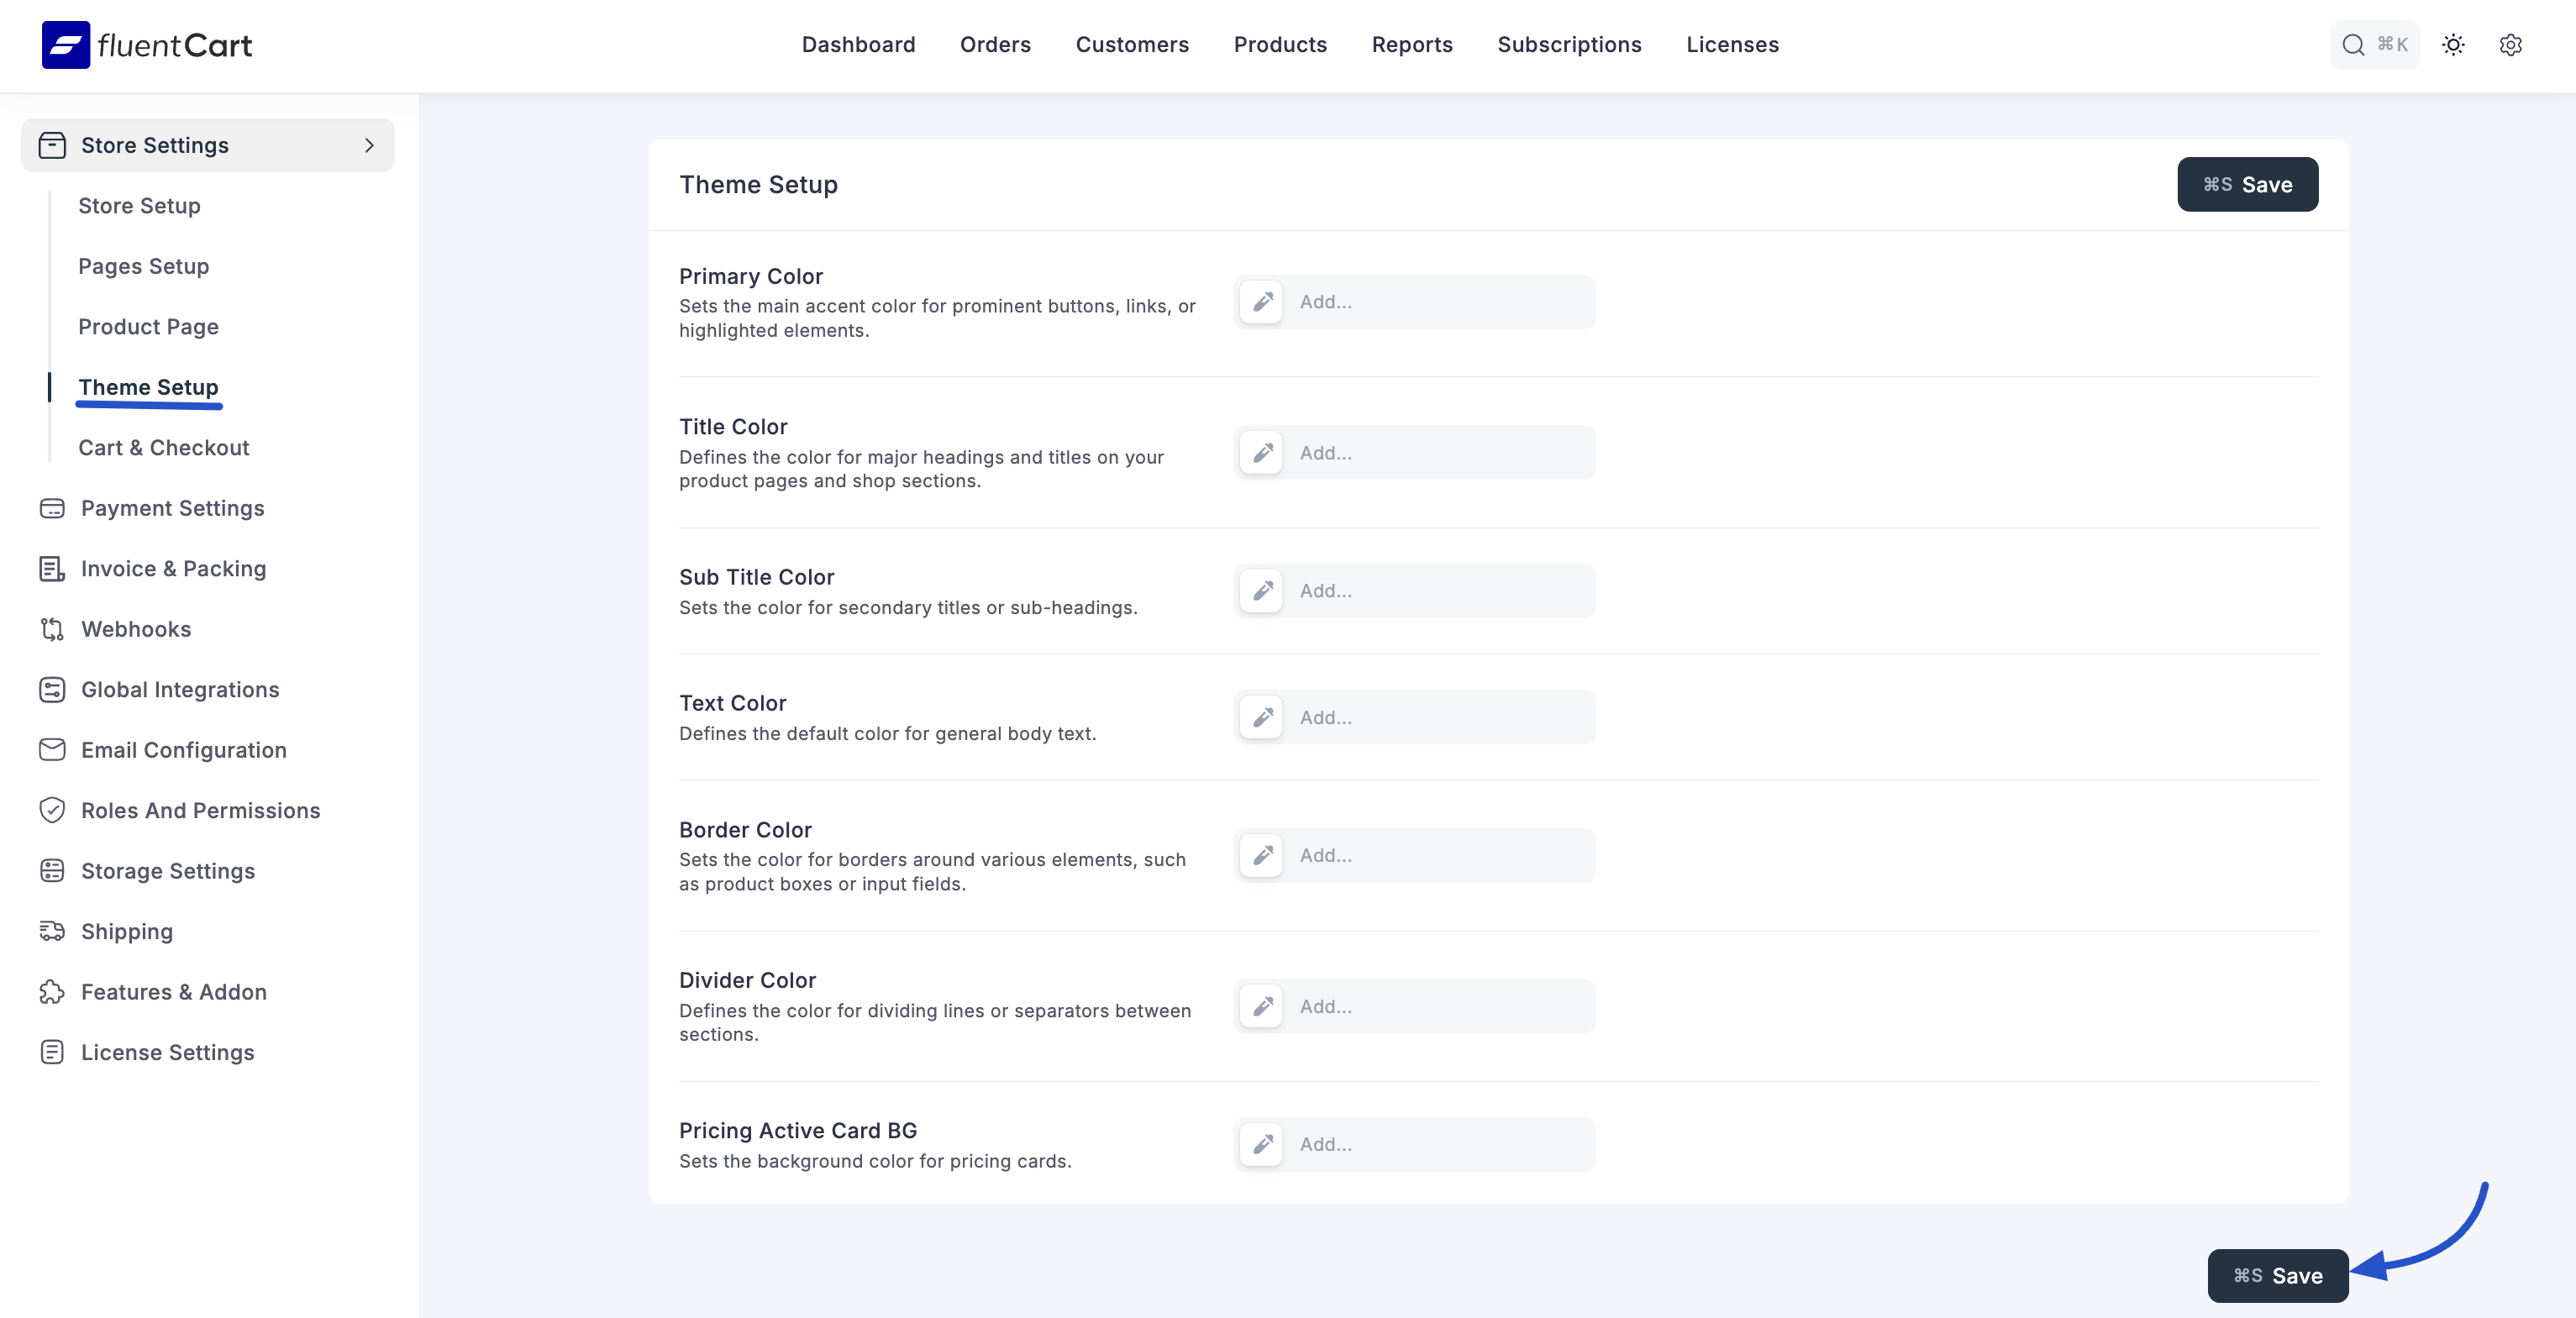
The Theme Setup screen in FluentCart allows you to customize the visual appearance of your store's elements to align with your brand's aesthetics. You can easily define custom colors for various components of your shop's interface.
Accessing Theme Setup
- From your WordPress dashboard, navigate to FluentCart Pro > Settings in the left sidebar.
- Click on the "Theme Setup" tab.
Customizing Your Store's Appearance
This section provides a range of color pickers and input fields to define your store's color scheme. For each color option, clicking the "Add" button will typically open a color selection tool.
Primary Color: Sets the main accent color that will be used for prominent buttons, links, or highlighted elements throughout your store.
Title Color: Defines the color for major headings and titles on your product pages and shop sections.
Sub Title Color: Sets the color for secondary titles or sub-headings.
Text Color: Defines the default color for general body text.
Border Color: Sets the color for borders around various elements, such as product boxes or input fields.
Divider Color: Defines the color for dividing lines or separators between sections.
Pricing Active Card BG (Background): Sets the background color for pricing cards or elements that are in an active or highlighted state.
Saving Your Settings
After making your desired color customizations, remember to click the "Save Settings" button at the bottom right of the screen to apply your configurations. You can also click "Clear" to reset all color settings to their default values.